Creating and Connecting a Workspace to Your IDE
Create a New Workspace
You can create a workspace either via the UI or CLI.
📘 Option A: UI
-
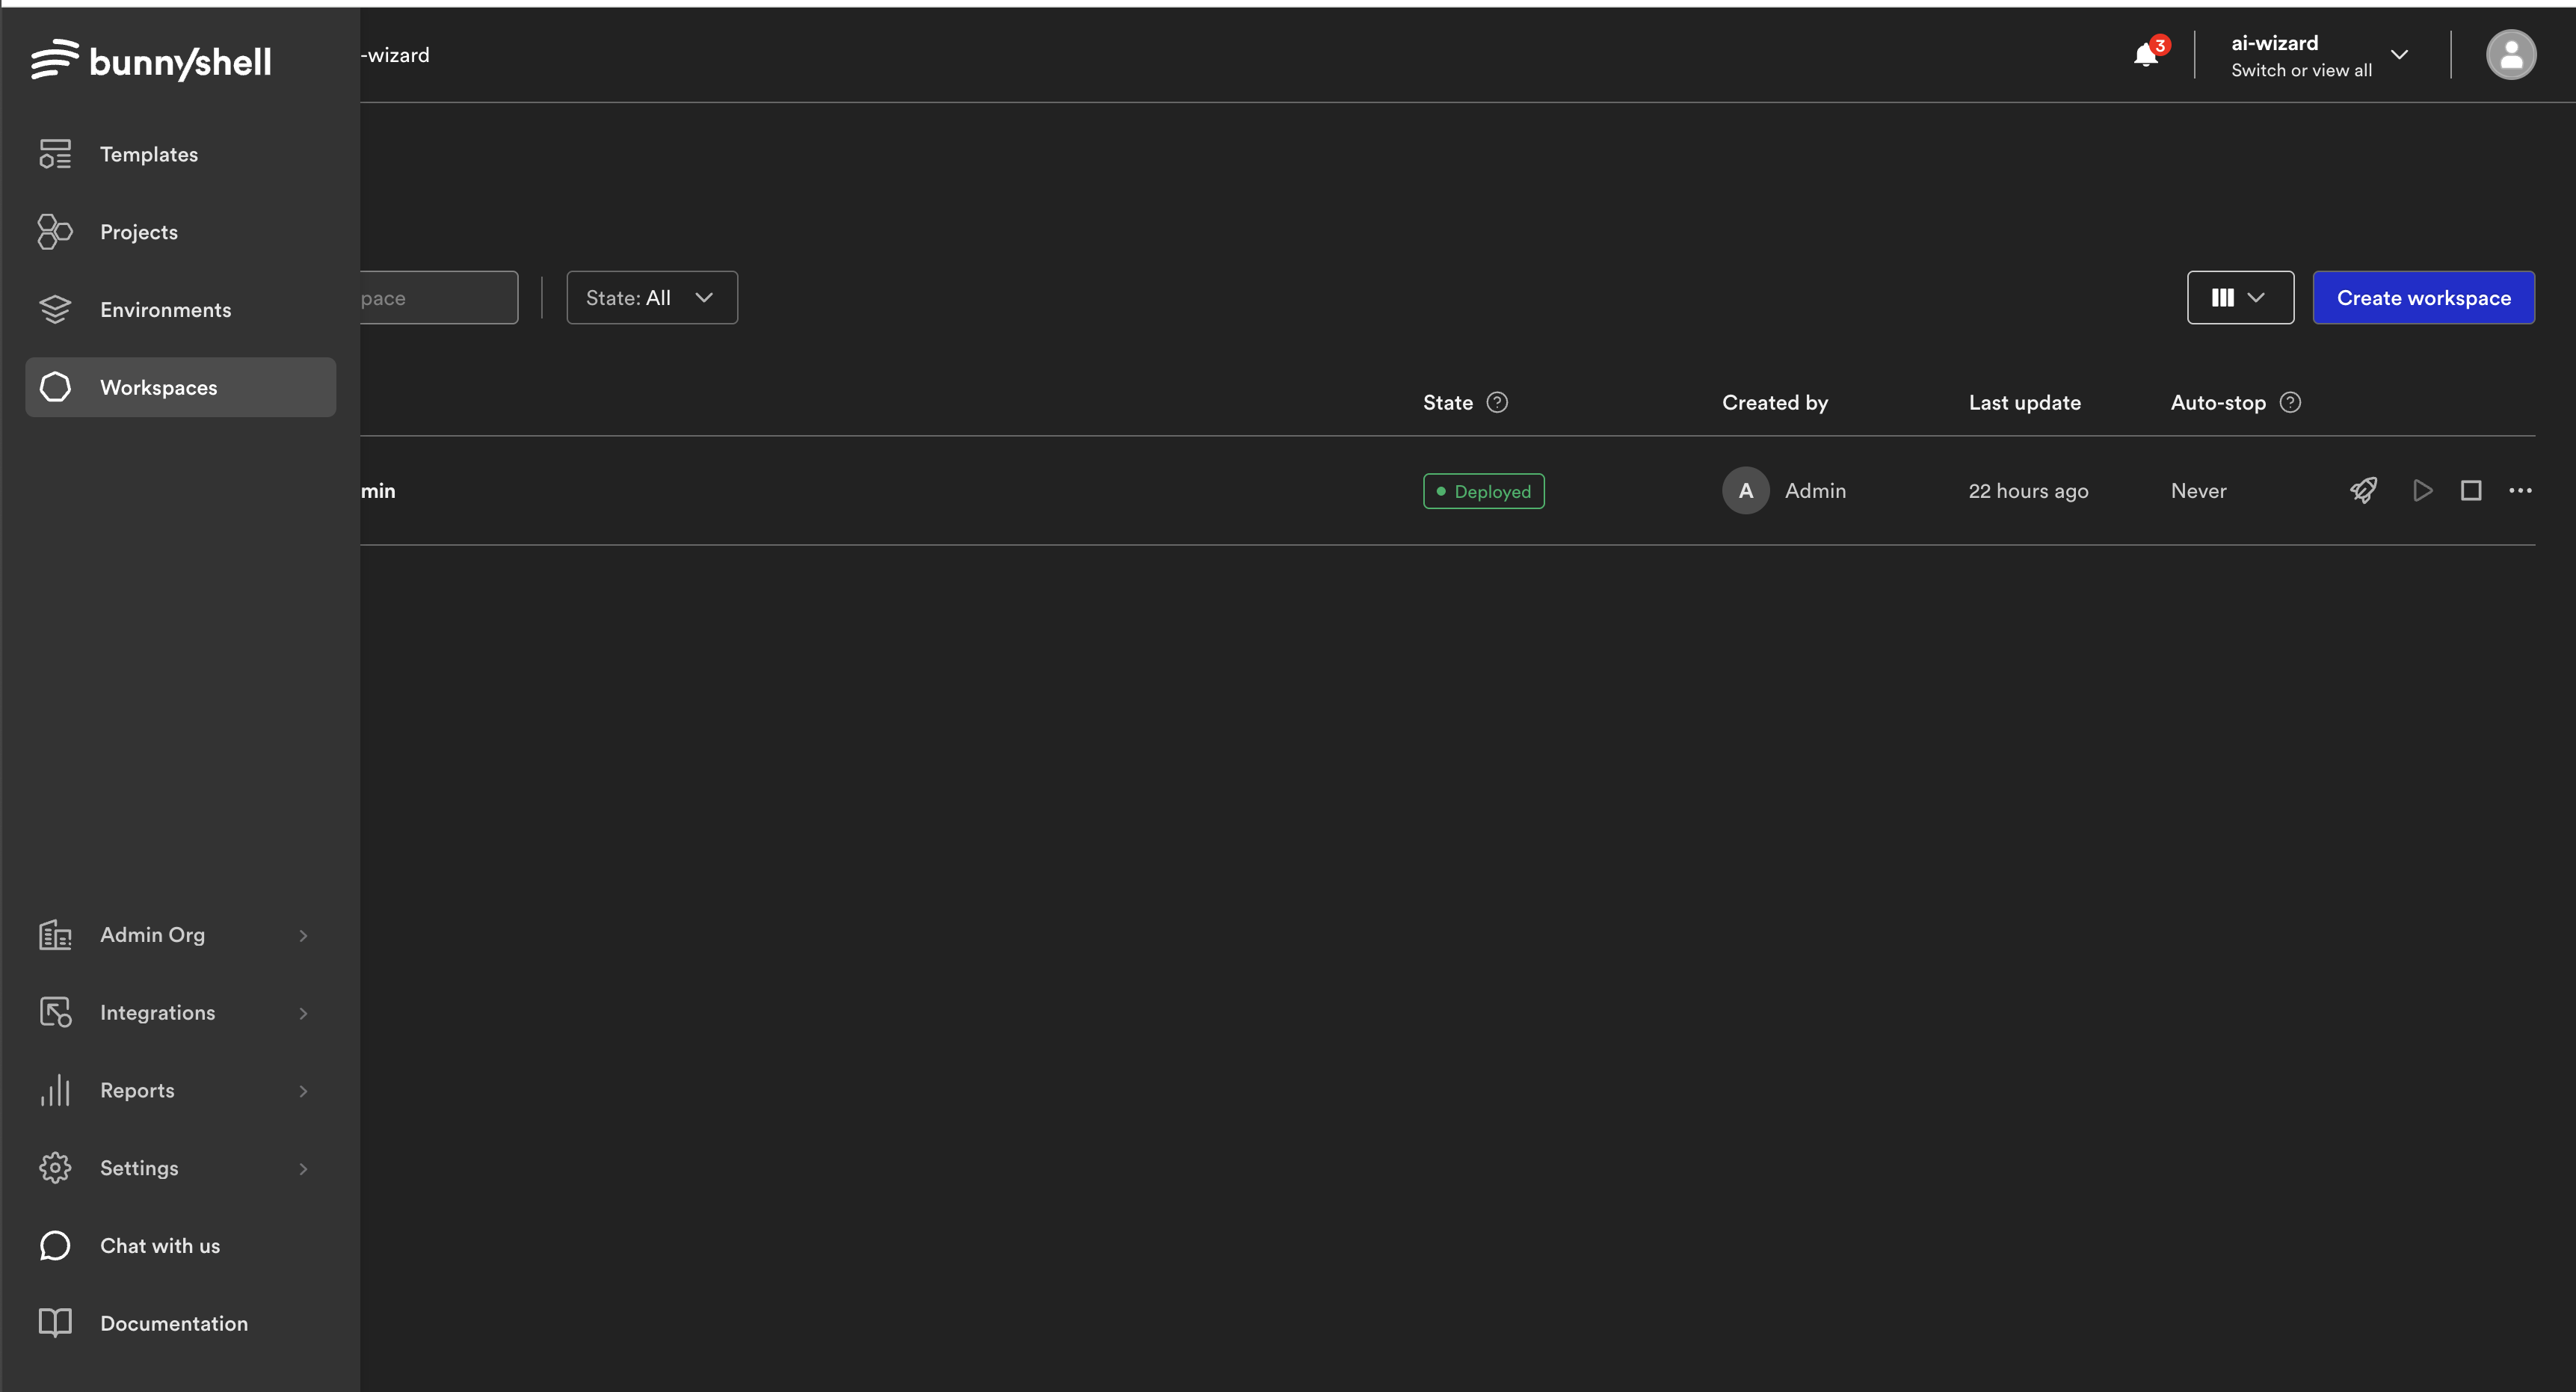
Navigate to the Workspaces section in the Bunnyshell dashboard.
-
Click "Create Workspace"
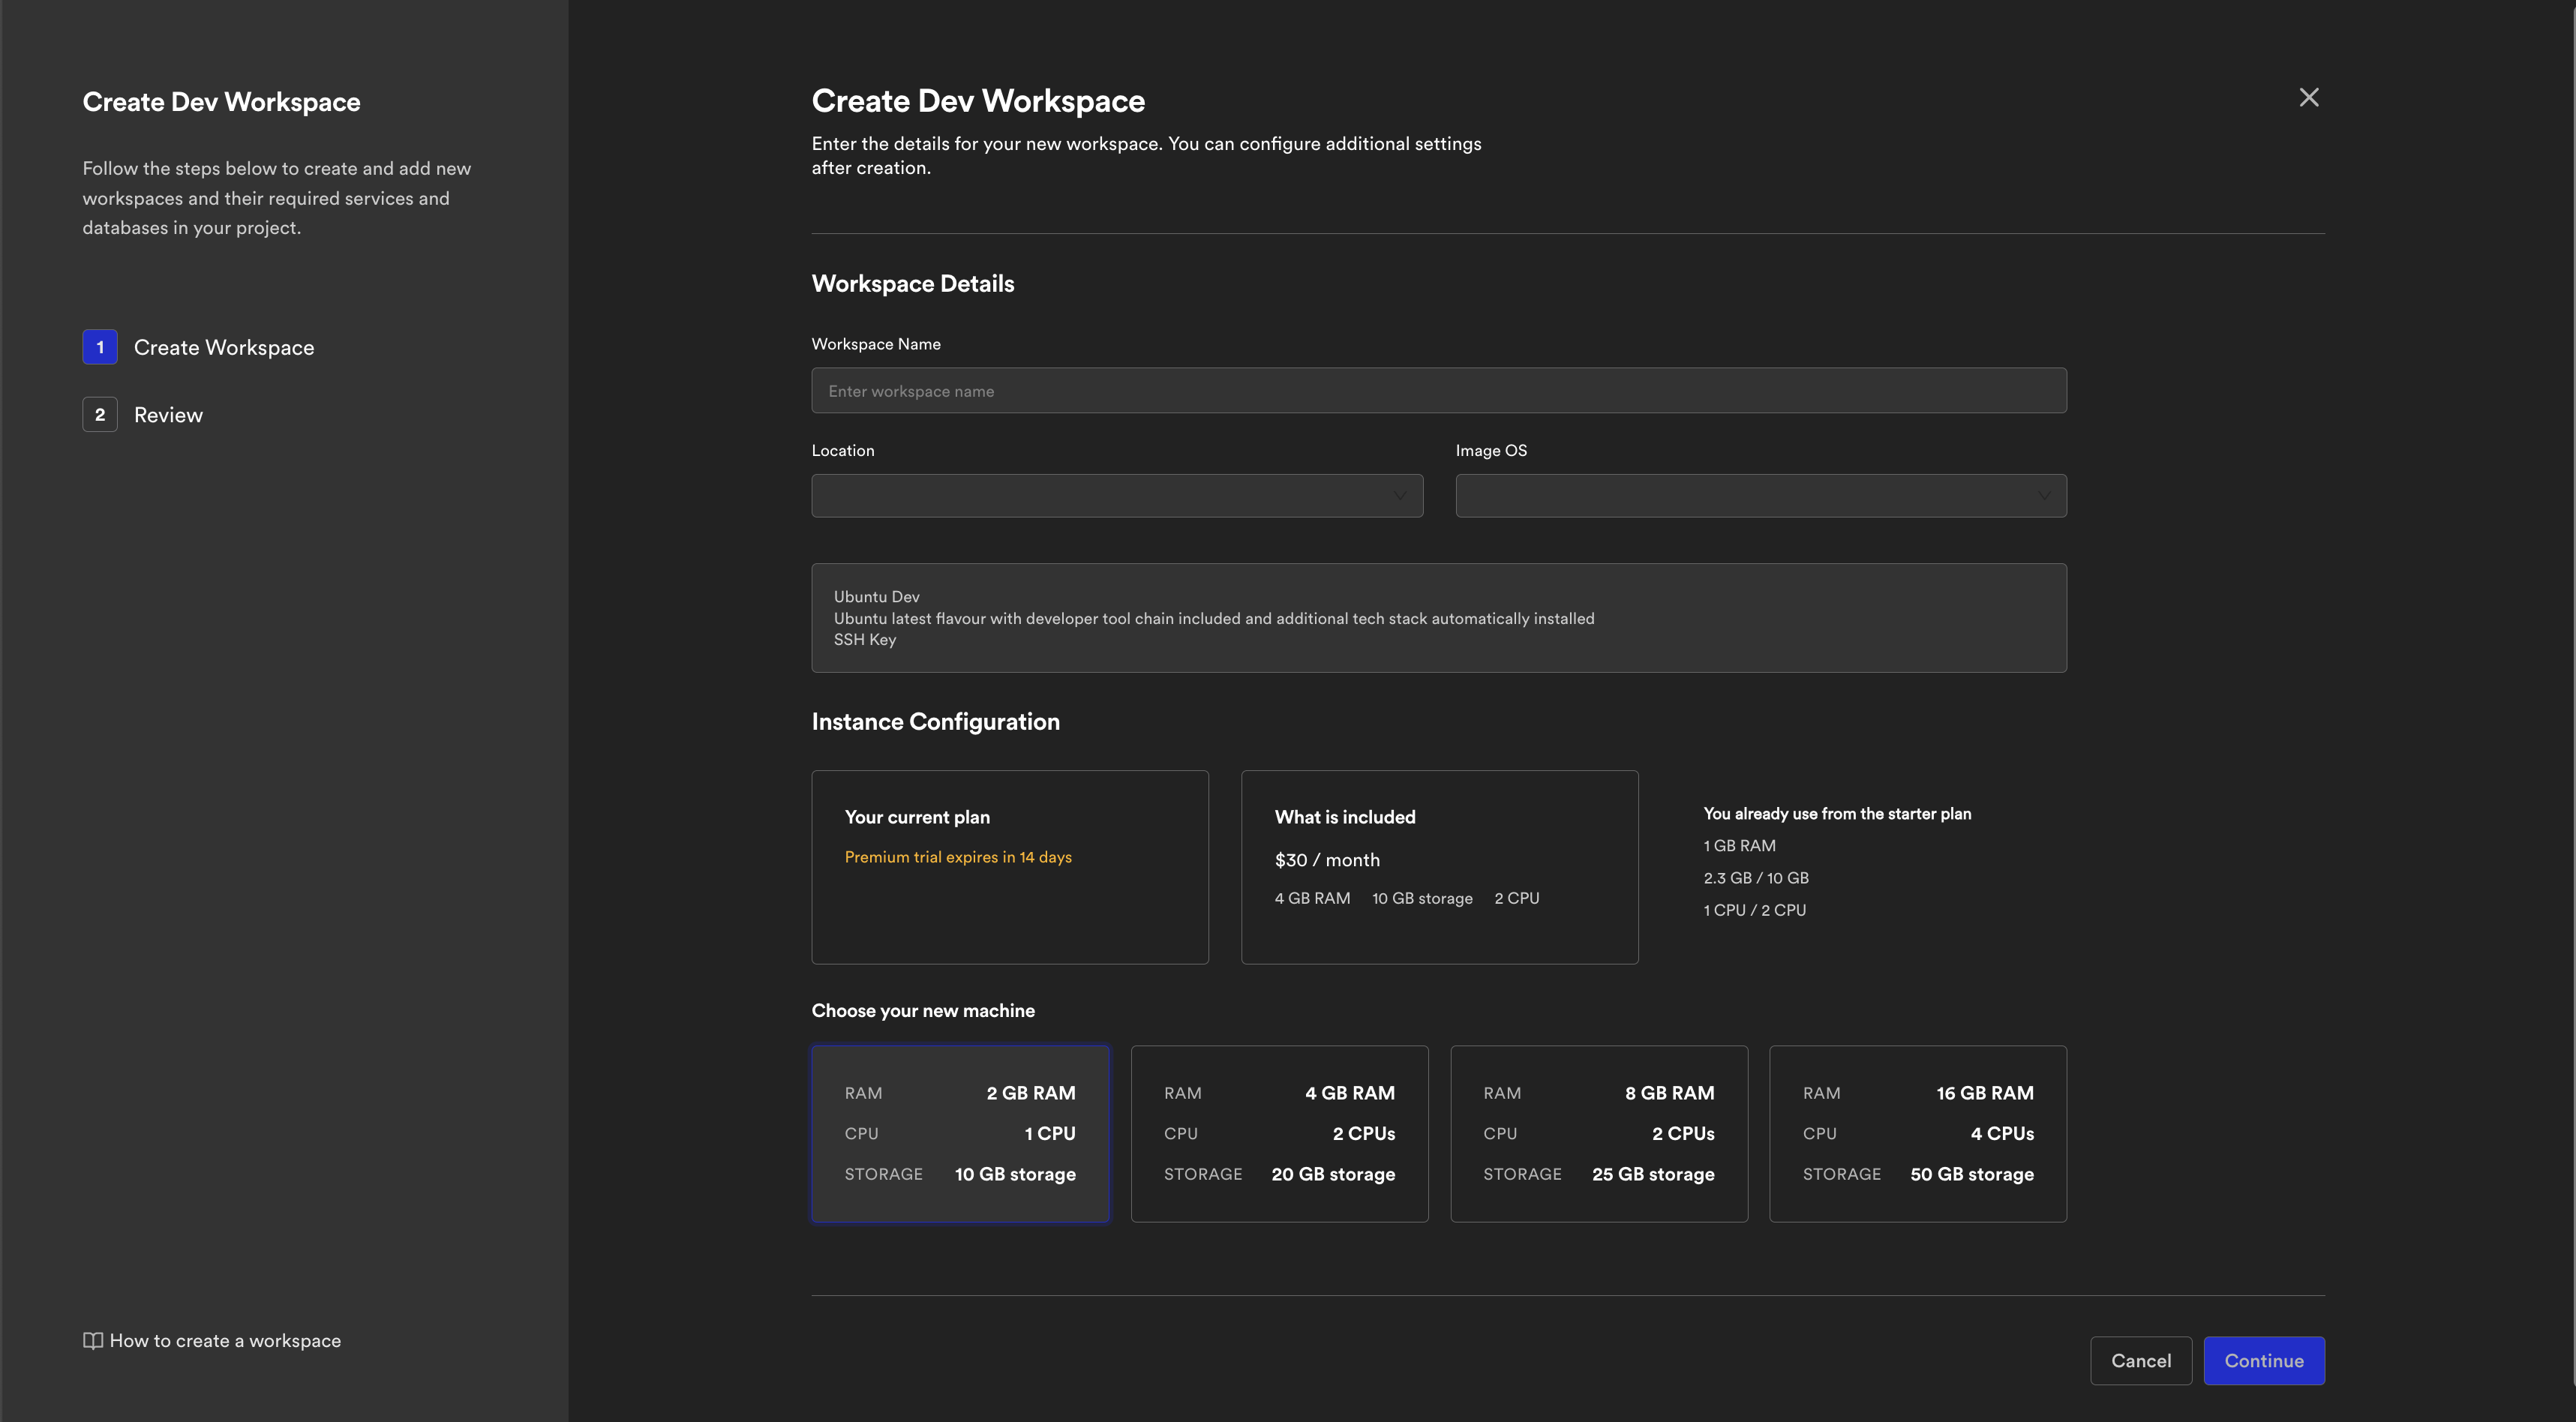
- Fill in Workspace Details:
- Workspace Name: Choose a name (e.g., api-dev-alin)
- Location: Select the datacenter region
- Image OS: Choose a base image. Default: Ubuntu Dev, includes full developer toolchain and runtimes
- Under Instance Configuration, select your machine size and click Continue.
- Review & Create
- Fill in Workspace Details:
📗 Option B: CLI
Use the bns workspace:create command with the following options:
bns workspace:create \
  --name my-dev-workspace \
  --image bunnyshell/dev-base:ubuntu-22.04-full \
  --location eu-1 \
  --size standard-2cpu-4gb-20gb
Available Images
- bunnyshell/dev-base:ubuntu-24.04-full – all runtimes and tools preinstalled
- bunnyshell/dev-base:ubuntu-24.04-slim – minimal image with no runtimes
- bunnyshell/dev-base:latest – points to latest stable
Connect via SSH or IDE
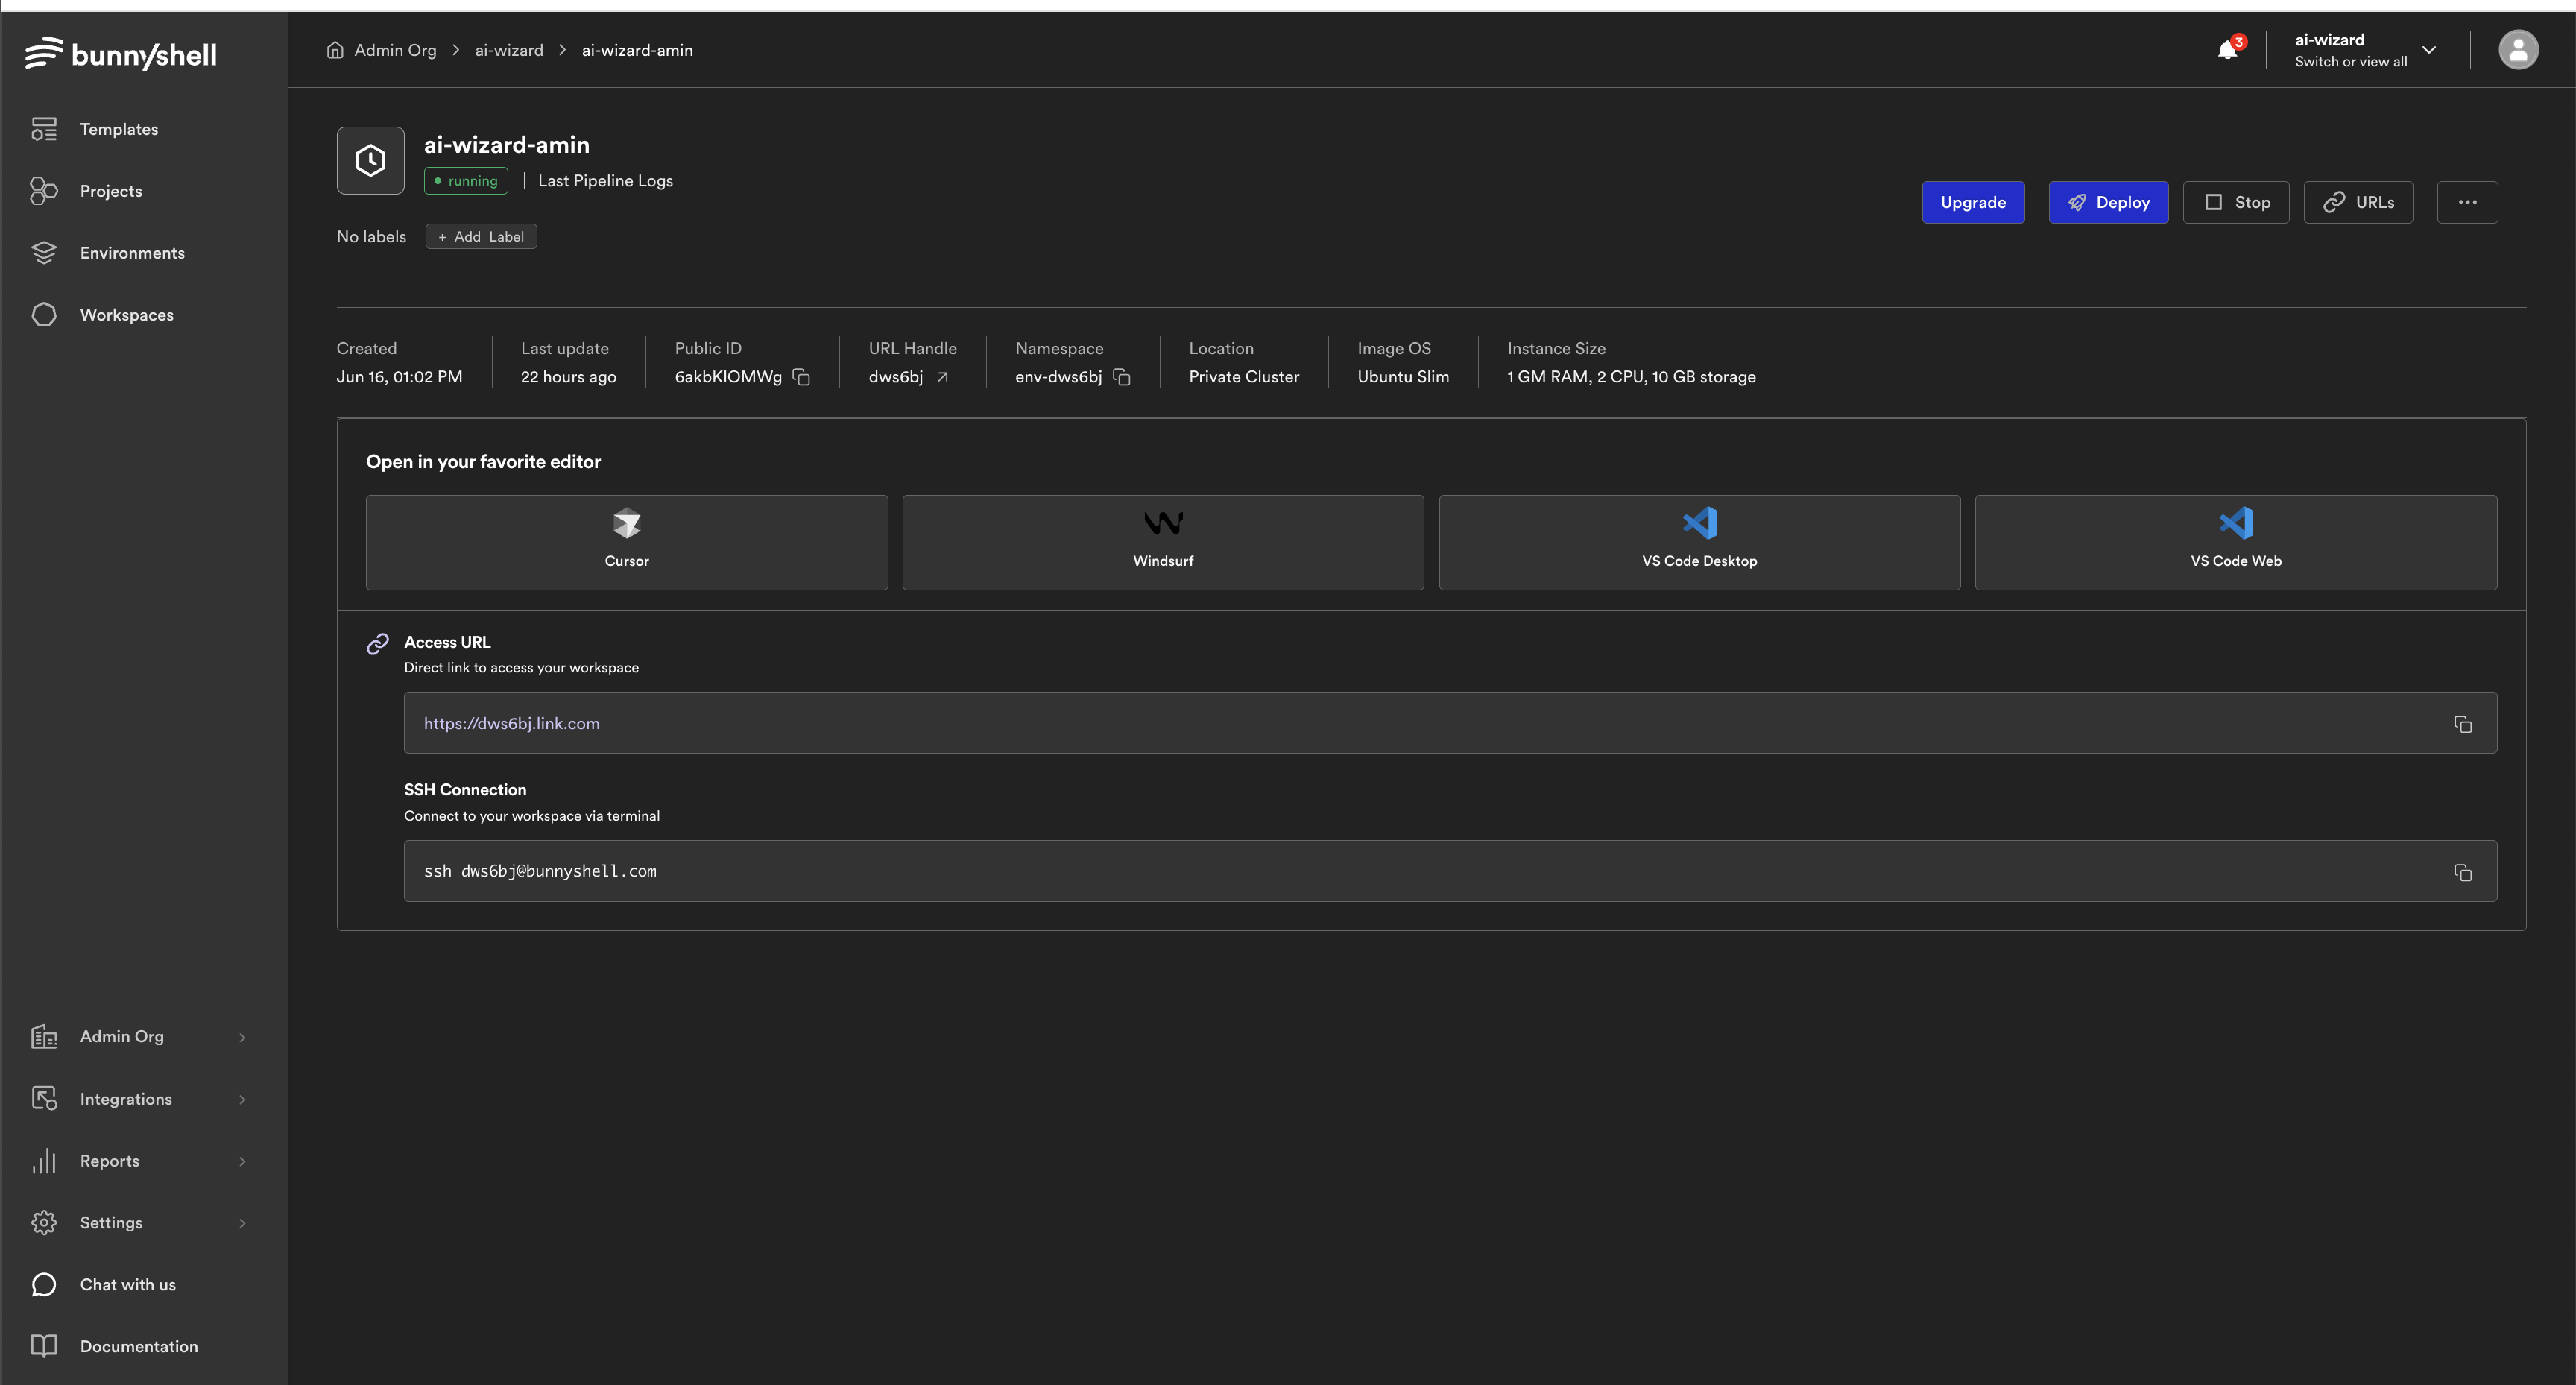
Once your workspace is in the Running state, you can connect to it using any supported editor or terminal.
🔗 Access from Bunnyshell UI
From the Workspace page, you’ll see quick access buttons for:
- Cursor
- Windsurf
- VS Code Desktop
- VS Code Web
Clicking any of these will open your workspace directly in that editor.
Each Bunnyshell Workspace VM is accessible via a shared SSH endpoint, using a dedicated port per workspace:
ssh -p <assigned_port> [email protected]For example:
ssh -p 31205 [email protected]This connects you to the VM as the bunnyshell user with full sudo access.
You can find the exact port for your VM in the Workspace view, under SSH Connection
VSCode/Cursor/Windsurf (Remote - SSH)
- Install the Remote - SSH extension in VSCode
- Open Command Palette → Remote-SSH: Connect to Host...
- Paste the following connection string when prompted:
ssh -p <port> [email protected]- Alternatively, you can save this config to ~/.ssh/config for reuse:
Host my-bunnyshell-workspace
    HostName ssh-1.hopx.dev
    Port 31205
    User bunnyshell
    IdentityFile ~/.ssh/bunnyshell_key
Then simply connect using:
ssh my-bunnyshell-workspaceJetBrains Gateway
- Open JetBrains Gateway
- Choose “Connect via SSH”
- Fill in the SSH details:
- Host:
ssh-1.hopx.dev - Port: your assigned port (e.g. 31205)
- User:
bunnyshell - SSH Key:
~/.ssh/bunnyshell_key
- Host: