Google Artifact Registry - Docker Repository
Introduction
Bunnyshell supports connecting Google Artifact Registries to your organization, allowing you to use those registries to store your container images and deploy them on Kubernetes clusters.
In order to connect GAR to Bunnyshell, you will need a service account with the following permissions:
artifactregistry.repositories.get: In order to pull images from the cluster after a deploymentartifactregistry.repositories.uploadArtifacts: In order to push images from component builds
RequirementIf you're just starting out with Google Cloud you will also need permissions to:
- Enable Google Artifact Registry within Google Cloud
- Create a GAR Docker Repository
- Optional: Create a dedicated Service Account
- Optional: Create a dedicated IAM role
Enable Google Artifact Registry within Google Cloud
-
Install the gcloud CLI using the instructions available here.
-
Enable Google Artifact Registry API using the command below.
gcloud services enable artifactregistry.googleapis.comCreate a GAR Docker Repository
You can skip this if you already have a GAR Docker Repository
- Create a GAR Docker Repository using the command below or using the Google Cloud UI:
gcloud artifacts repositories create "{REPOSITORY}" \
	--format json \
	--repository-format docker \
	\
	--project "{PROJECT}" \
	--location "{LOCATION}" \
;
gcloud artifacts repositories create "bunnyshell" \
--format json \
--repository-format docker \
--immutable-tags \
\
--project "bunnyshell-84194" \
--location "europe" \
;
NoteIn the example,
bunnyshell-84194is our Google Cloud Project ID.When creating a repository:
- Take note of the
repository, you will need to specify it when connecting the repository in Bunnyshell- Take note of the
location, you will need to specify it when connecting the repository in Bunnyshell- Make sure the repository format is
docker
Create a dedicated Service Account
You can skip this if you already have a dedicated Service Account which you can share with Bunnyshell
- Create a service account using the command below:
gcloud iam service-accounts create {USER}gcloud iam service-accounts create bunnyshell-access
NoteIn the example,
bunnyshell-accessis the Google Cloud User ID we used.
Grant access to GAR
- Grant the Service Account access to GAR:
gcloud projects add-iam-policy-binding "{PROJECT_ID}" \
	--member=serviceAccount:{USER}@{PROJECT_ID}.iam.gserviceaccount.com \
	--role=roles/artifactregistry.admin \
;
gcloud iam roles create {ROLE_NAME} \
--project={PROJECT_ID} \
--title="Bunnyshell GAR access" \
--description="Bunnyshell Google Artifact Registry access" \
--permissions=artifactregistry.repositories.get,artifactregistry.repositories.uploadArtifacts \
;
gcloud projects add-iam-policy-binding {PROJECT_ID} \
--member=serviceAccount:{USER}@{PROJECT_ID}.iam.gserviceaccount.com \
--role=projects/{PROJECT_ID}/roles/{ROLE_NAME} \
;Example
gcloud projects add-iam-policy-binding bunnyshell-84194 \
	--member=serviceAccount:[email protected] \
	--role=roles/artifactregistry.admin \
;
gcloud iam roles create bunnyshell-role \
--project=bunnyshell-84194 \
--title="Bunnyshell GAR access" \
--description="Bunnyshell Google Artifact Registry access" \
--permissions=artifactregistry.repositories.get,artifactregistry.repositories.uploadArtifacts \
;
gcloud projects add-iam-policy-binding bunnyshell-84194 \
--member=serviceAccount:[email protected] \
--role=projects/bunnyshell-84194/roles/bunnyshell-role \
;
NoteIn this case, bunnyshell-84194 is our Google Cloud Project ID.
Other predefined rules you can use include:
roles/artifactregistry.reader: If you only need to fetch images from GCProles/artifactregistry.writer: If Bunnyshell should also be used to build and push images to GCP
Retrieve your Project ID
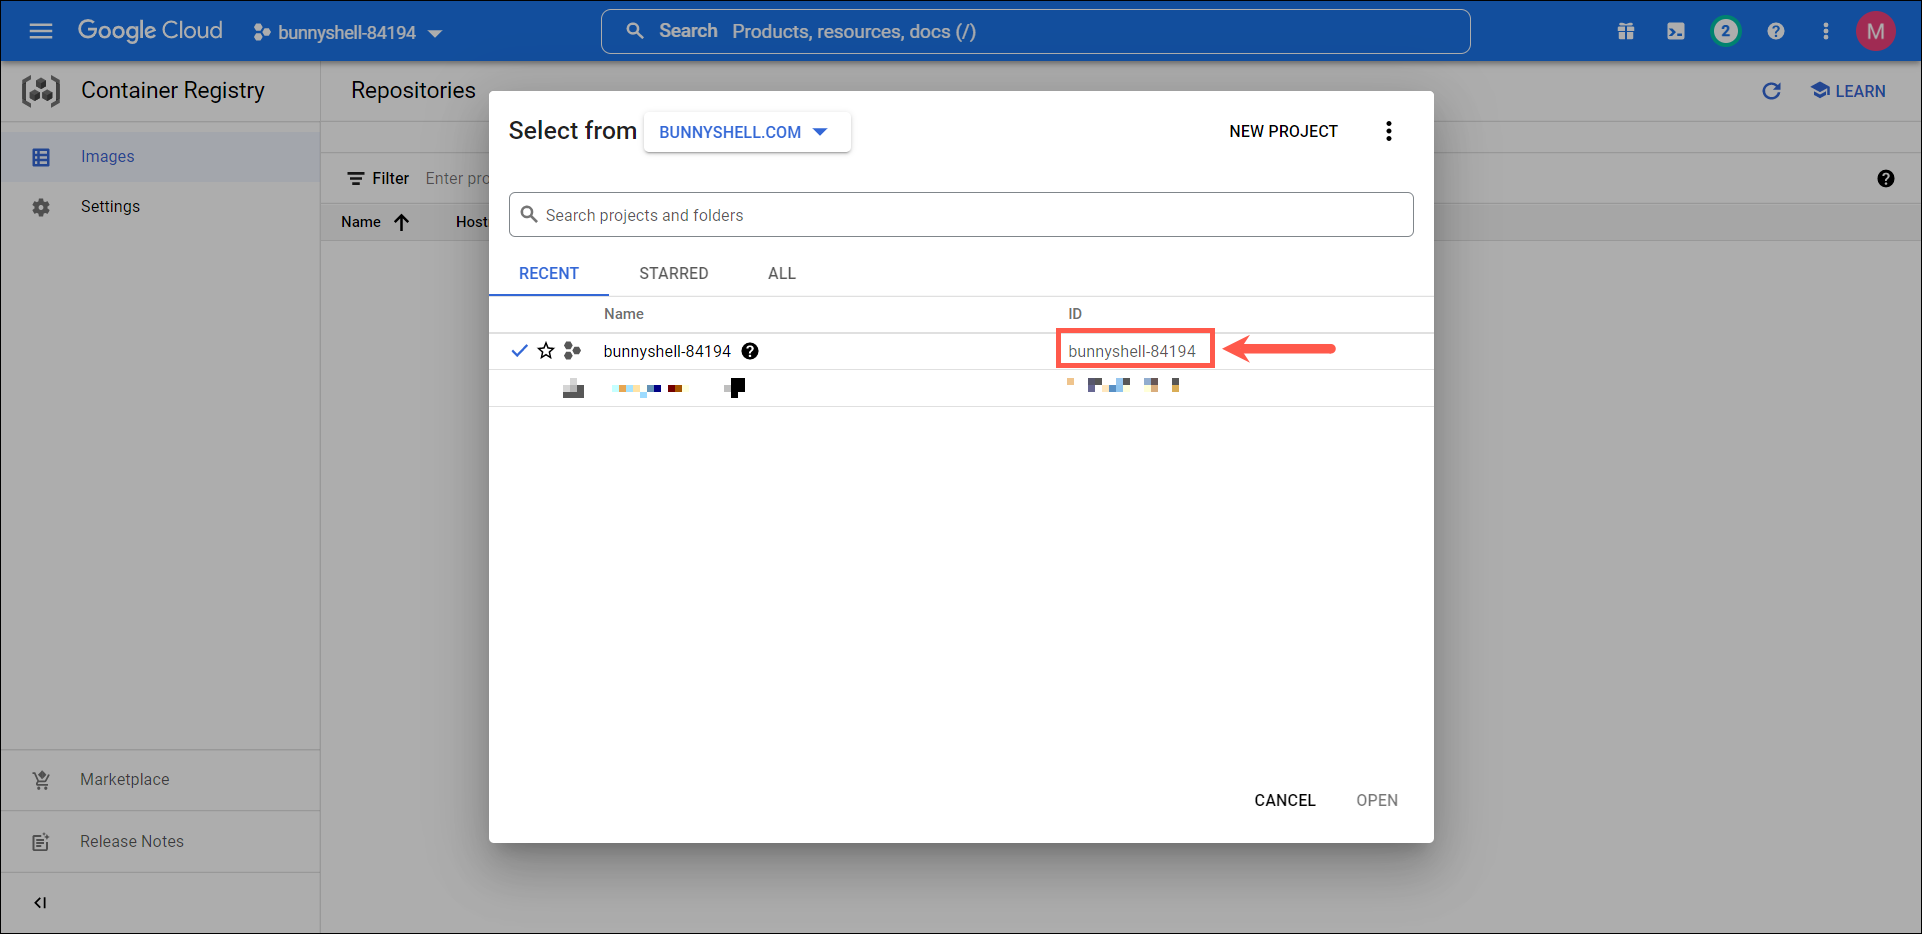
- The Project ID can be fetched by clicking on the {Project Name} in the top bar.

Retrieve a Service Account key
- Retrieve the Google Service Account key using the command below:
gcloud iam service-accounts keys create gsa-key.json \
	--iam-account={USER}@{PROJECT_ID}.iam.gserviceaccount.com \
;
gcloud iam service-accounts keys create gsa-key.json \
--iam-account=bunnyshell-access@bunnyshell-84194.iam.gserviceaccount.com \
;Connect your GAR Registry
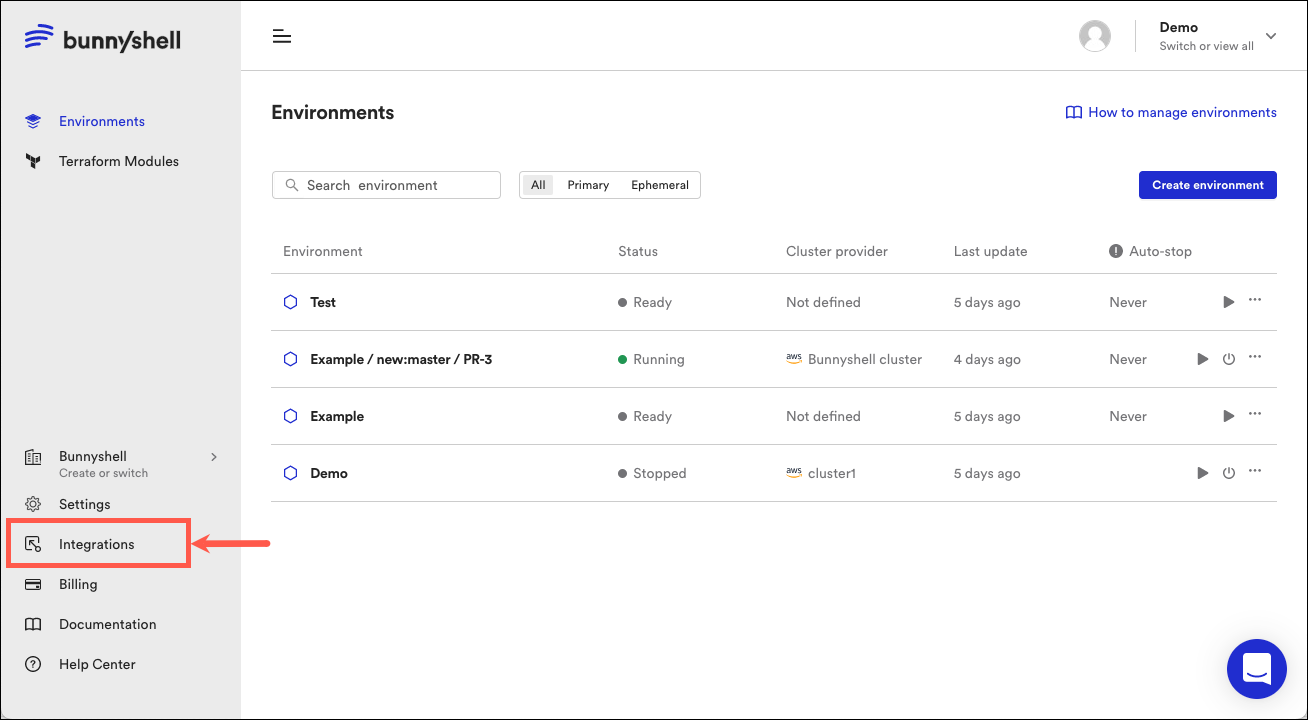
- Access the Bunnyshell interface and click the Integrations button on the left side.

-
Click Container Registries on the left-side menu.
-
Click the Connect container registry button and select Google Artifact Registry.
-
A new window will pop-up, where you will have to provide the following information:
- Registry Name: Choose what name your registry will have in Bunnyshell.
- Repository Name: The name of the repository as defined in Create a docker repository
- Region: The location of the repository, location where the image will be stored. More details about GAR regions are available on the Google Cloud documentation site.
NoteBunnyshell supports both single regions and multi regions such as US, EU or ASIA.
Check the official Google Cloud documentation on how multi regions are handled
- Service Account ID: Copy and paste the Google Service Account ID in this field.
NoteIf you have a Google Service Account already created, the ID is the string before the @ in the email address.
Example:
In the address[email protected], the string bunnyshell-access is the Google Service Account ID.
- Project ID: Fetched by clicking on the Project Name in Google Cloud interface.
How to retrieve the Project ID. - Google Service Account Key (JSON): Copy and paste the contents of gsa-key.json inside this field.
How to retrieve the Google Service Account Key.
Updated 6 months ago
