GCP Docker-compose volumes
Introduction
For Google Cloud, Bunnyshell supports the following types of volumes:
ReadWriteOnce(Disk) volumesReadWriteMany(Network) volumes
In this article we will show you how to create Disk and Network Volumes.
Bunnyshell Volumes Add-onBunnyshell can help you create these StorageClasses in the Bunnyshell Volumes Add-on, with a universal recipe, which works on any cluster.
If you need extra configurations on the StorageClasses or you want to use custom GCP solutions, see below the manual setup. Don't forget to disable the StorageClass from Add-on, so Bunnyshell won't update your manually configured class.
Prerequisites
- Make sure
gcloudis installed - https://cloud.google.com/sdk/docs/install + https://cloud.google.com/sdk/docs/initializing - Make sure
gcloudis authorised - https://cloud.google.com/sdk/docs/authorizing - Make sure you're connected to the cluster and that the cluster is the current context. Install kubectl and configure cluster access
- Before creating your Storage Class in Google Cloud, make sure you have the following predefined roles:
- Kubernetes Engine Viewer
- Kubernetes Engine Admin
- Project IAM Admin
The command below helps you list all available GC storage classes present in the cluster, with information that can be used to create a new CSI:
kubectl get scUpon using the previous command, you should receive the following Output:
NAME                     PROVISIONER                    RECLAIMPOLICY   VOLUMEBINDINGMODE      ALLOWVOLUMEEXPANSION   AGE
premium-rwo              pd.csi.storage.gke.io          Delete          WaitForFirstConsumer   true                   2d20h
premium-rwx              filestore.csi.storage.gke.io   Delete          WaitForFirstConsumer   true                   2d20h
standard                 kubernetes.io/gce-pd           Delete          Immediate              true                   2d20h
standard-rwo (default)   pd.csi.storage.gke.io          Delete          WaitForFirstConsumer   true                   2d20h
standard-rwx             filestore.csi.storage.gke.io   Delete          WaitForFirstConsumer   true                   2d20h
Steps to create Disk Volumes
The steps detailed below will help you create a Disk (ReadWriteOnce) Volume:
Setting the proper contextStarting here, you will work in the terminal. Make sure you're connected to the cluster and that the cluster is the current context. Use the command kubectl config --help to obtain the necessary information.
- To create a storage class, first enter the content below in the
csi.yamlfile:
apiVersion: storage.k8s.io/v1
kind: StorageClass
metadata:
  name: bns-disk-sc
provisioner: pd.csi.storage.gke.io
parameters:
  type: pd-balanced
volumeBindingMode: WaitForFirstConsumer
allowVolumeExpansion: true
Disk and machine types supported for Zonal and Regional persistent disks
- Zonal Persistent Disks. The table below shows disk types and machine types supported for Zonal persistent disks.
| Disk type | Supported machine types |
|---|---|
| pd-standard | All machine types |
| pd-balanced | All machine types |
| pd-ssd | All machine types |
| pd-extreme | n2-standard with 64 or more vCPUs, n2-highmem-64, n2-highmem-80, m1-megamem-96, m2-ultramem-208, m2-ultramem-416 |
- Regional Persistent Disks. The following table shows disk types and machine types support for regional persistent disks:
| Disk type | Supported machine types |
|---|---|
| pd-standard | N1, N2, N2D, E2 |
| pd-balanced | N1, N2, N2D, E2 |
| pd-ssd | N1, N2, N2D, E2 |
- Apply the
csi.yamlfile
kubectl apply -f csi.yaml// OUTPUT
storageclass.storage.k8s.io/bns-disk-sc created- Verify the presence of the bns-disk-sc storage class using the command below:
kubectl get sc// OUTPUT
NAME PROVISIONER RECLAIMPOLICY VOLUMEBINDINGMODE ALLOWVOLUMEEXPANSION AGE
bns-disk-sc pd.csi.storage.gke.io Delete WaitForFirstConsumer true 25m
NoteRead more about this on the Google Cloud documentation website.
Steps to create Network Volumes
To demonstrate how to create a Network (ReadWriteMany)volume, we will use Google Cloud Filestore (an NFS implementation) in the following example:
-
Open the Filestore page using this link.
-
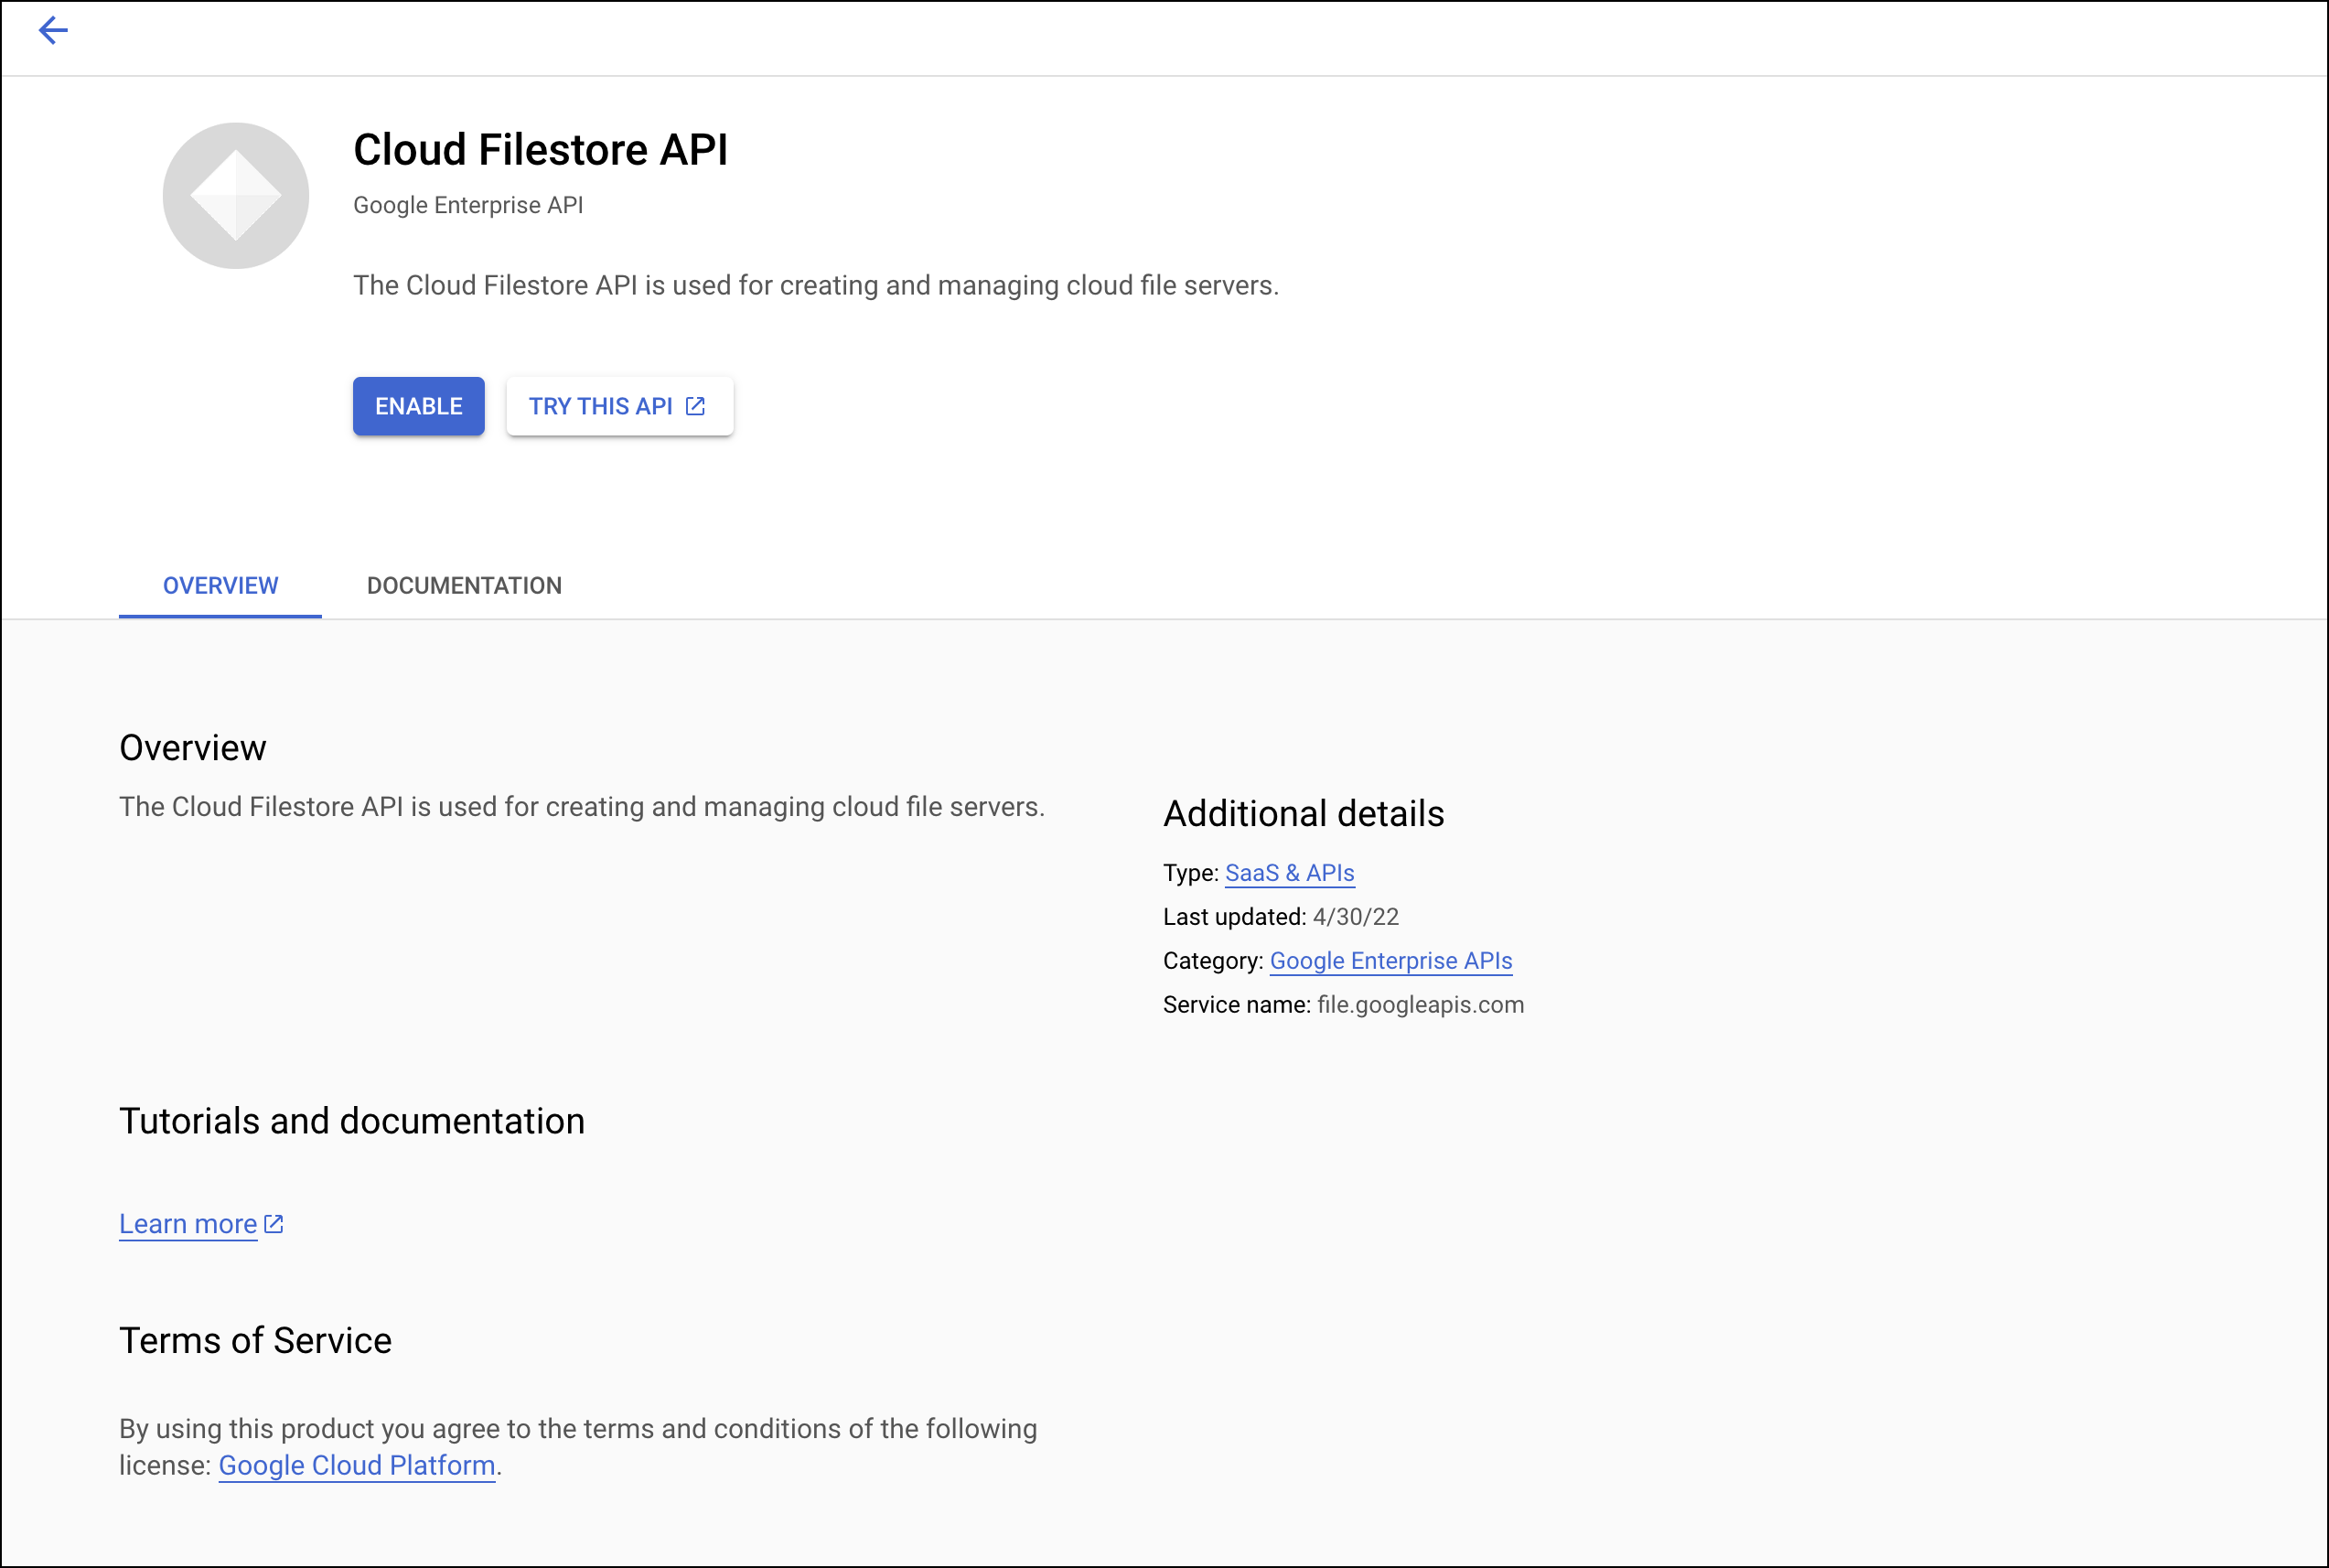
Enable Cloud Filestore API by clicking the Enable button.

- Click CREATE INSTANCE. You can now retrieve the Google Filestore file path and the Google Filestore private IP. Wait until the instance reaches the Ready status.

Setting the proper contextStarting here, make sure you're connected to the cluster and that the cluster is the current context. Use the command kubectl config --help to obtain the necessary information.
- It's time to install the CSI driver using a Helm chart. Start with the command below:
➜ helm repo add nfs-subdir-external-provisioner https://kubernetes-sigs.github.io/nfs-subdir-external-provisioner/// OUTPUT
"nfs-subdir-external-provisioner" has been added to your repositoriesNow perform the following command:
Note
- Replace the FILESTORE_IP with the Google Filestore private IP
- Replace the FILESTORE_PATH with the Google Filestore file path
➜ helm install nfs-subdir-external-provisioner nfs-subdir-external-provisioner/nfs-subdir-external-provisioner \
      --set nfs.server=FILESTORE_IP \
      --set nfs.path=/FILESTORE_PATH \
--set storageClass.name=bns-network-sc// OUTPUT
NAME: nfs-subdir-external-provisioner
LAST DEPLOYED: Thu Jul 21 12:03:06 2022
NAMESPACE: default
STATUS: deployed
REVISION: 1
TEST SUITE: None- Verify the presence of the bns-network-sc storage class using the command below:
kubectl get sc// OUTPUT
NAME PROVISIONER RECLAIMPOLICY VOLUMEBINDINGMODE ALLOWVOLUMEEXPANSION AGE
bns-network-sc cluster.local/nfs-subdir-external-provisioner Delete Immediate true 117s
NoteRead more on the Google Cloud docs platform.
Updated 6 months ago
