Creating and Deploying your first Environment
Introduction
Bunnyshell makes it easy for you to create full-stack environments, going from simple static websites to some of the most complex applications.
An Environment is a user-defined group that brings together applications and all of the services and databases those applications require, running within a namespace.
Environments typically represent the software project lifecycle stages, such as staging, development, QA, or production.
NoteBefore you get started, make sure you sign up for a Bunnyshell account and choose one of the available plans.
Prerequisites
- You have created an Organization. An organization enables team collaboration on multiple projects and easy management of global configurations.
- You have created a Project. Projects make it easy for you to organize your work and help teams separate different resources, such as apps, services, or databases.
- A Github, Gitlab, or Bitbucket account, as well as an application with a
docker-compose.ymlor apackage.jsonfile in the root. Find out more here.
Follow the instructions below to deploy your own environment.
1. Creating an environment
Select a Project from the main Bunnyshell interface and click Create environment. Give it a name that is easily recognizable by anyone in your team and click Create environment.

2. Defining your Environment Components
Once the environment has been created, it's time to define the environment components and configuration. To add an application in the environment click on Create application in the environment view.
Application Repository
Select a repository from your VCS that you'd like to use to create your application. If you haven't yet connected your Git provider, you can do it now.

Review Environment Components
When a repository is selected, Bunnyshell will analyze the specified branch on that repo to find all the applications and their required dependencies (services and databases). This information is gathered from either docker-compose.yaml or package.json.
Review all of the detected services to ensure they are correct. If you are missing a service, review your docker-compose.yaml or package.json file. If this looks correct, you can click Continue.

Environment configuration validation
In this step, you can review and, if necessary, modify the Environment definition file. Click Create application after reviewing or editing.
The bunnyshell.yaml file is a single editable record, representing the entire environment definition, including Applications / Services / Databases.

Your primary environment is now defined and ready to be deployed.
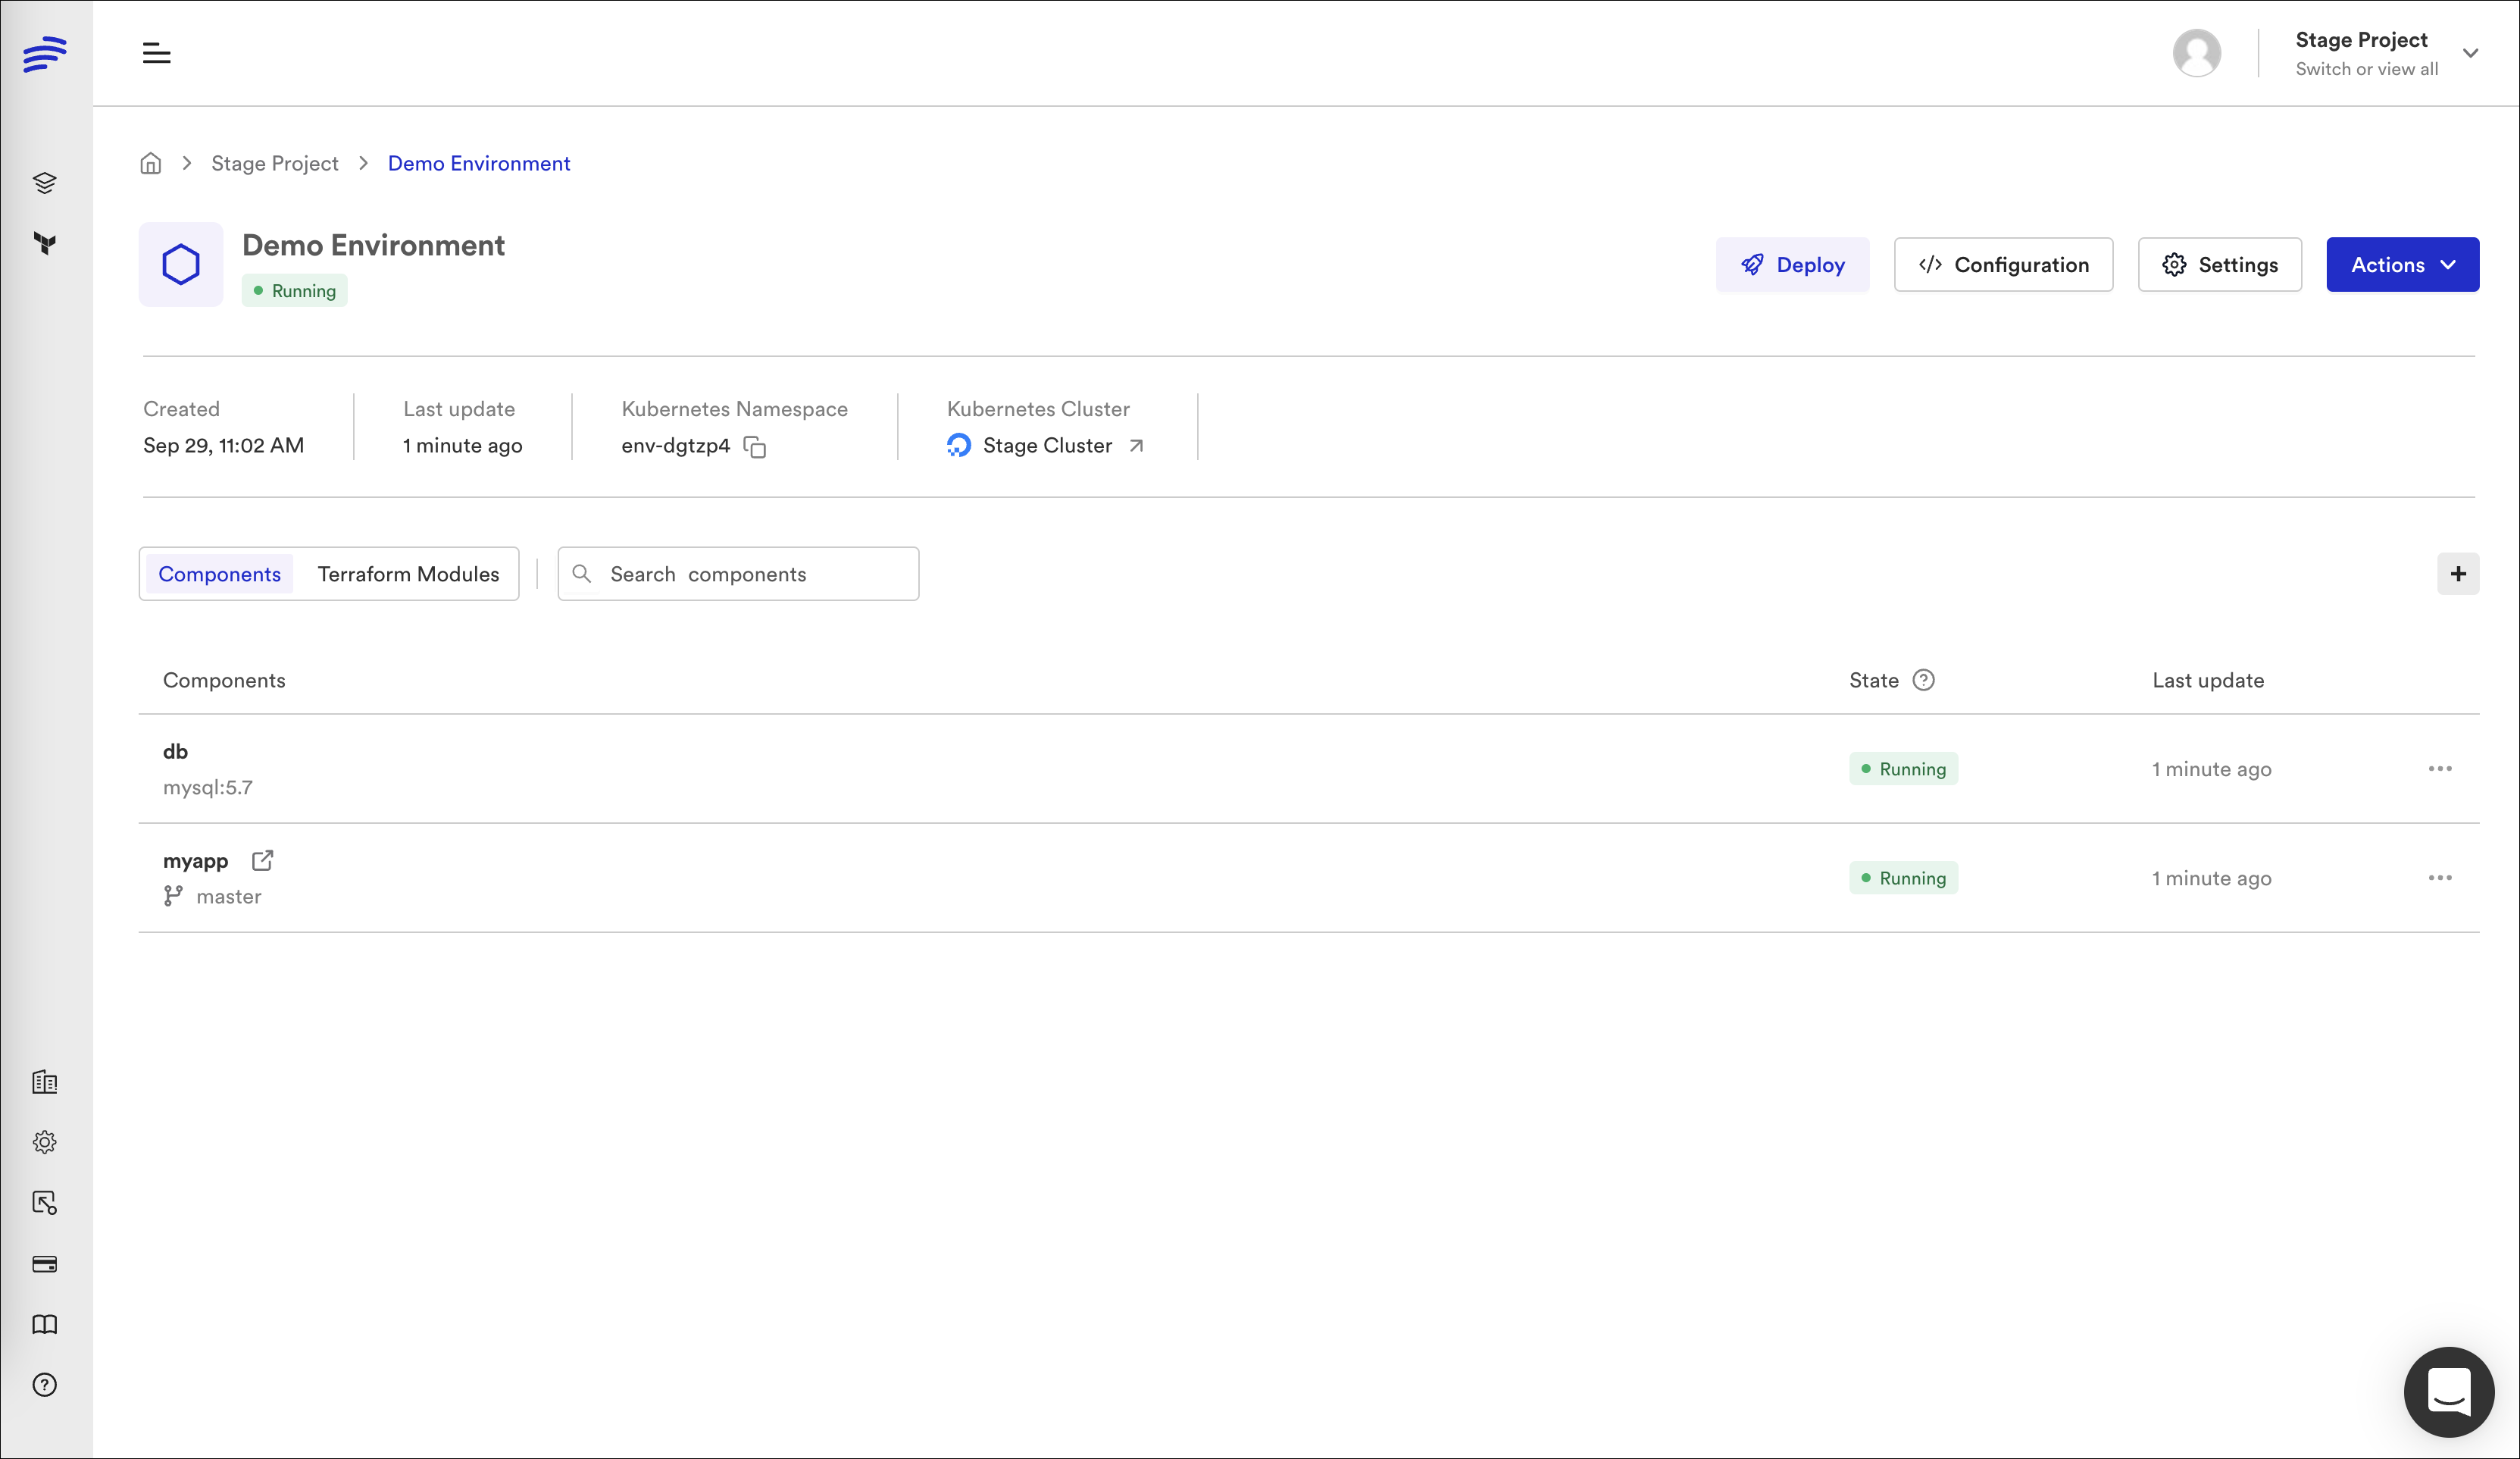
3. Deploying your environment
- Access your environment and click the Deploy button. The Select cluster window is displayed.
- Select the Kubernetes cluster where you want to deploy the environment and click Deploy Environment. Congratulations! Bunnyshell deployed the environment and now your application is live and testable by everybody within your team.
NoteIn case you encounter errors after deploying your environment, access the logs for more information regarding potential issues. Find out more about troubleshooting environments here.
Updated 11 months ago