Deploy the Environment
After you saved the bunnyshell.yaml by editing the Configuration of your environment, all that is left to do is deploy the Environment.
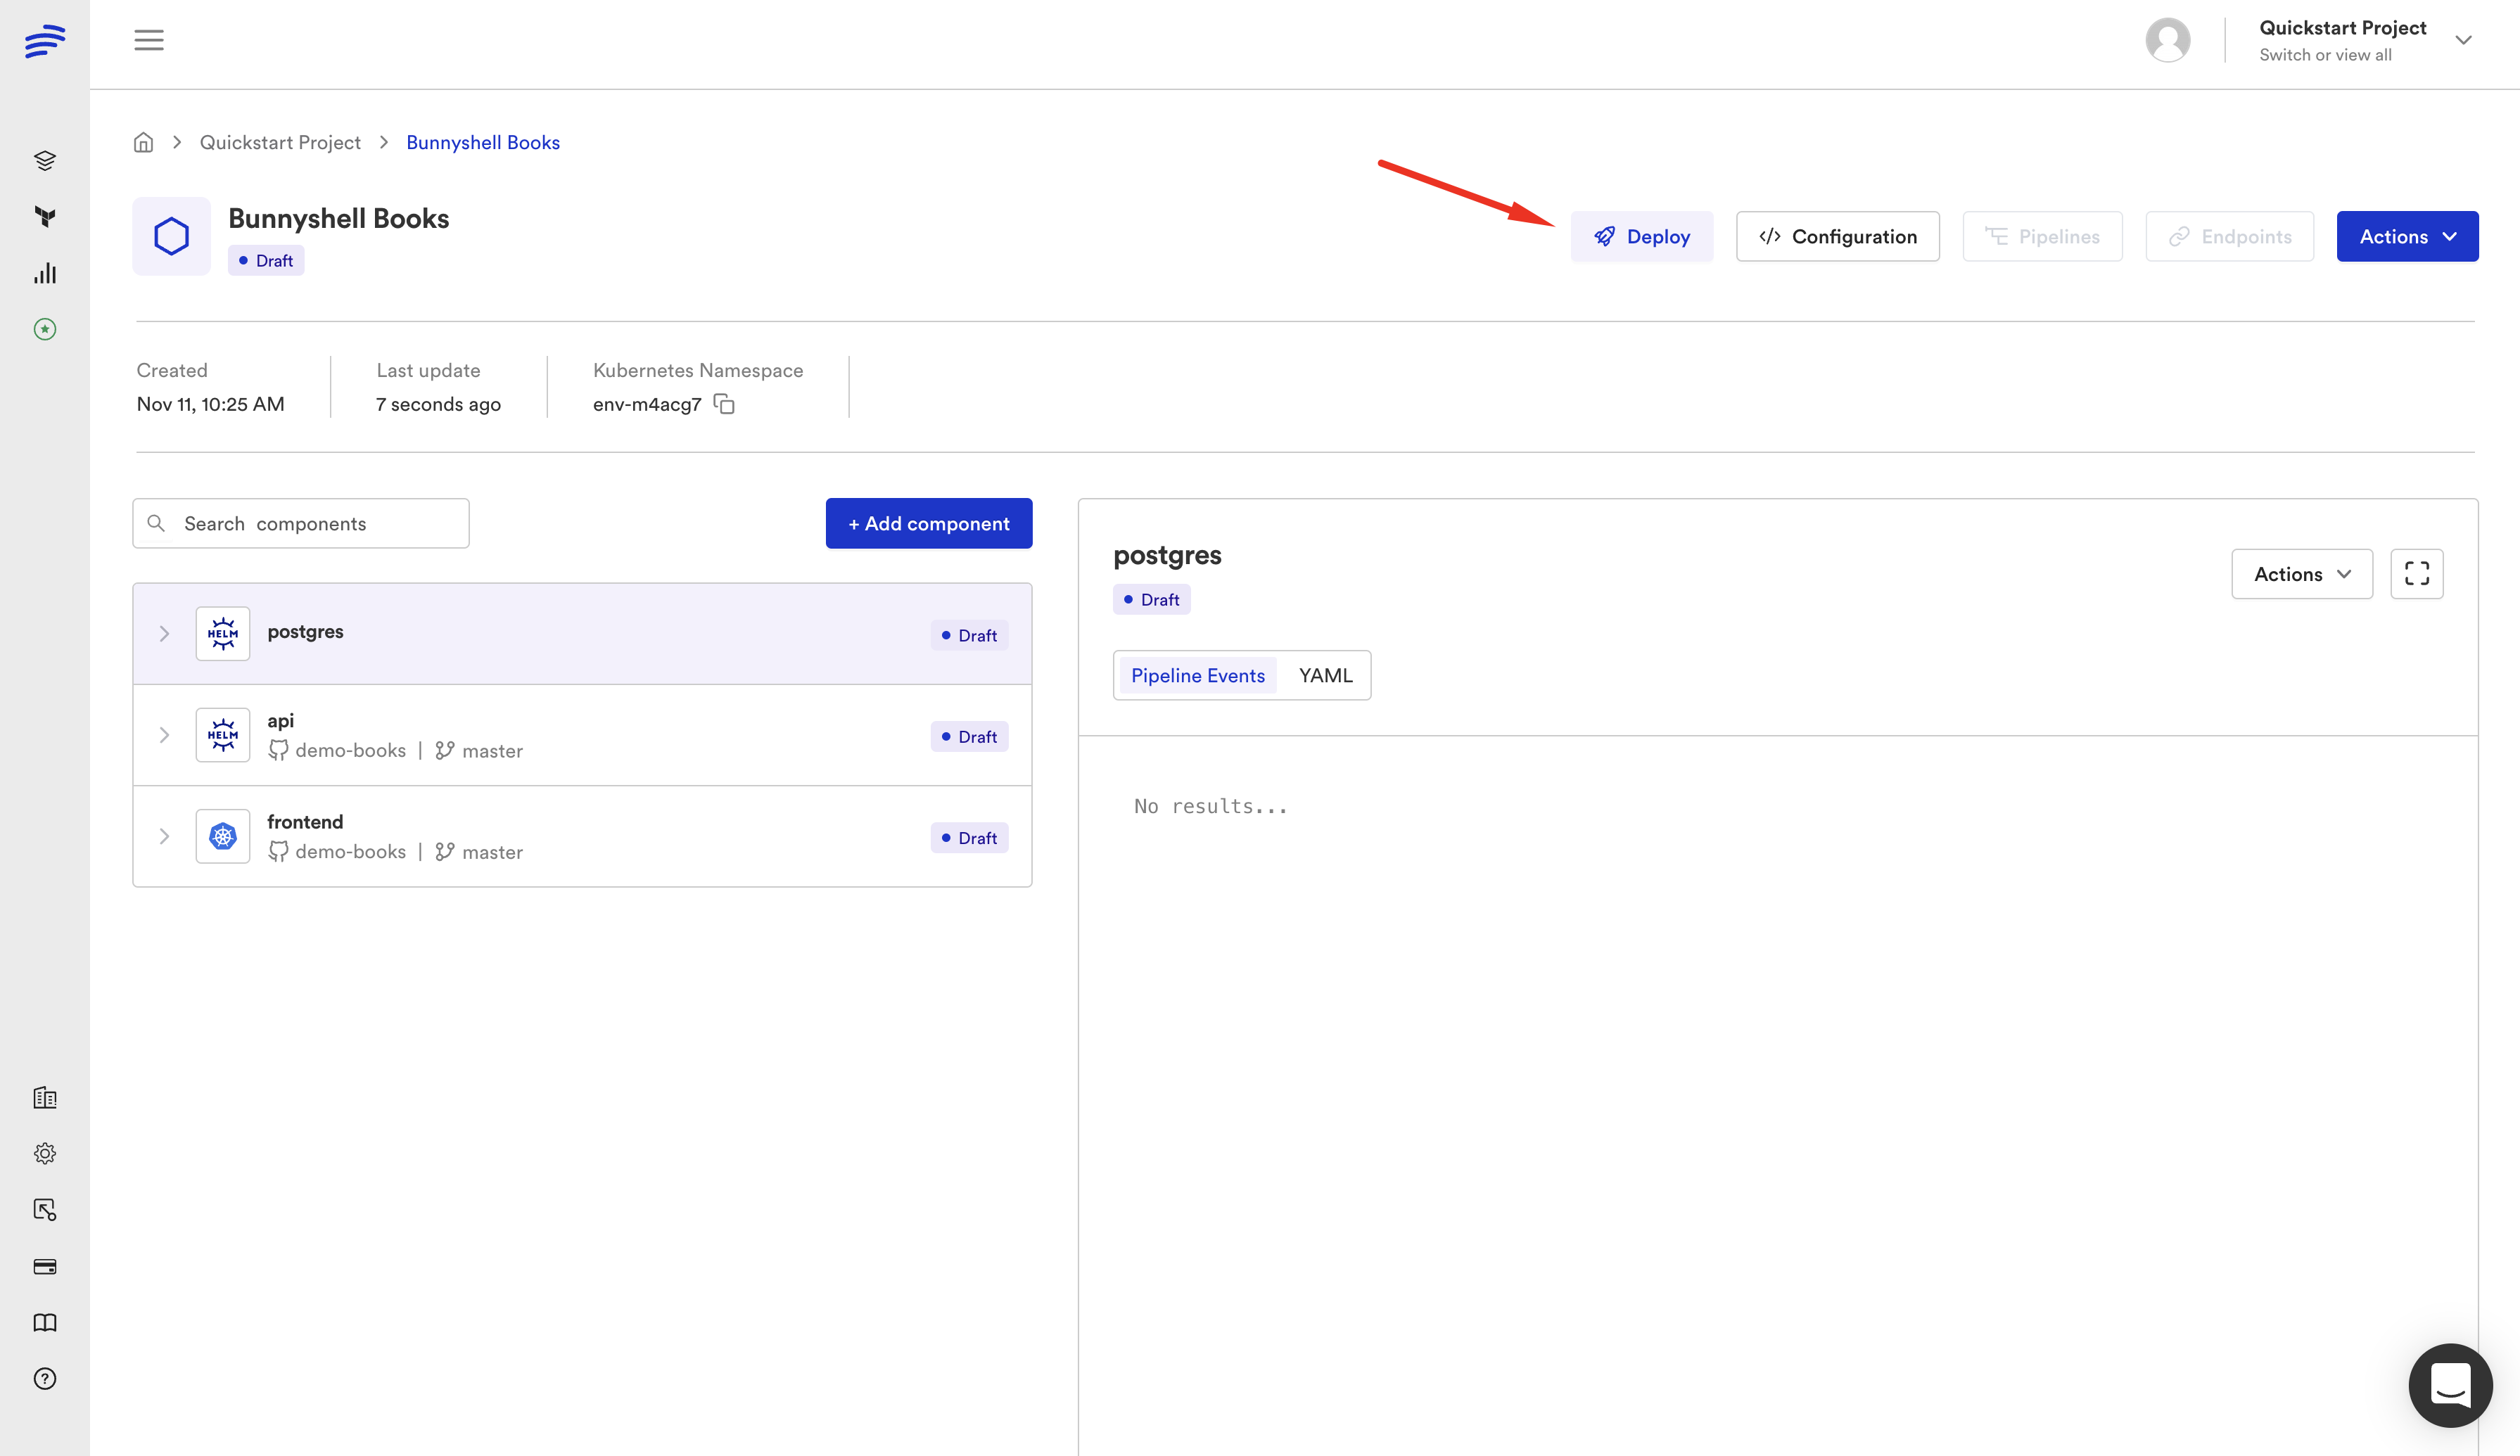
- In the Environment Details page, click Deploy. The Select cluster window is displayed.

-
Select a Kubernetes Cluster you previously connected and click Deploy Environment.
-
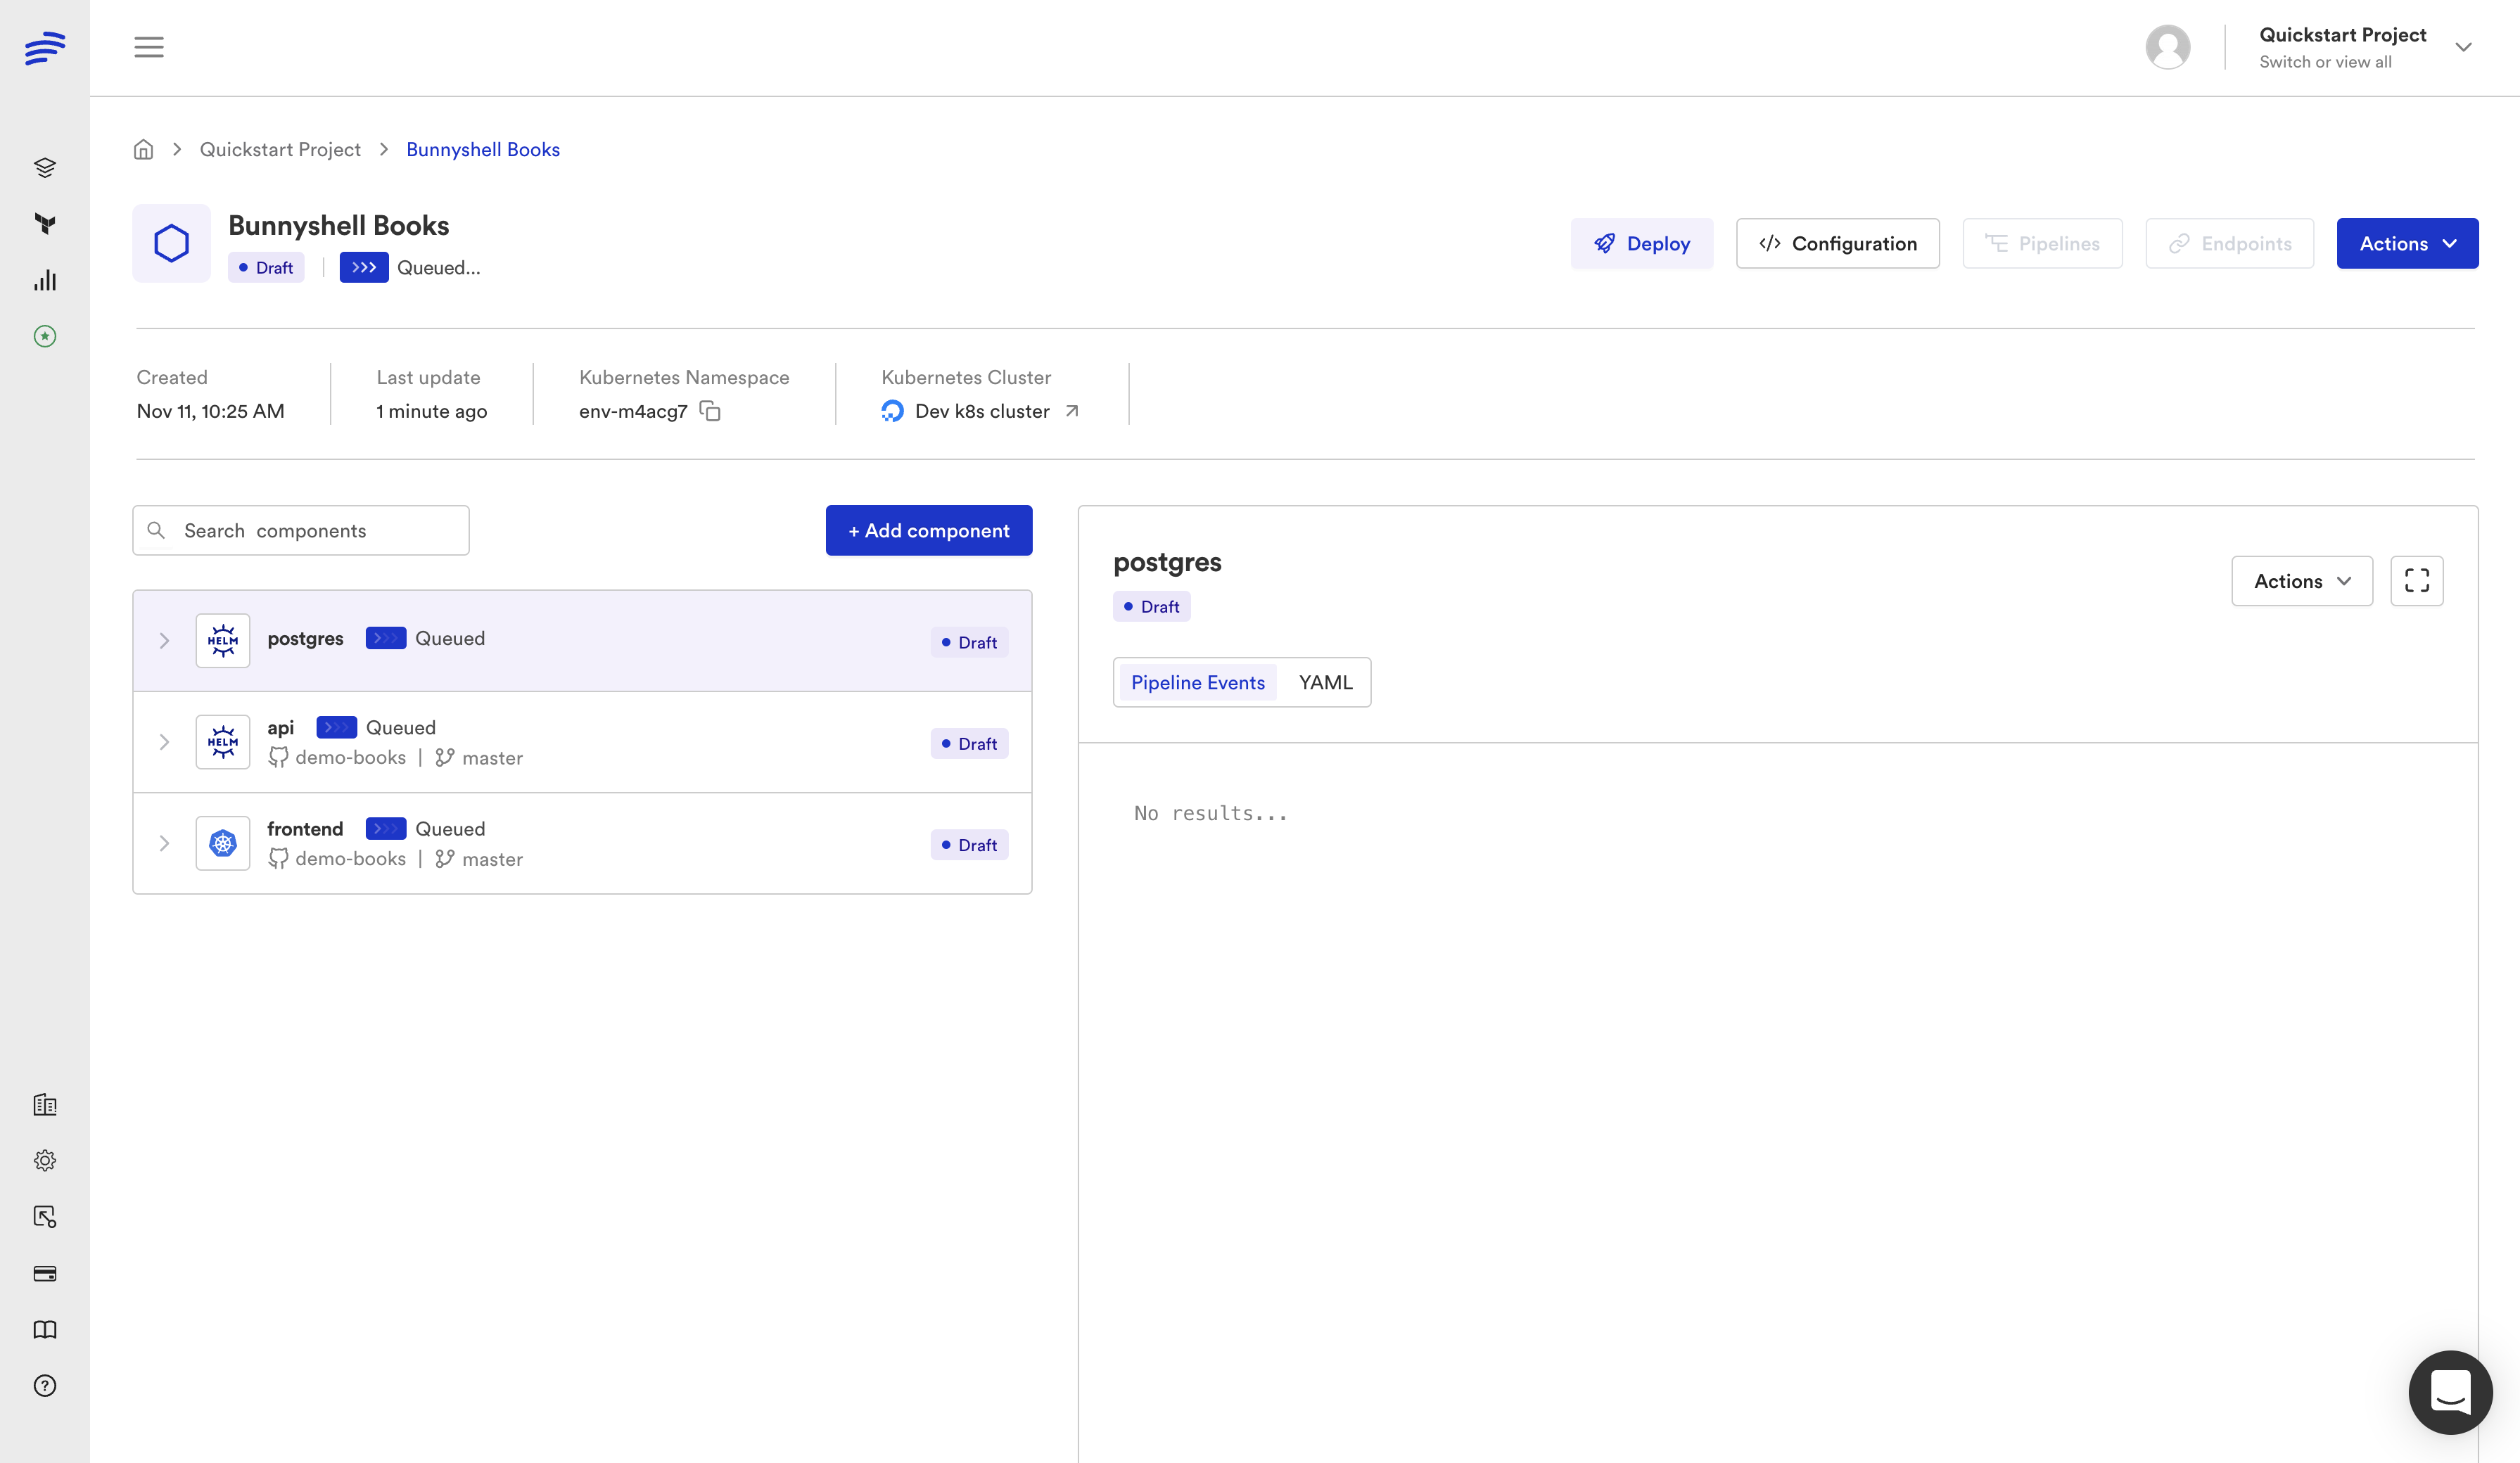
Now all you have to do this wait for Bunnyshell to finish the process. The Environment will become Queued initially, waiting for a Bunnyshell worker to free up. As soon as one becomes available, the Build process will begin. The build process might take a few minutes to complete.

- After the build is complete, the
HelmandKubernetesManifestComponents will be deployed.
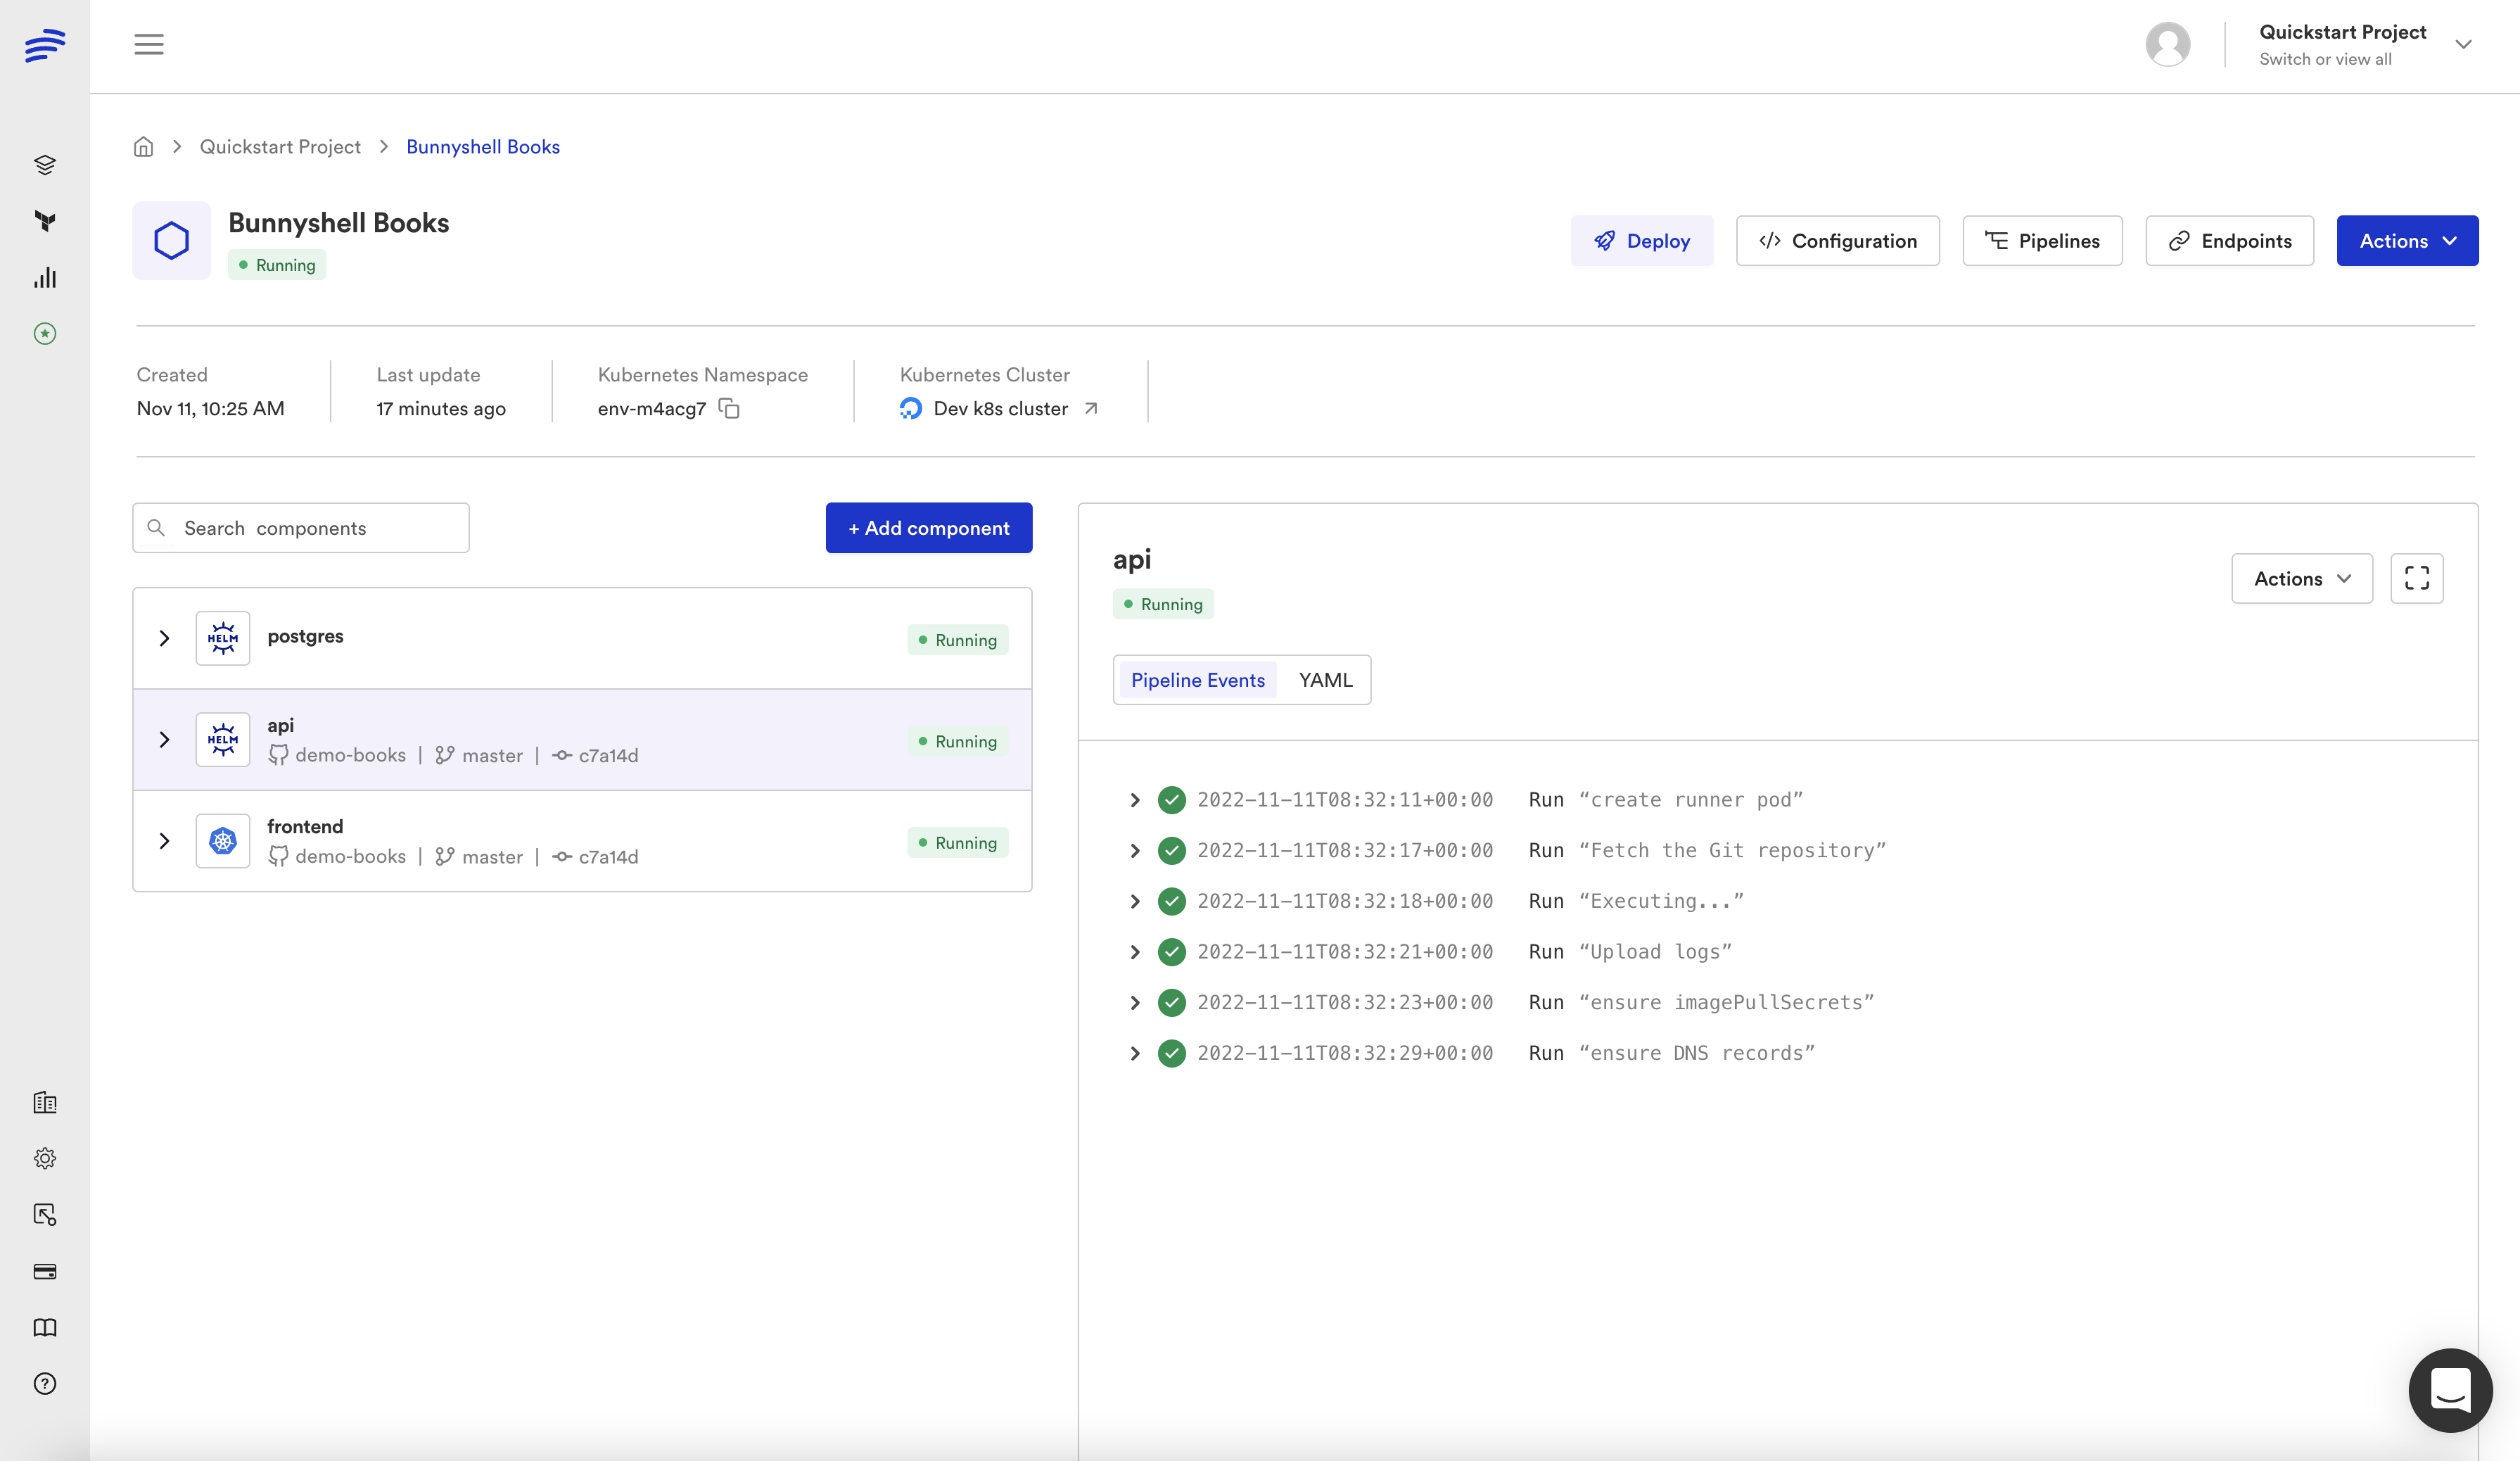
Once the Kubernetes Deployment for each Component is completed, the DNS records are created for your freshly-generated URLs. Then, Bunnyshell waits for the Kubernetes resources to be up and running.
After this is completed, the Environment will become Running.

You can access services with existing endpoints by clicking on the icons located next to their names.
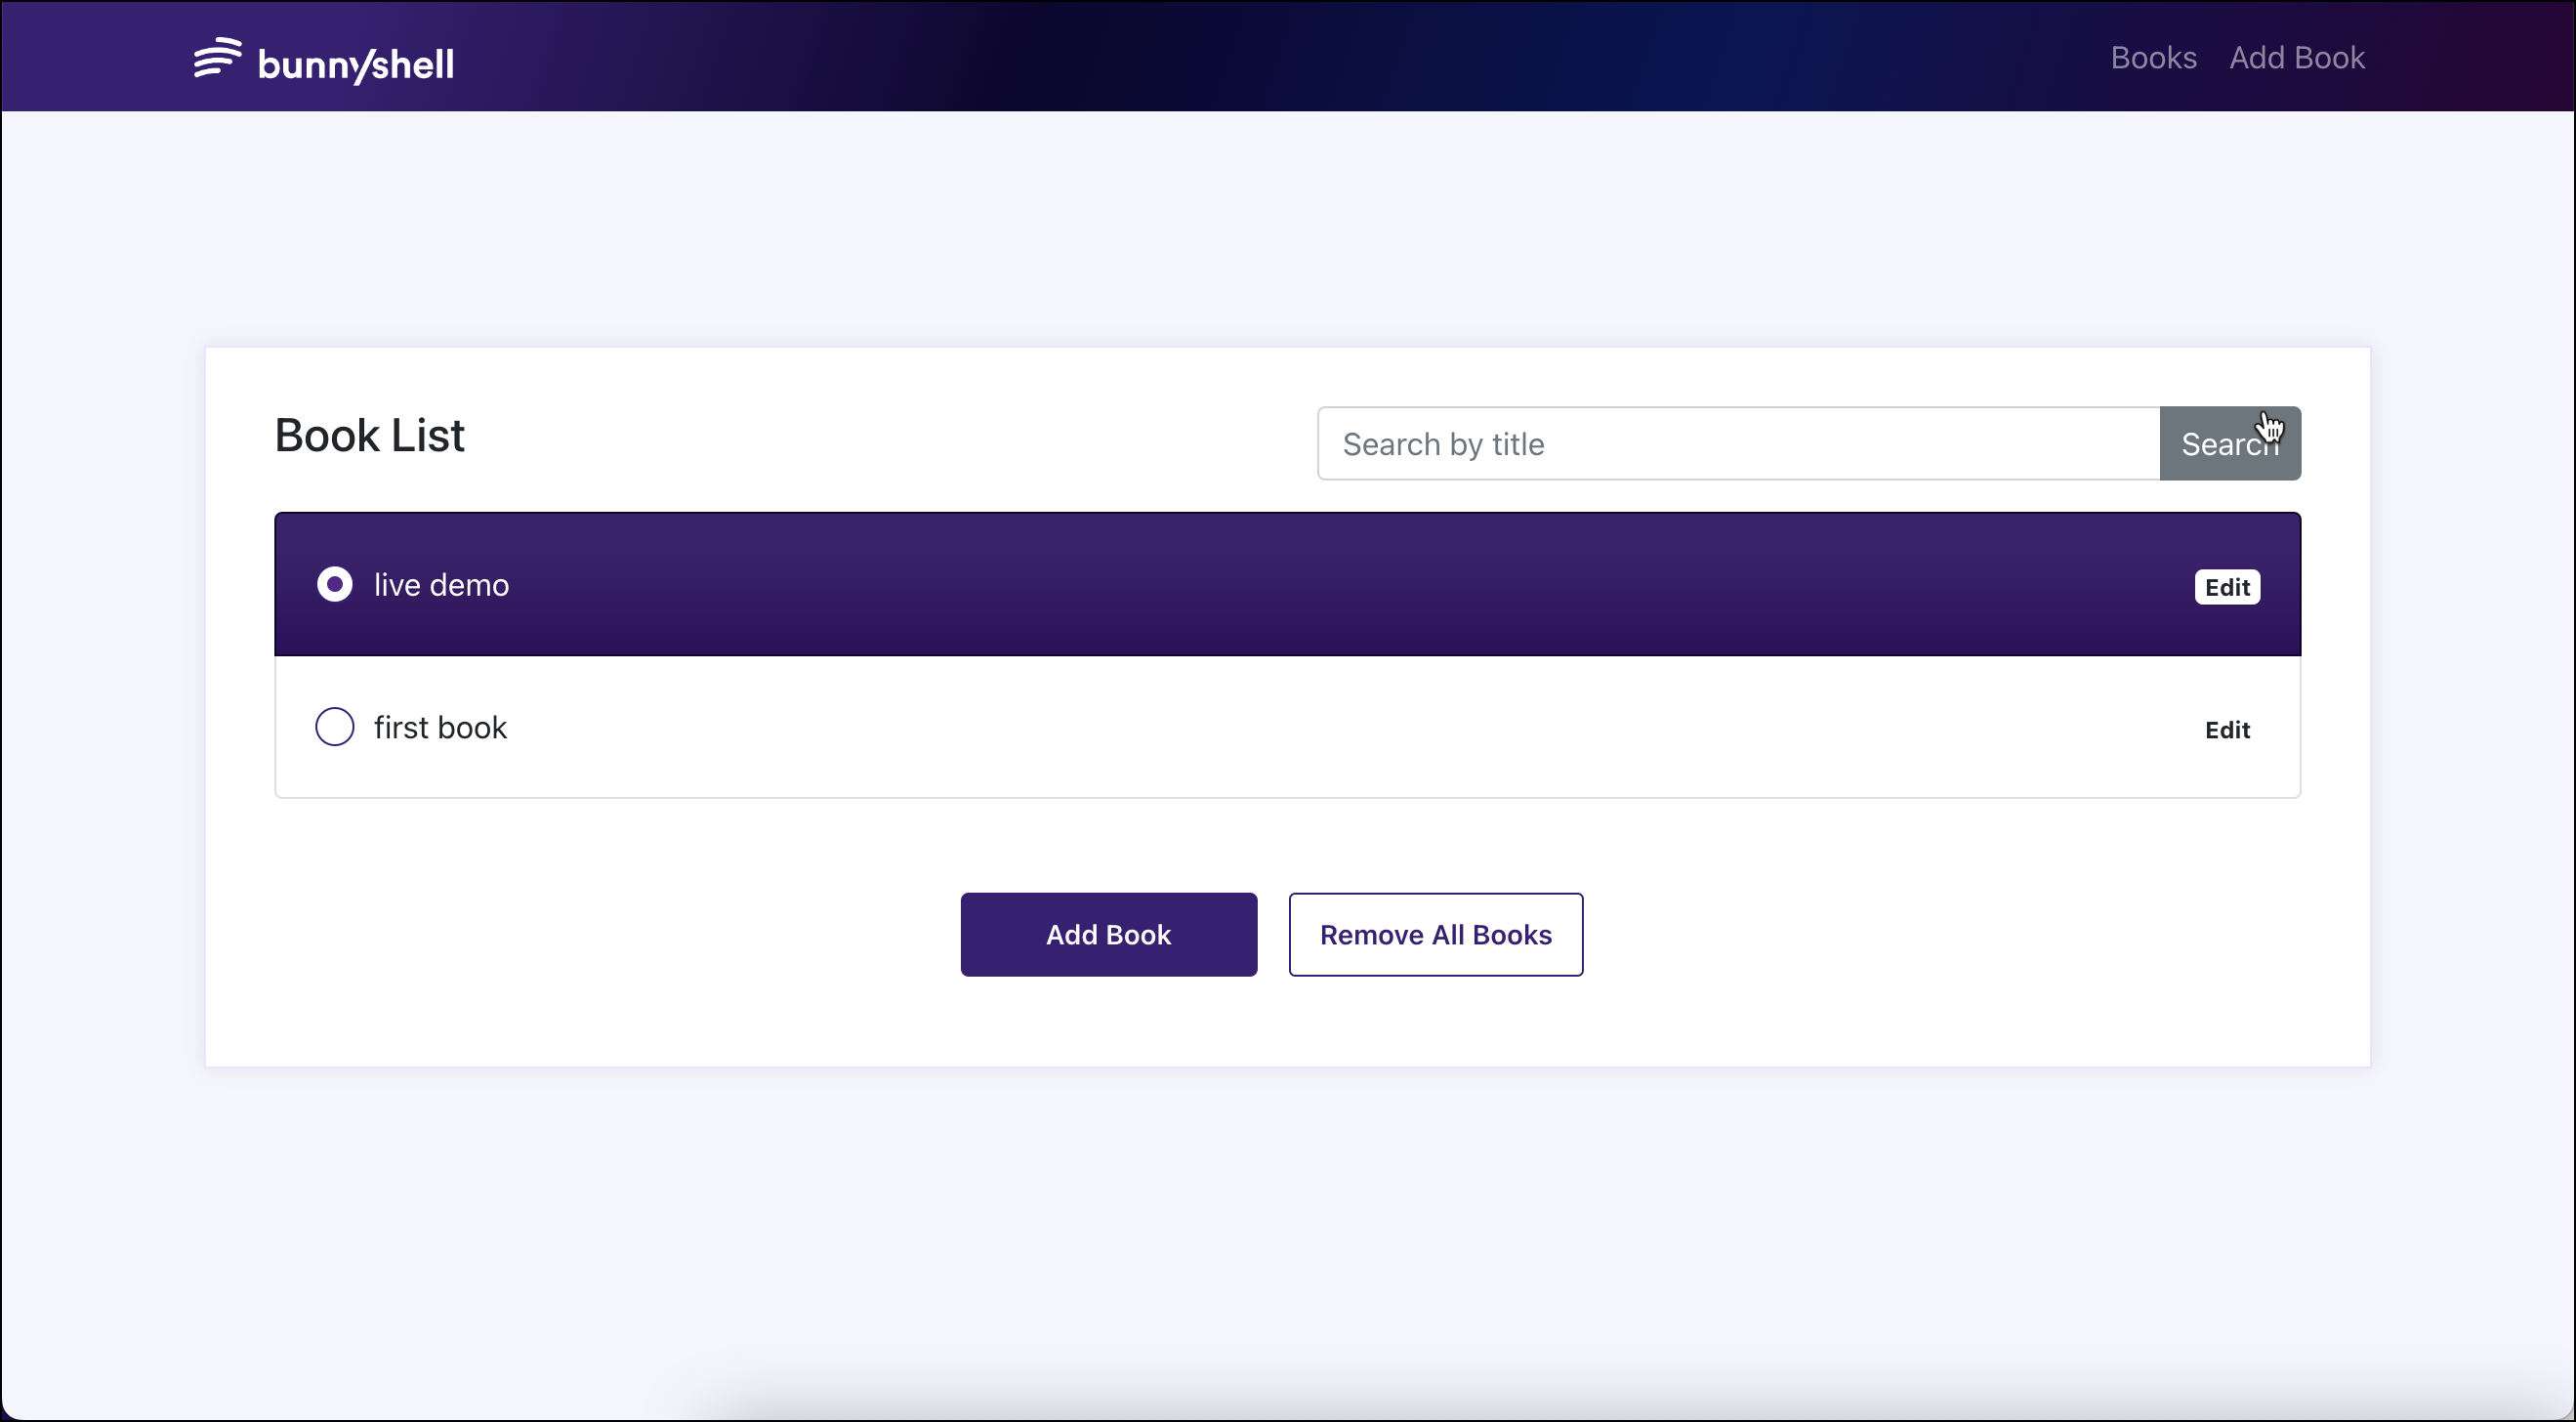
For example, accessing the frontend will open a page similar to the one below:

Congratulations!
You have performed your first Kubernetes deployment using Bunnyshell and only a docker-compose.yaml file.
NoteEach Environment has all its Docker-compose Components deployed into its own Kubernetes namespace, isolated from other environments.
NoteBear in mind that in some rare cases, the DNS records might take a few minutes to propagate.
Updated 6 months ago
