Create an Azure Kubernetes Cluster
-
Access the Kubernetes Services menu in the Azure portal.
-
Click +Create.
-
After the cluster is created, click on Connect.
-
Open Cloud Shell or the Azure CLI.
For Azure CLI, first you need to authenticate with your admin account with
az login.
- Export your subscription ID:
export SUBSCRIPTION_ID="__your_subscription_id__"
export RESOURCEGROUP_NAME="__your_resourgroup_name__"
export CLUSTER_NAME="__your_cluster_name__"- Create a Service Principal account on you cluster subscription scope, with the following command:
az ad sp create-for-rbac --name bunny-1 --scopes /subscriptions/$SUBSCRIPTION_ID --role Contributor-
The output below will be used to connect to Bunnyshell. Use these variables to connect Bunnyshell to the cluster as following:
appIdas Access Key IDpasswordas Secret Access Keytenantas Tenant ID
{
  "appId": "a2fa3a00-256c-490d-8ba7-d0b4b5c7437c",
  "displayName": "bunny-1",
  "password": "gq6BMG19b~ph.jcrvFd.V.xiK0rrJpPEr4",
  "tenant": "a8924c17-eb1e-417d-b46a-3bbc09ce4c25"
}- Connect to the cluster
az account set --subscription $SUBSCRIPTION_ID
az aks get-credentials --resource-group $RESOURCEGROUP_NAME --name $CLUSTER_NAME --file kubeconfig.yaml
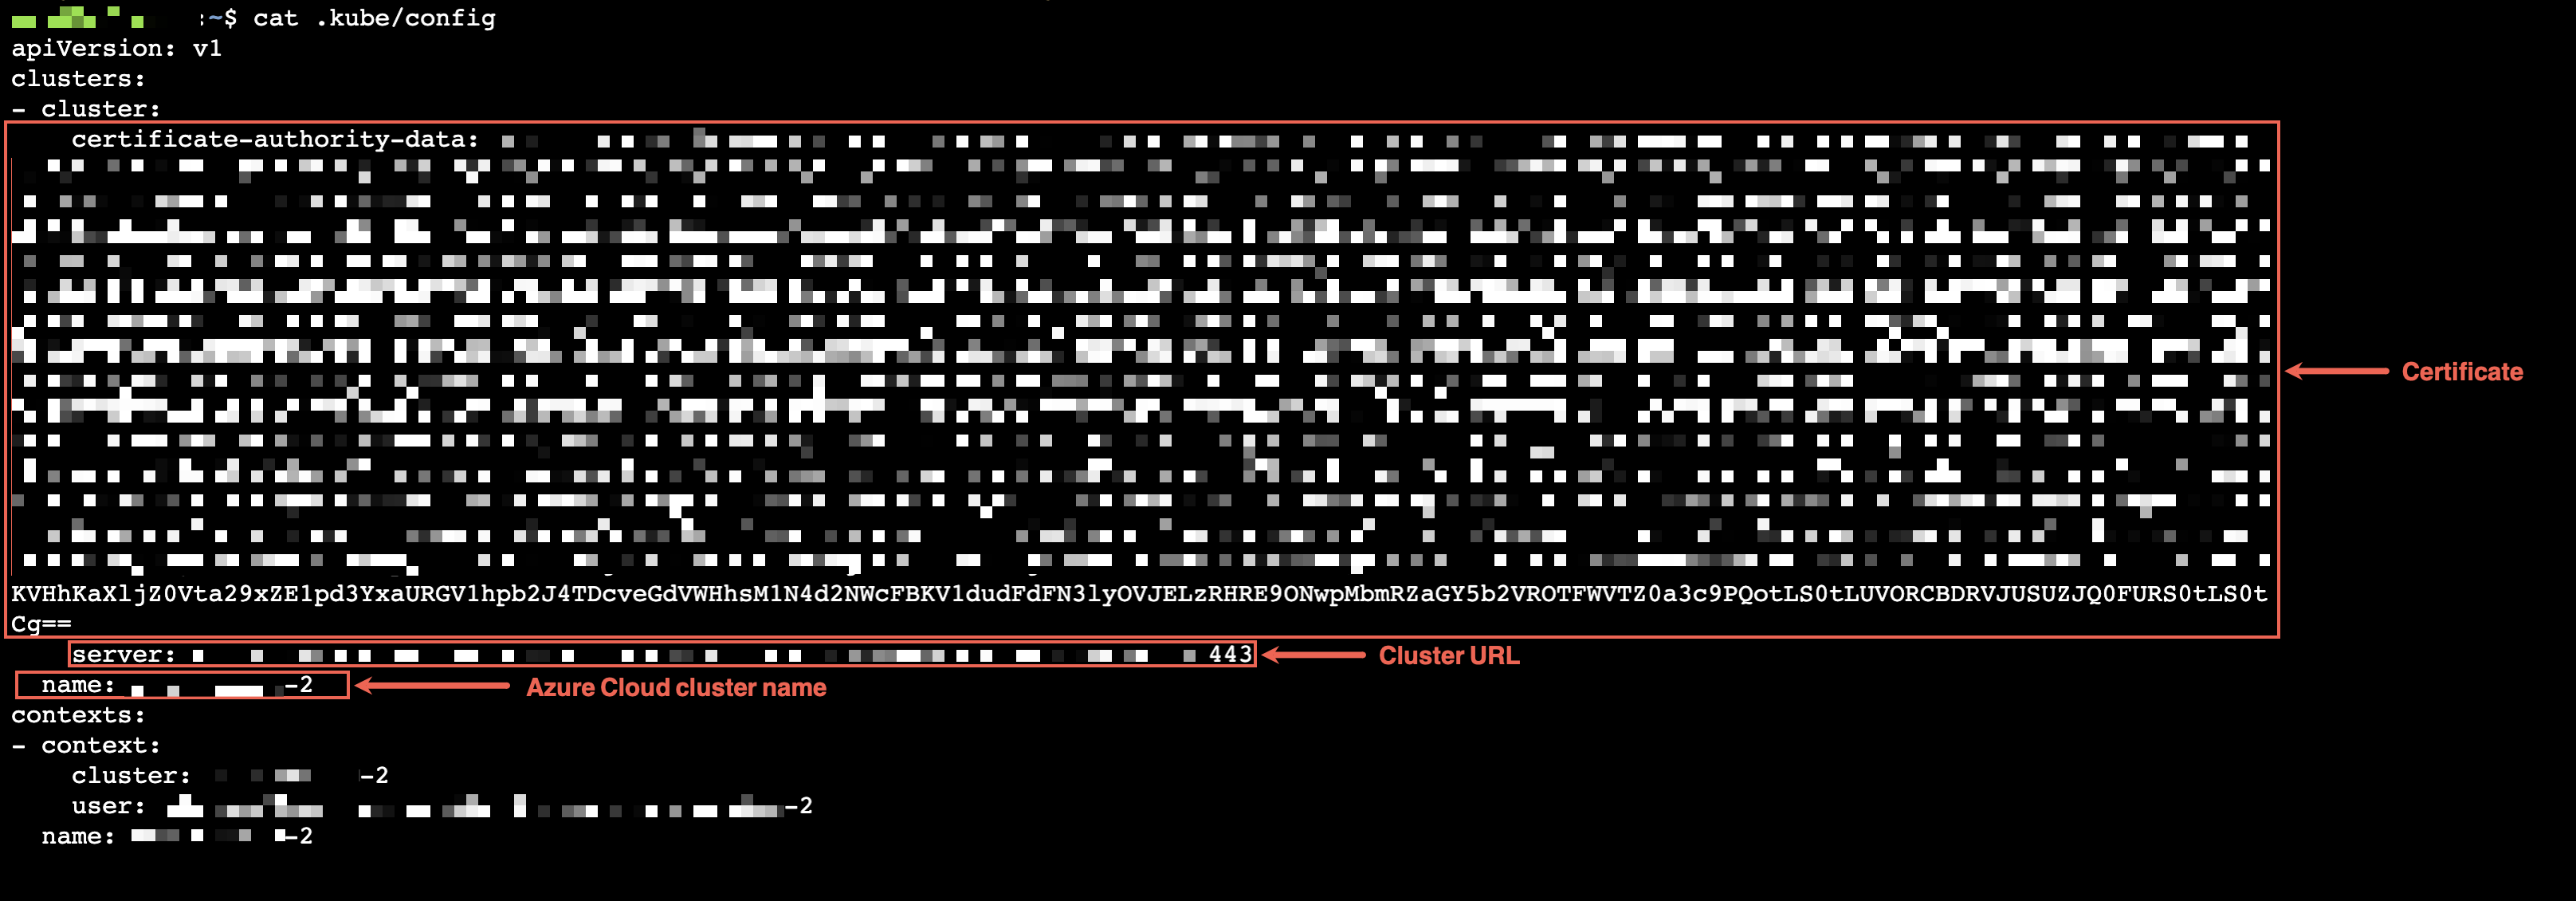
These will generate the ./kubeconfig.yaml file. Copy:
clusters.[...].nameclusters.[...].cluster.serverclusters.[...].cluster.certificate-authority-data
as you will need them to connect the cluster to Bunnyshell.

Updated 6 months ago
