Define the Environment
Let's add an application by clicking on Define environment in the environment view.
-
Select your Git account and the forked Bunnyshell Books repository.
-
Use
masteras branch, and leave the docker-compose file path to/(the default value), as it is located in the root of the repository. -
Hit Continue. A few seconds will be needed to parse and validate
docker-compose.yaml.
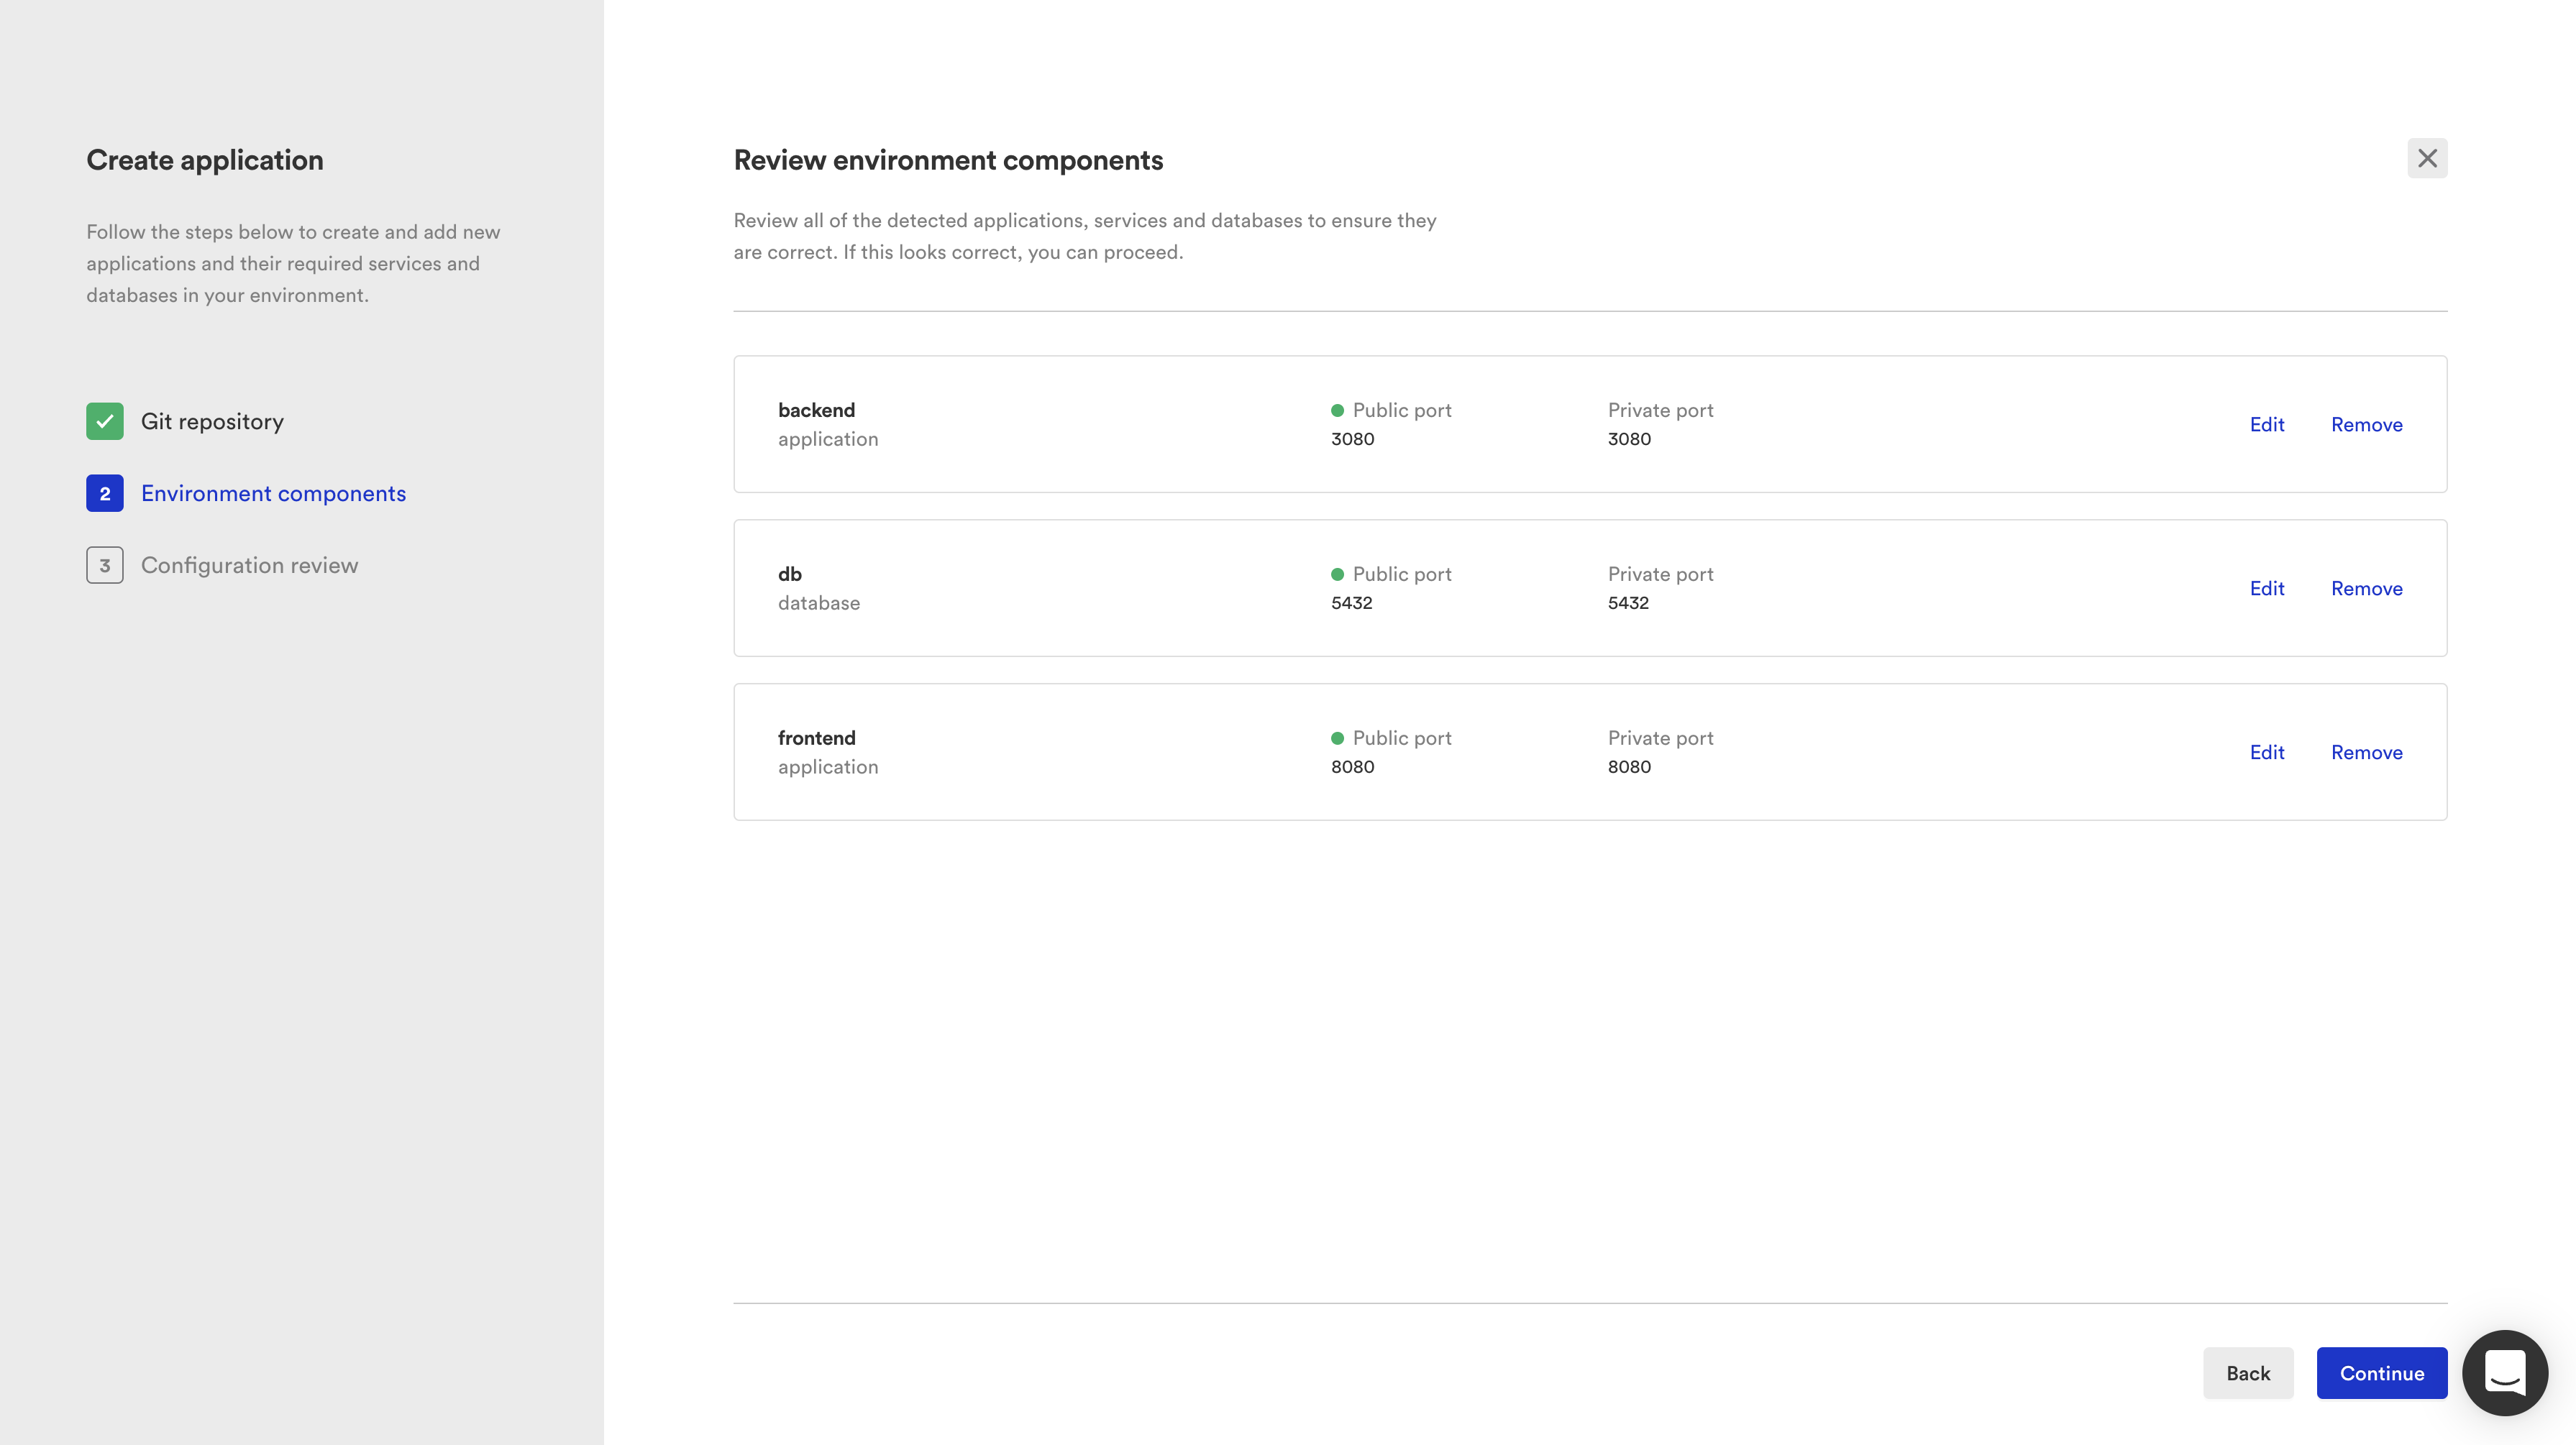
The following elements from the docker-compose.yaml file are detected :
- The Services:
frontend,backend,db - Their exposed ports
- How the services will be built (Dockerfiles, build arguments)
- Needed persistent volumes
- Default values for environment variables

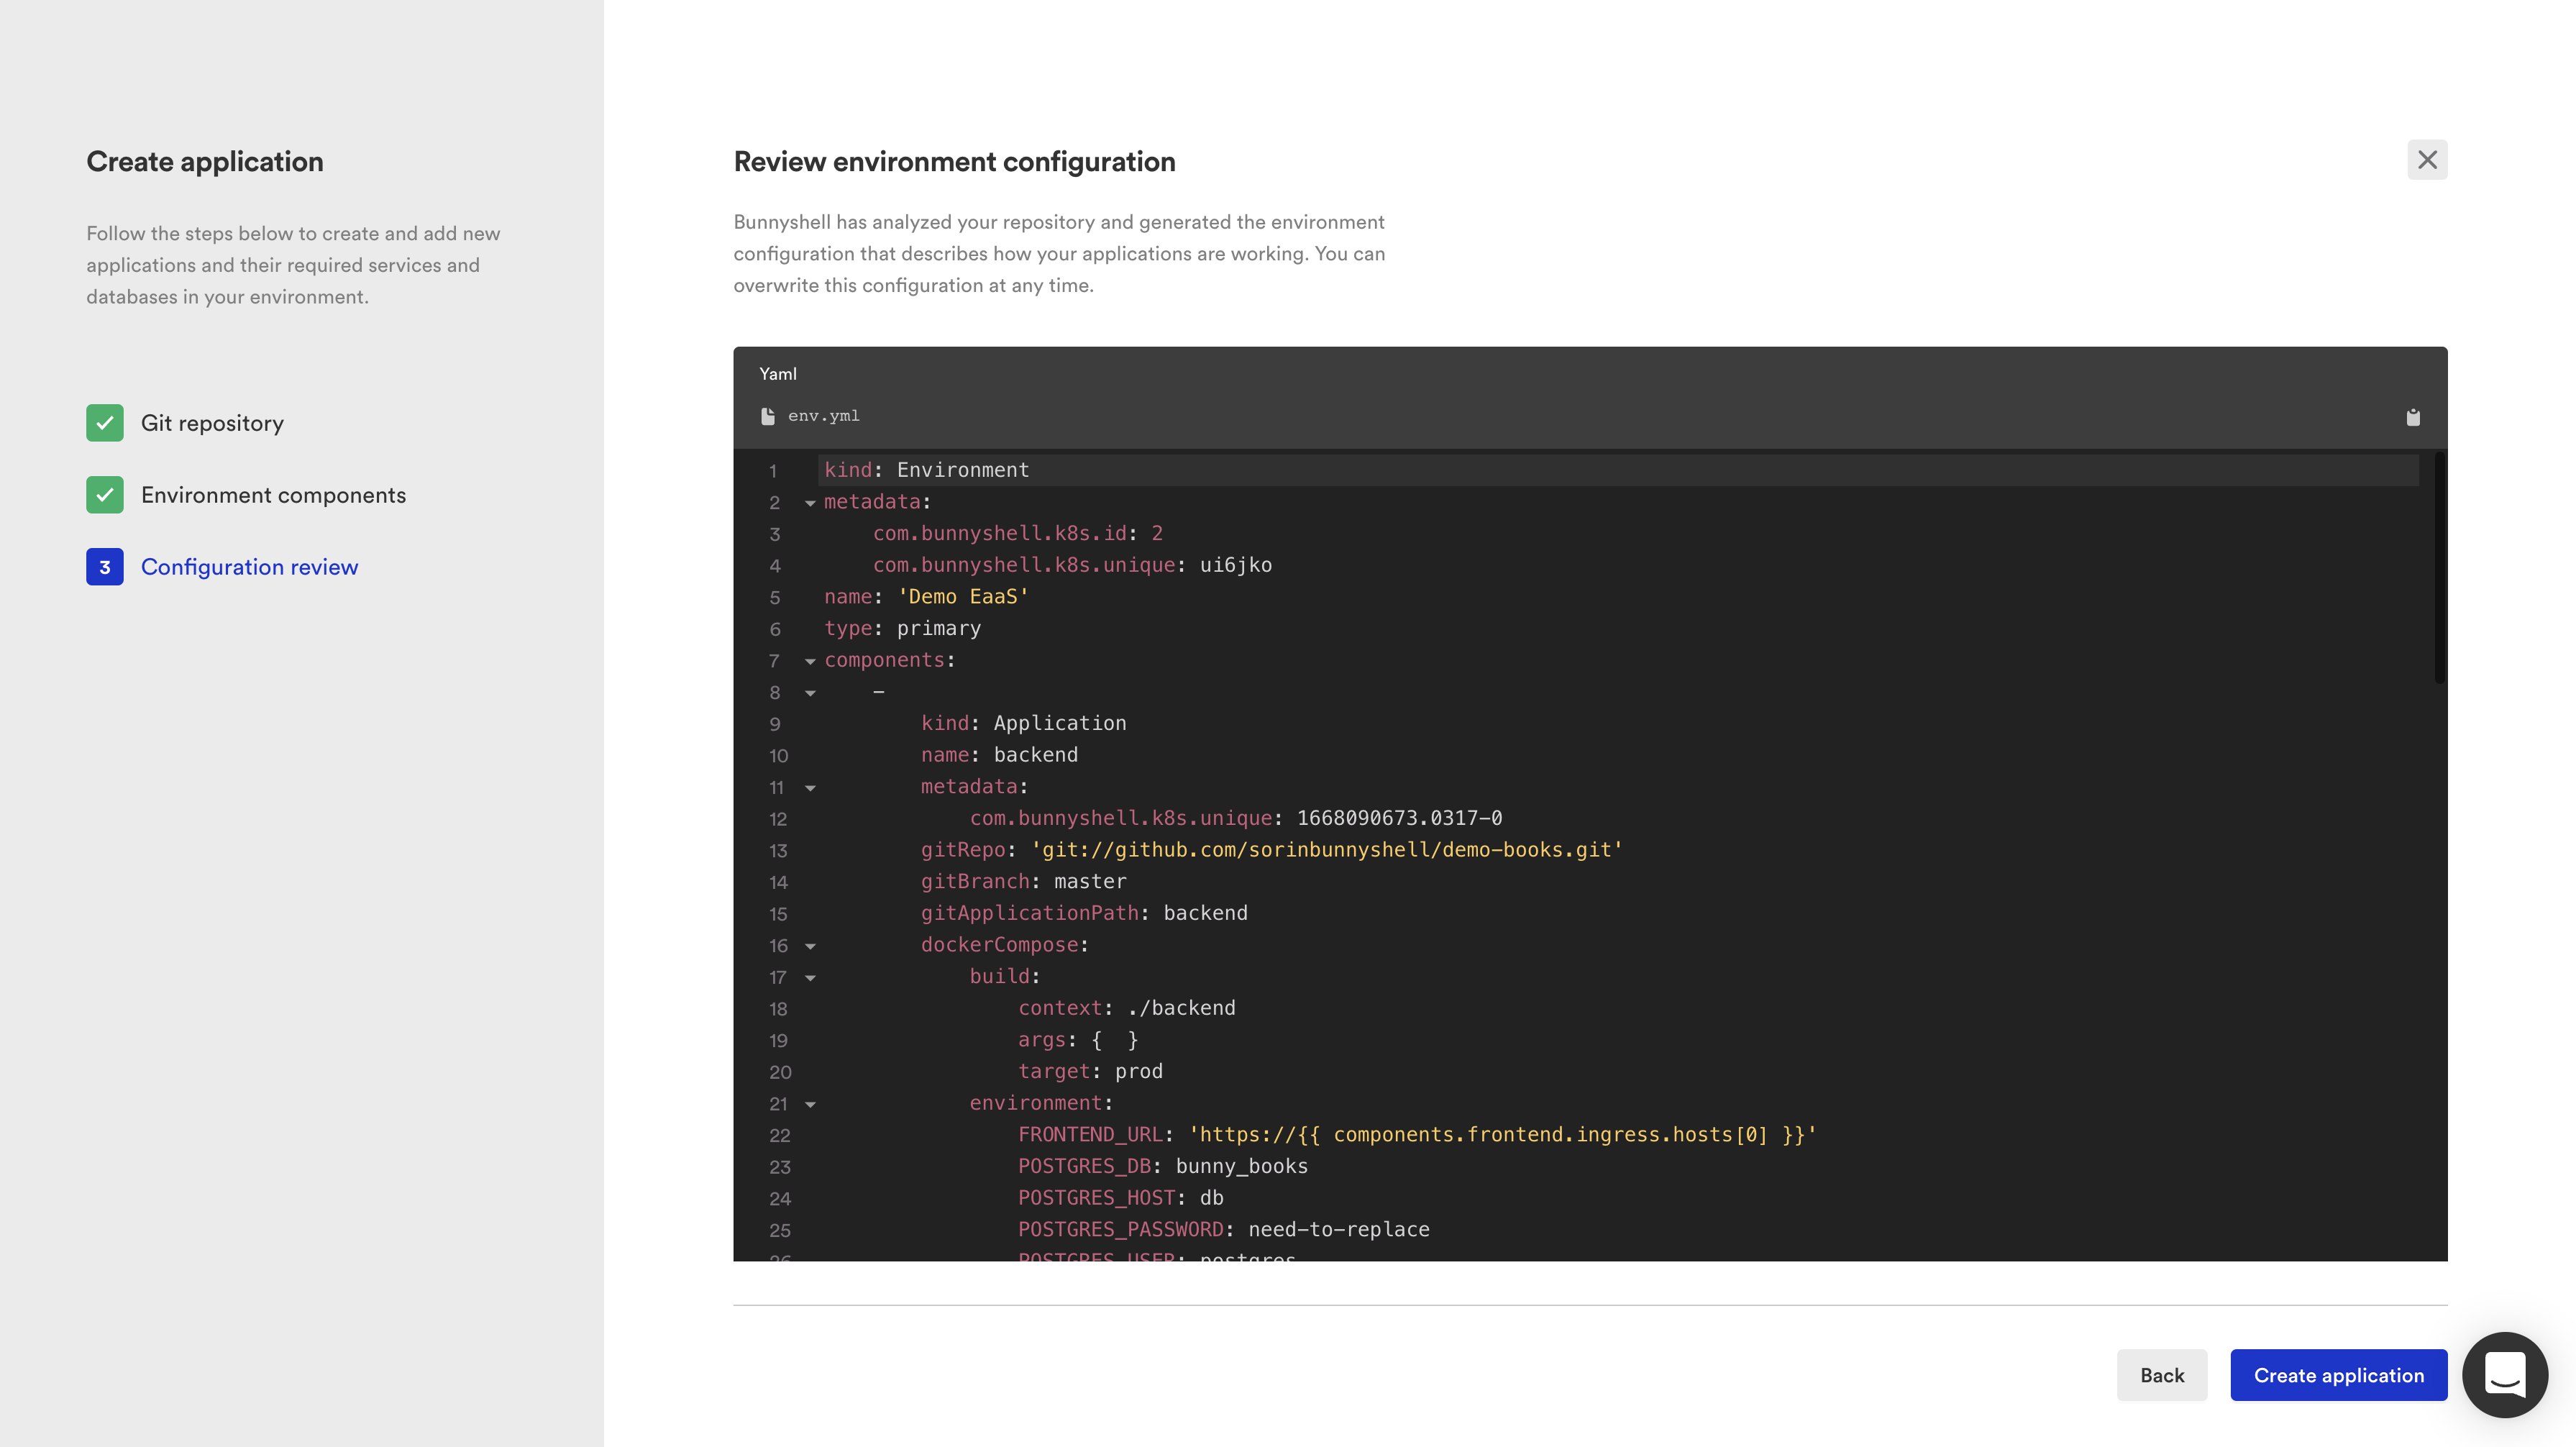
NoteBunnyshell uses all this information to build the Environment Definition, also named
bunnyshell.yaml.
You will use this YAML definition moving forward, when modifying or adding services, or use the UI.The
docker-compose.yamlfile is only read by Bunnyshell when constructing the initial Environment Definition. Subsequent updates in the file will not be propagated into the environment automatically.

- Finally, click Create Application and you're done. A few seconds will be needed to validate the configuration.
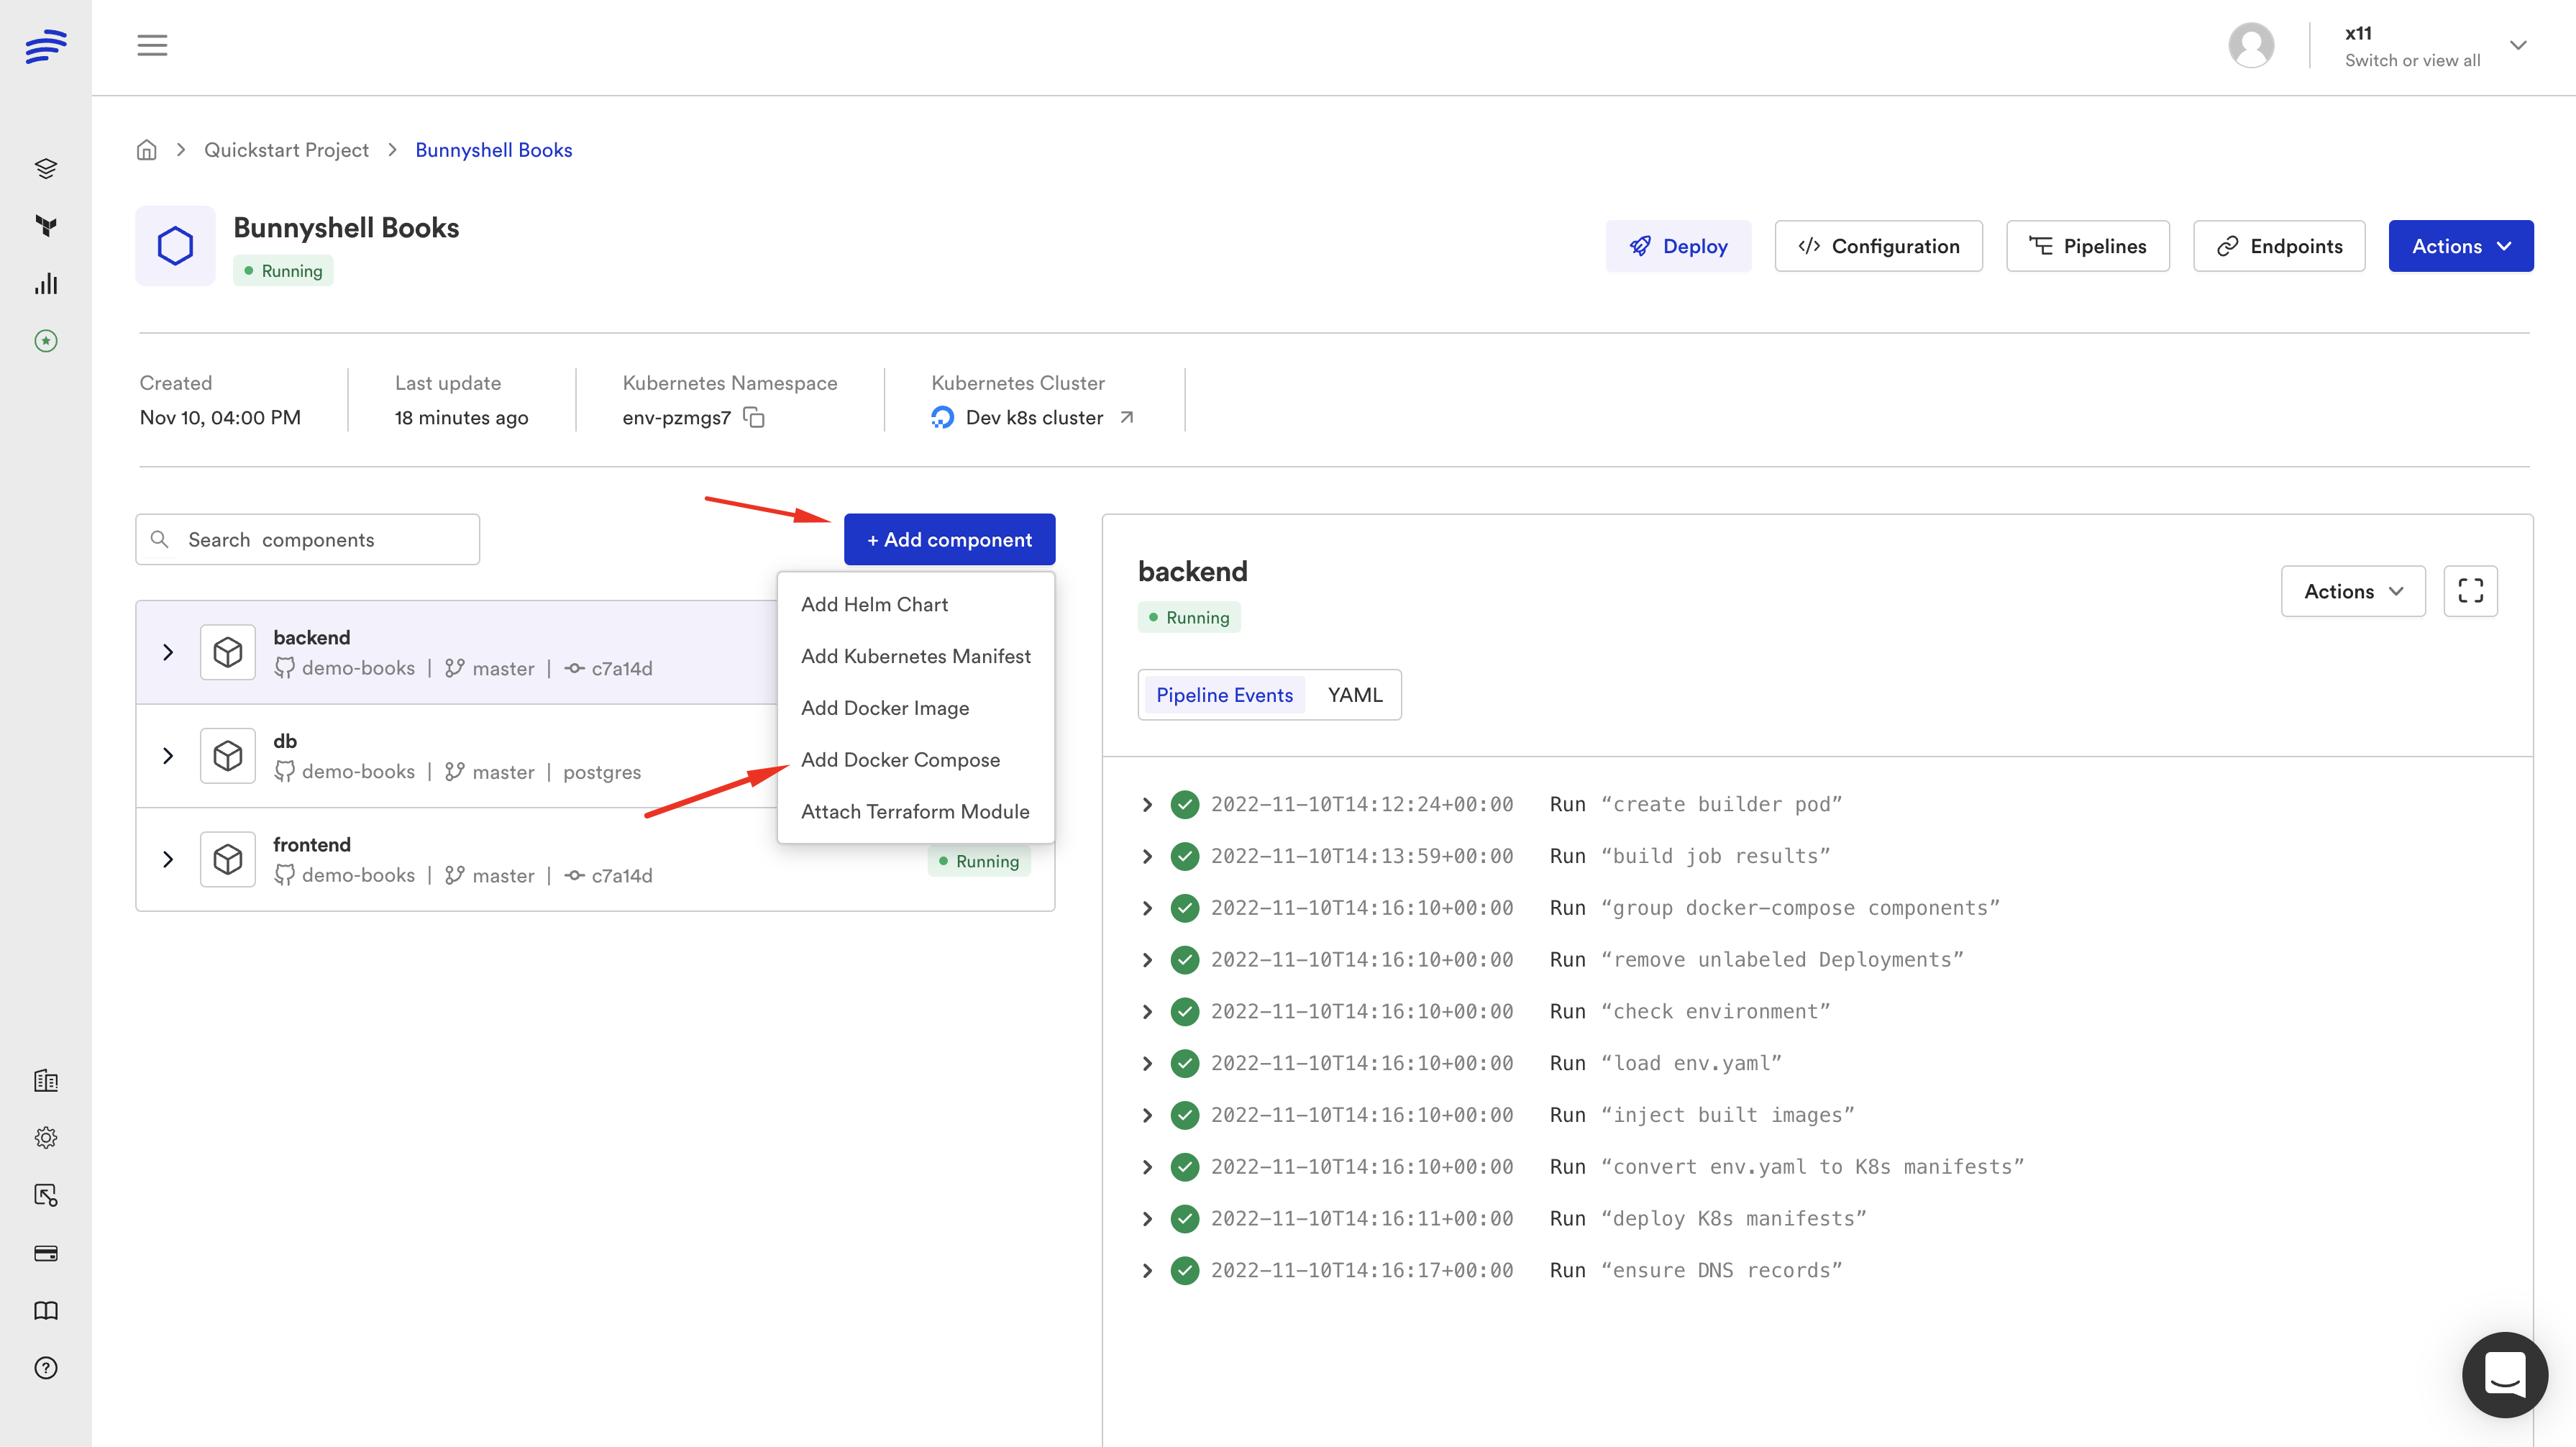
NoteYou can always add more Applications from other
docker-compose.yamlfiles, from the UI.

Sensible defaults for Bunnyshell
The reason for which this Application does not require any changes at all is that we've made some minor preparations: we've included a separate .env file within the repository and named it .env.bunnyshell.
This way, you can keep the .env and .env.sample for development purposes and not interfere with your current process, while at the same time having some default values for Bunnyshell.
Pro TipUse
.env.bunnyshellfor setting Environment Variables for Bunnyshell.
Updated 6 months ago
