Use Templates in Bunnyshell
Overview
The end game for templates is to create Environments based on them. In this guide, we will see how you can browse and use Templates to create Environments.
Browse Templates
In order to do so, you need to be able to browse the Template list, and you can do so in one of two ways:
- By accessing the Template Gallery, from the left navigation menu, second icon from the top.
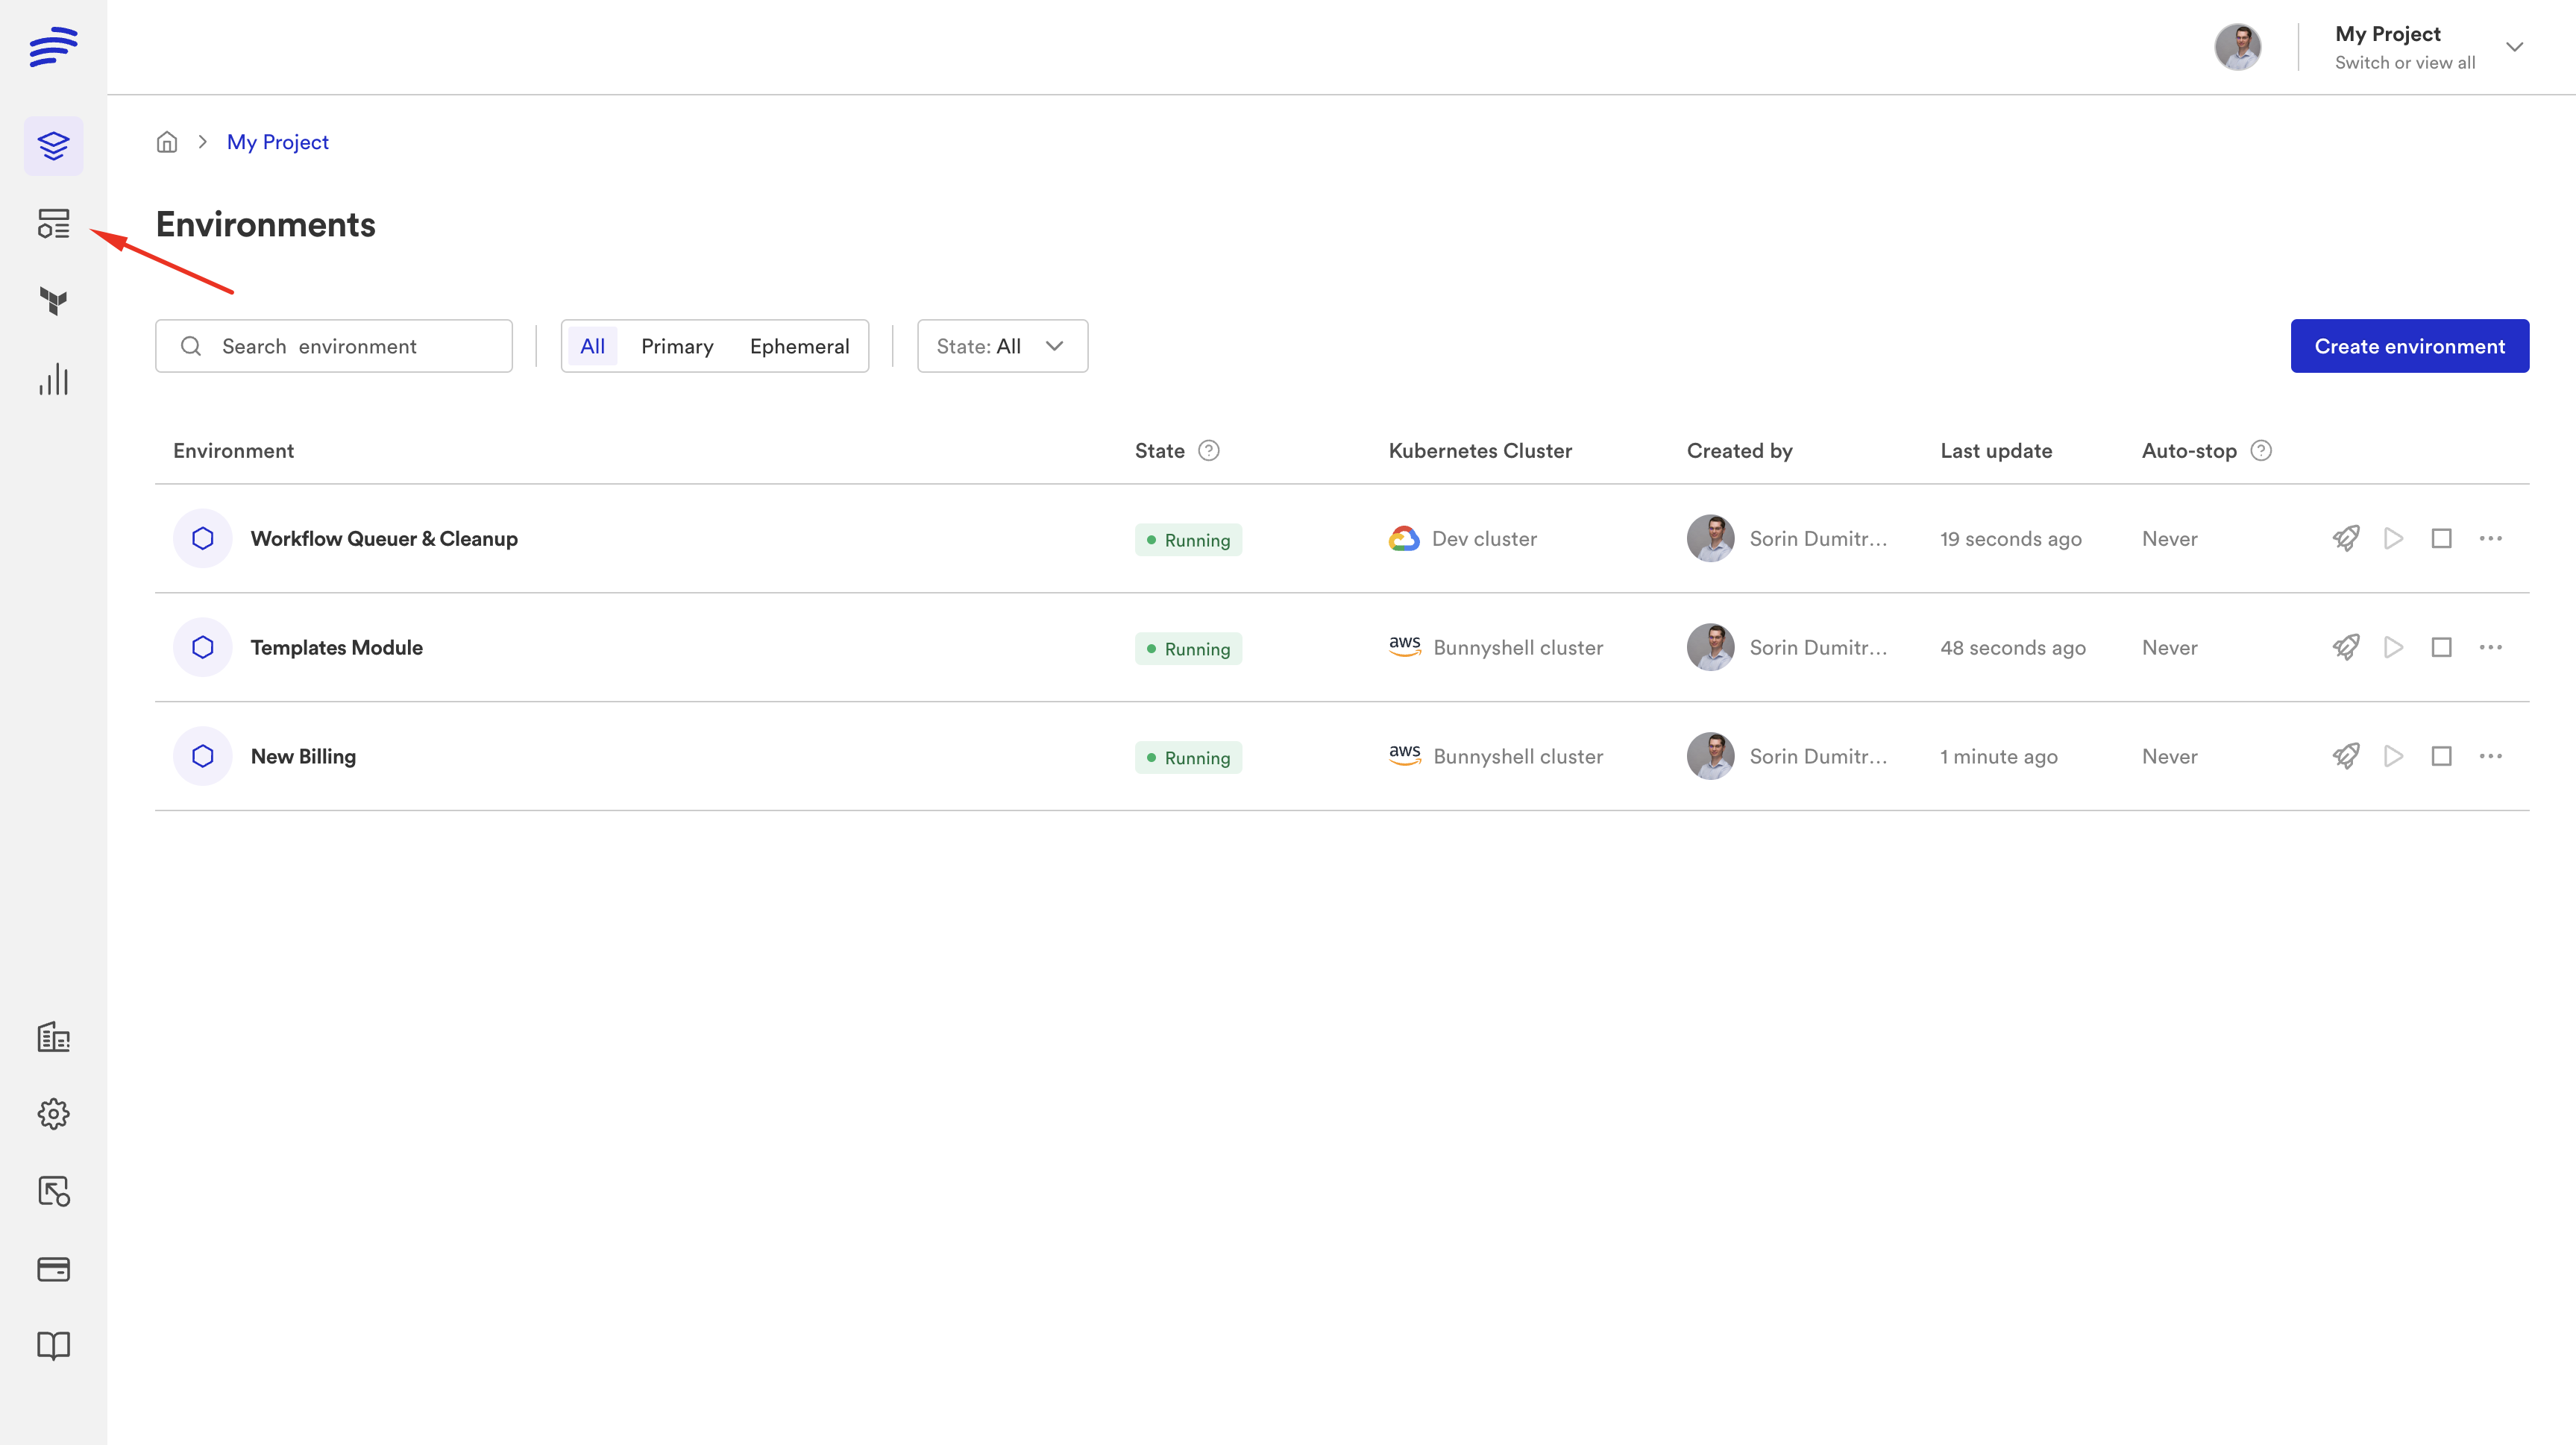
- From the Environment Details screen, when the Environment is empty (has no Components defined). You must scroll towards the bottom of the page.
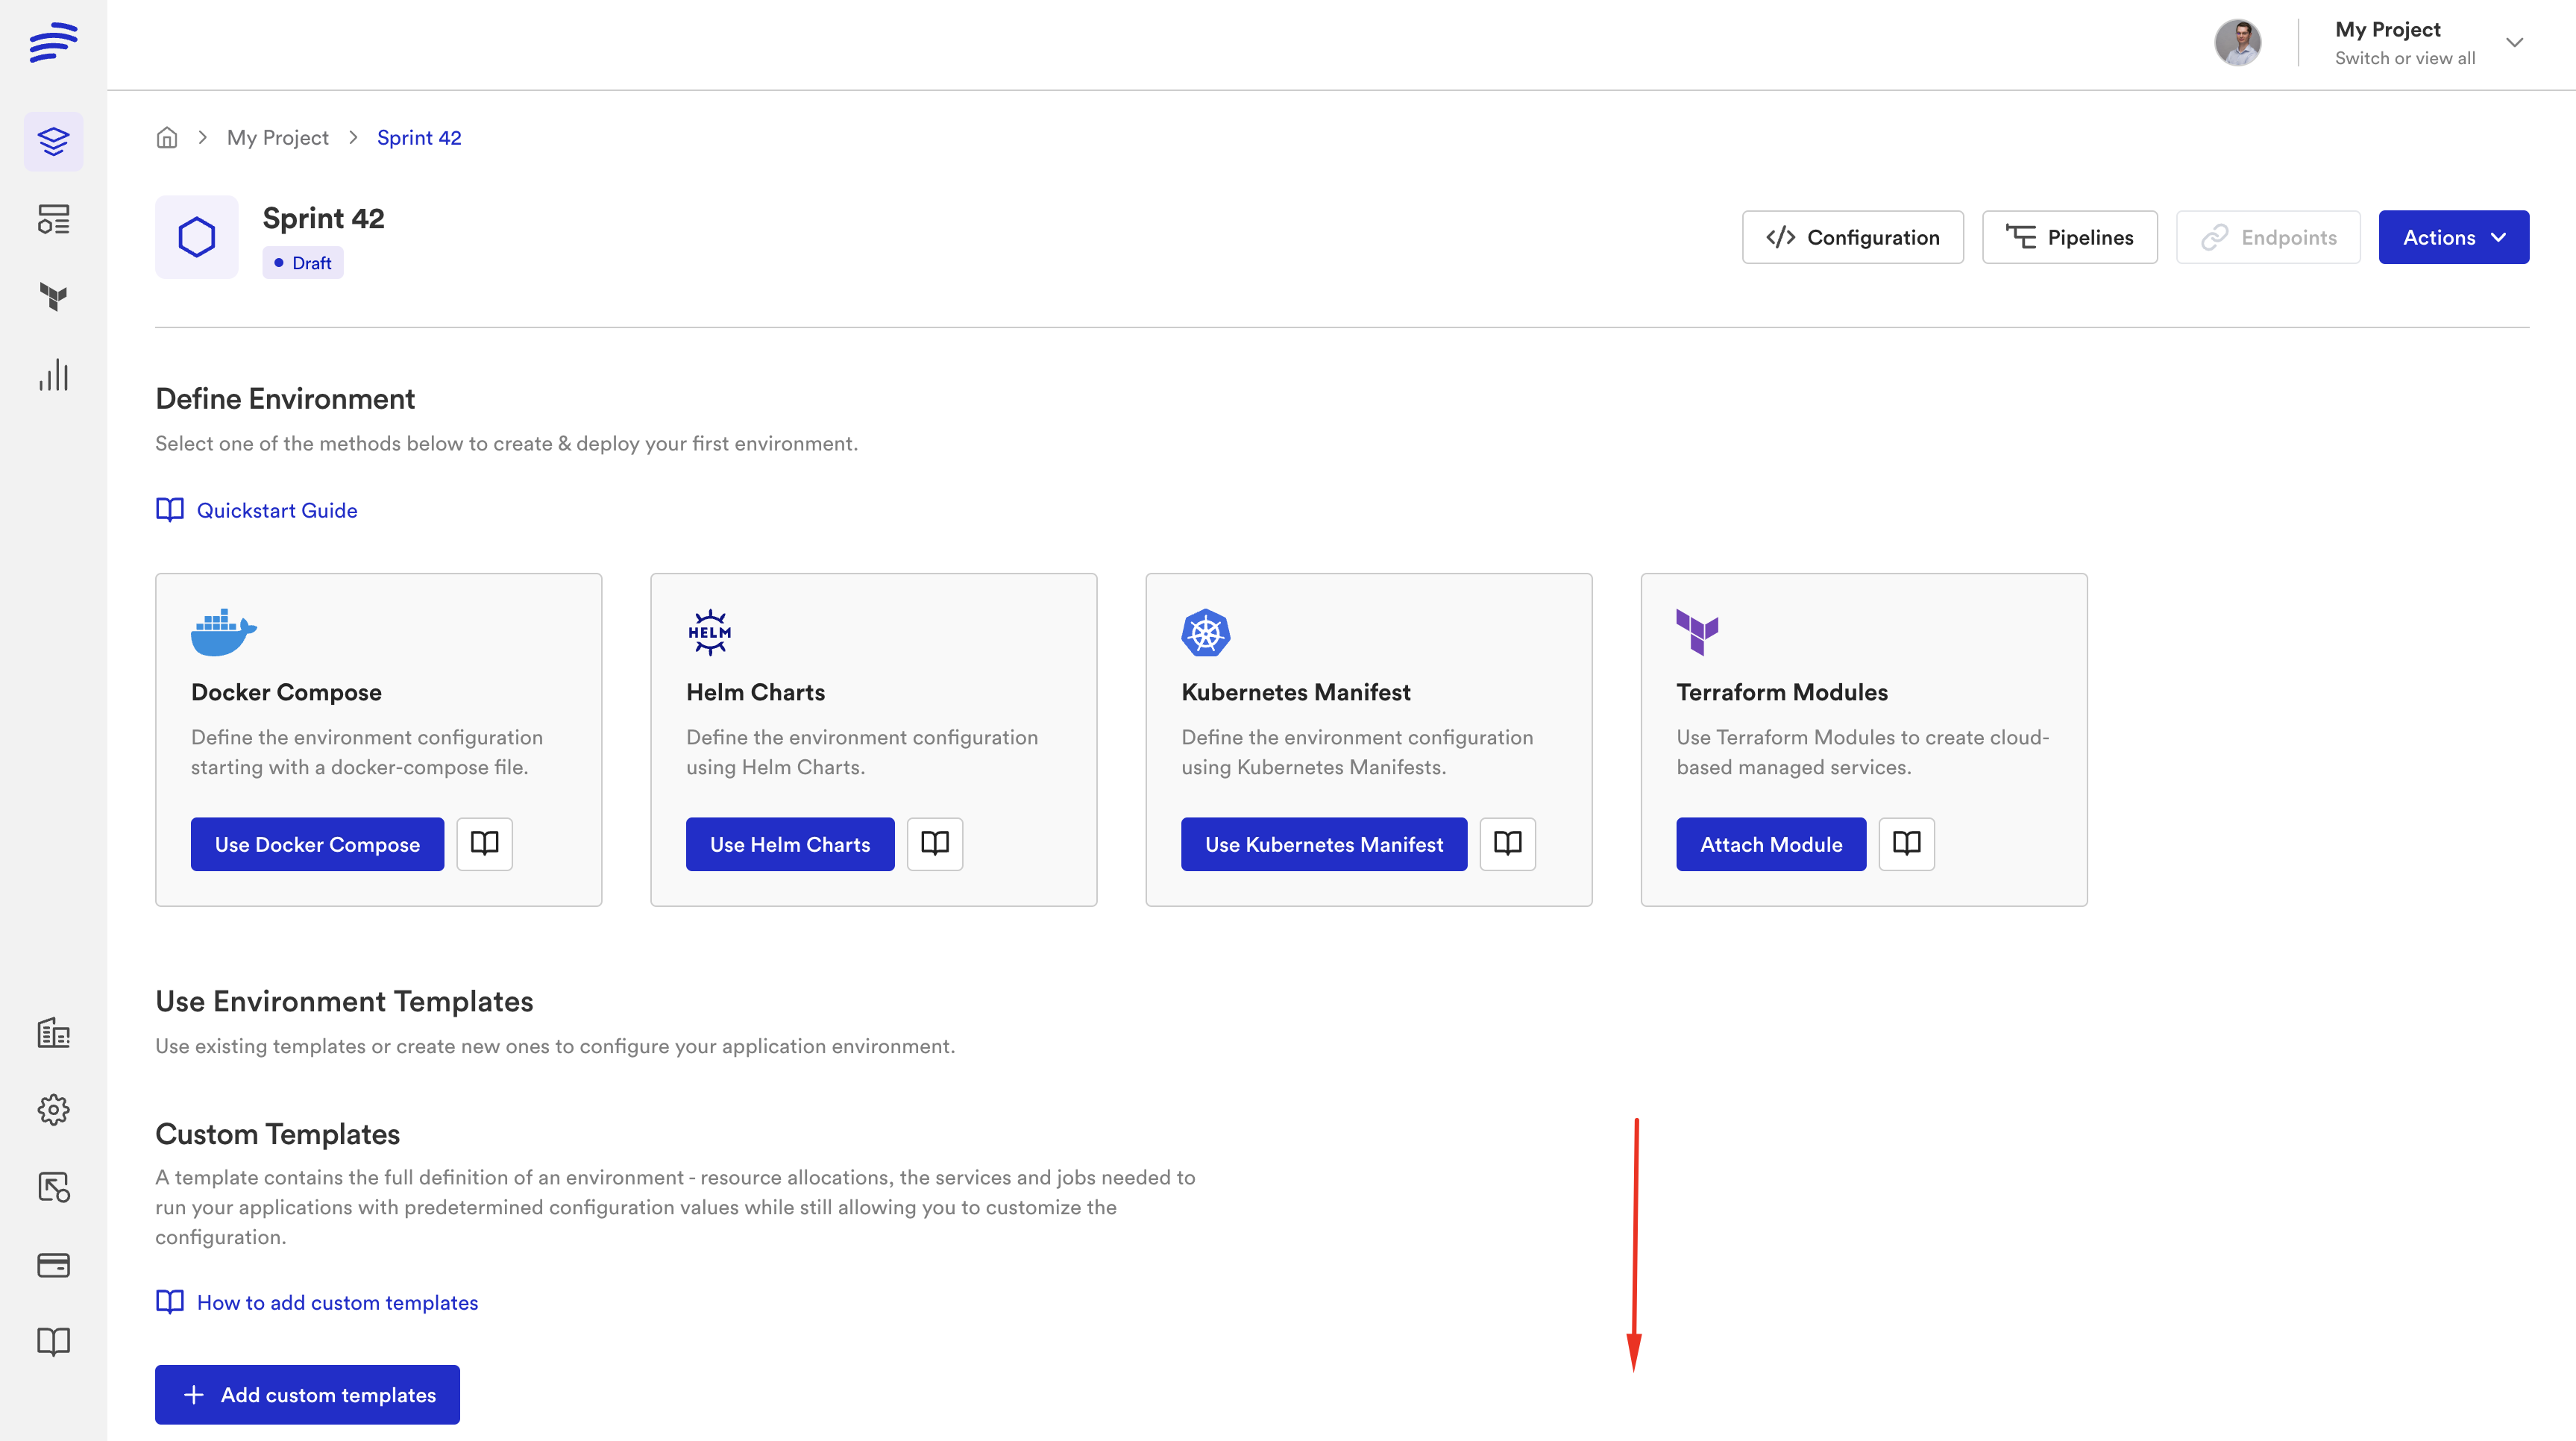
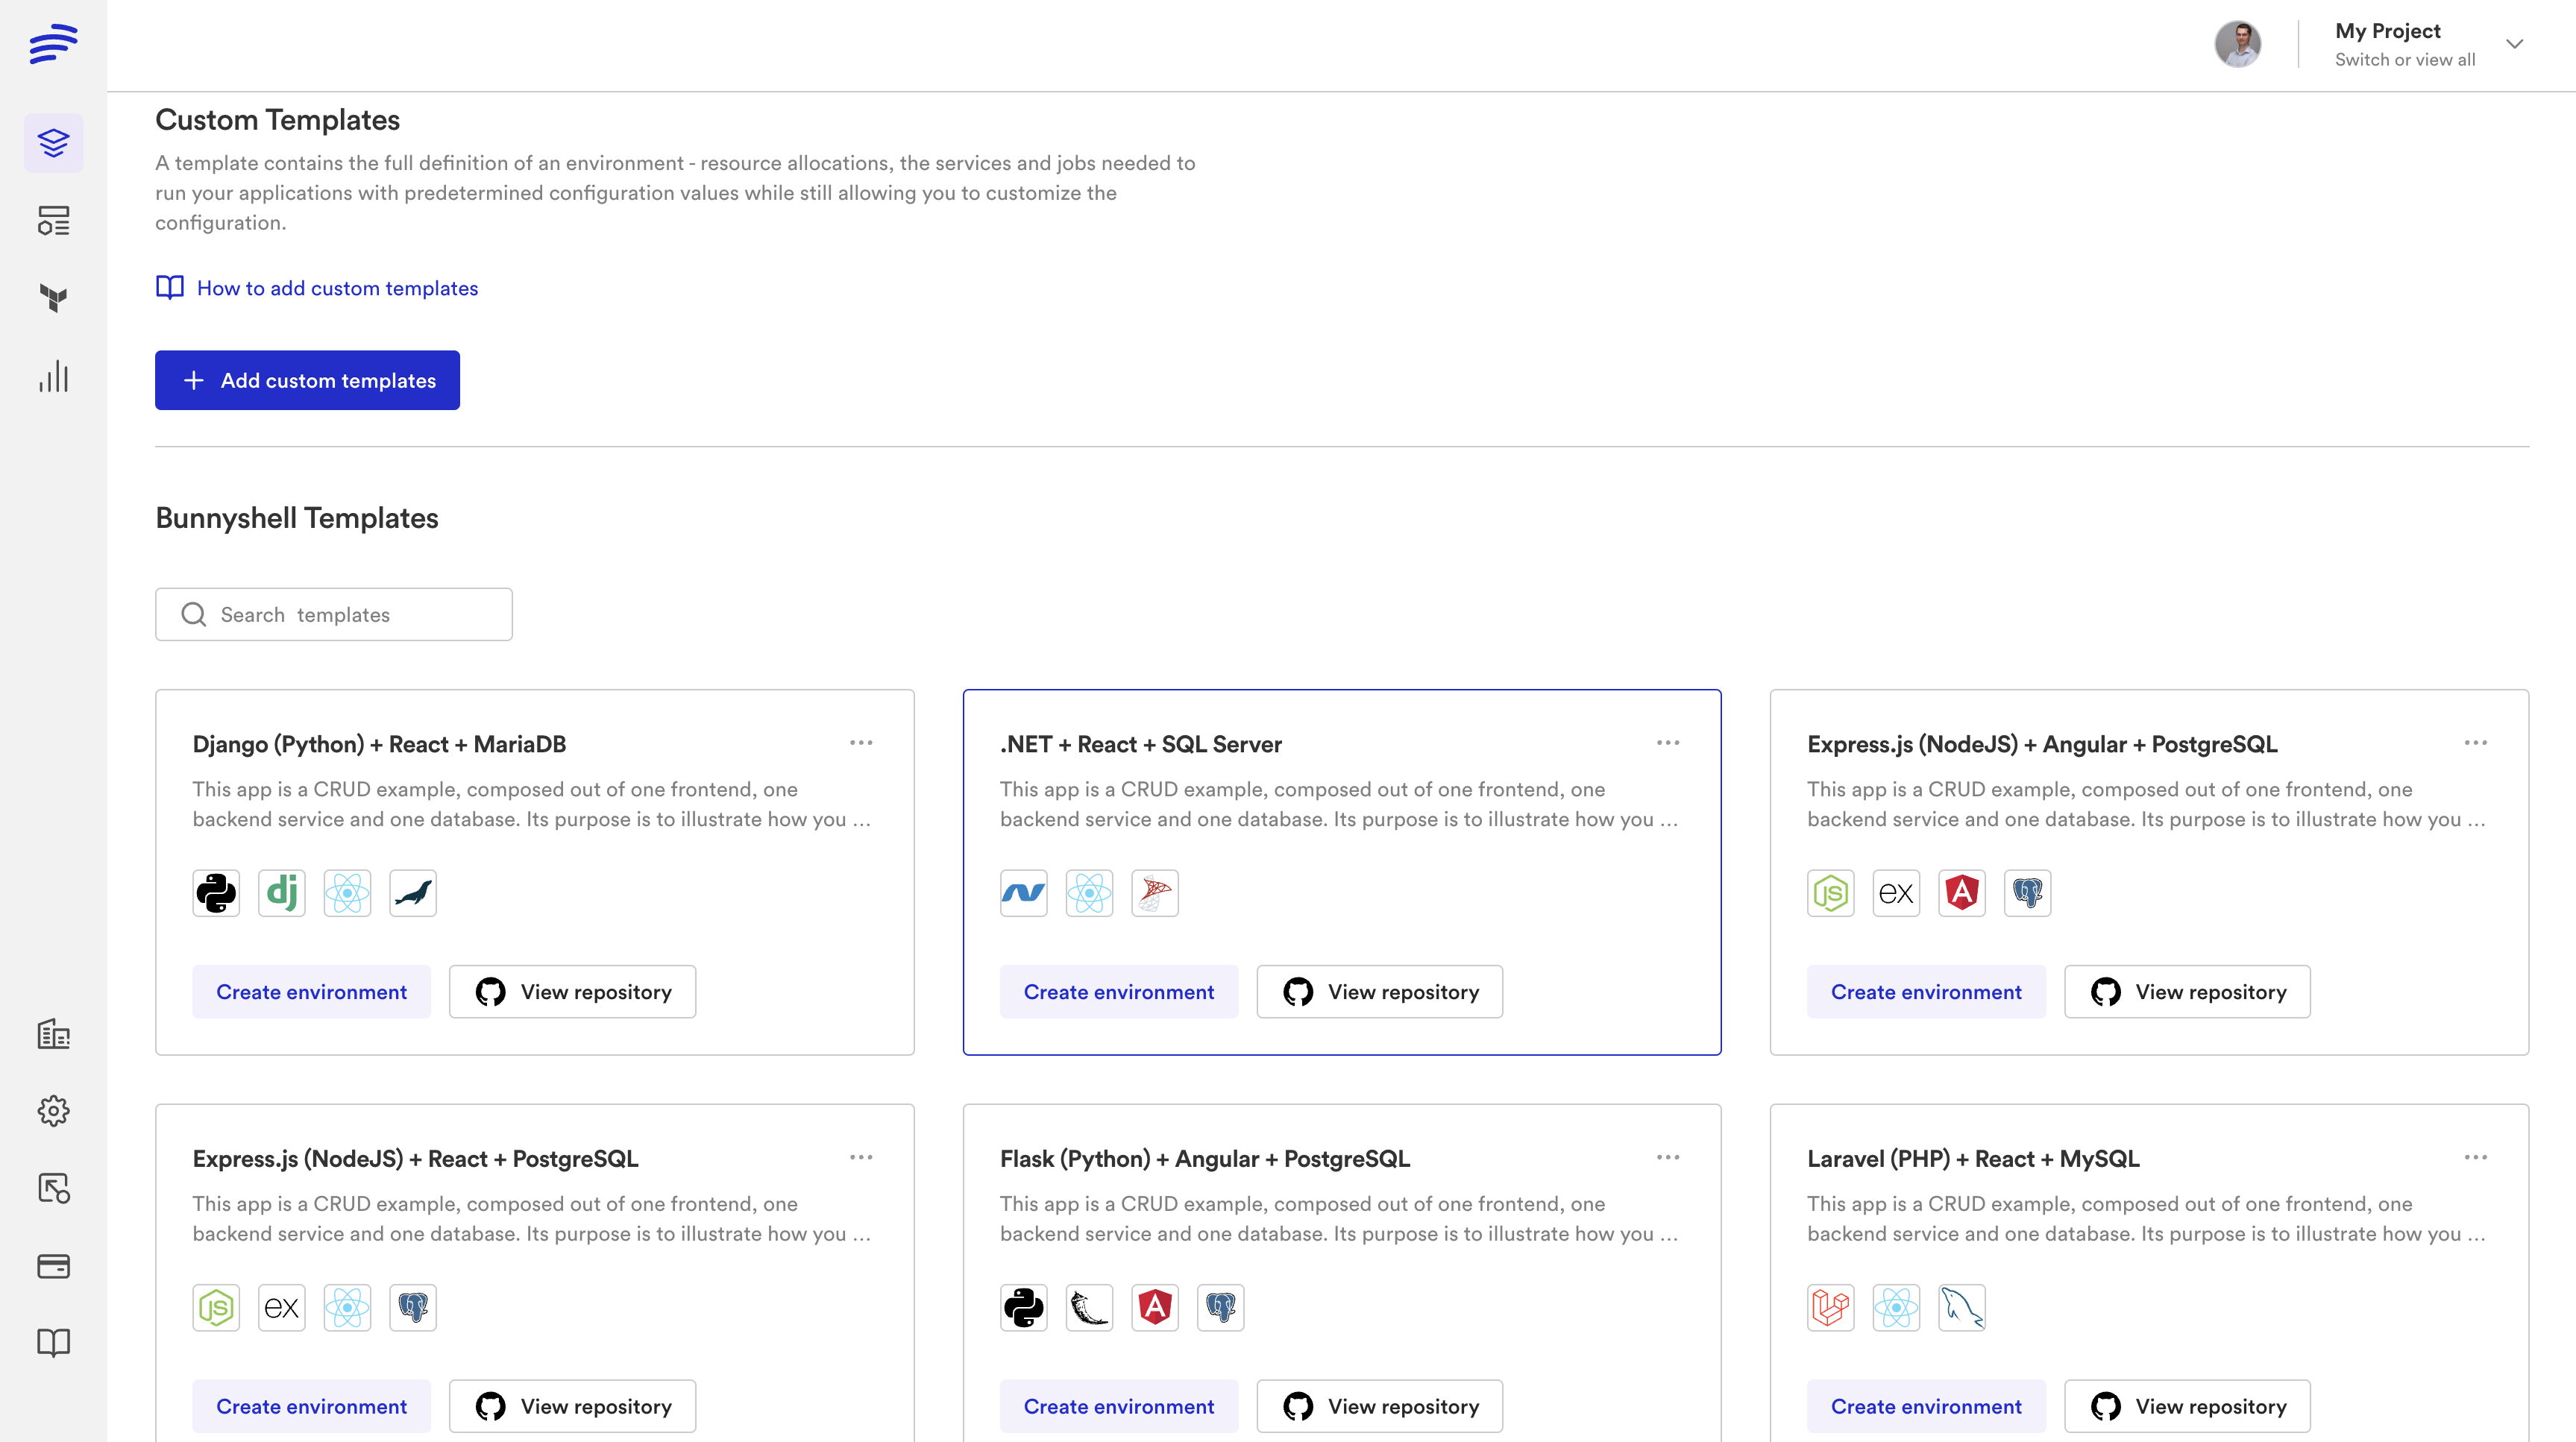
See Template Details
From either of the listings, upon clicking a Template card, you will see the Template Details screen. It contains:
- a short description of the Template
- the technologies utilized in the Environment, as well as their versions
- the detailed description / instructions (the
README) of the Template
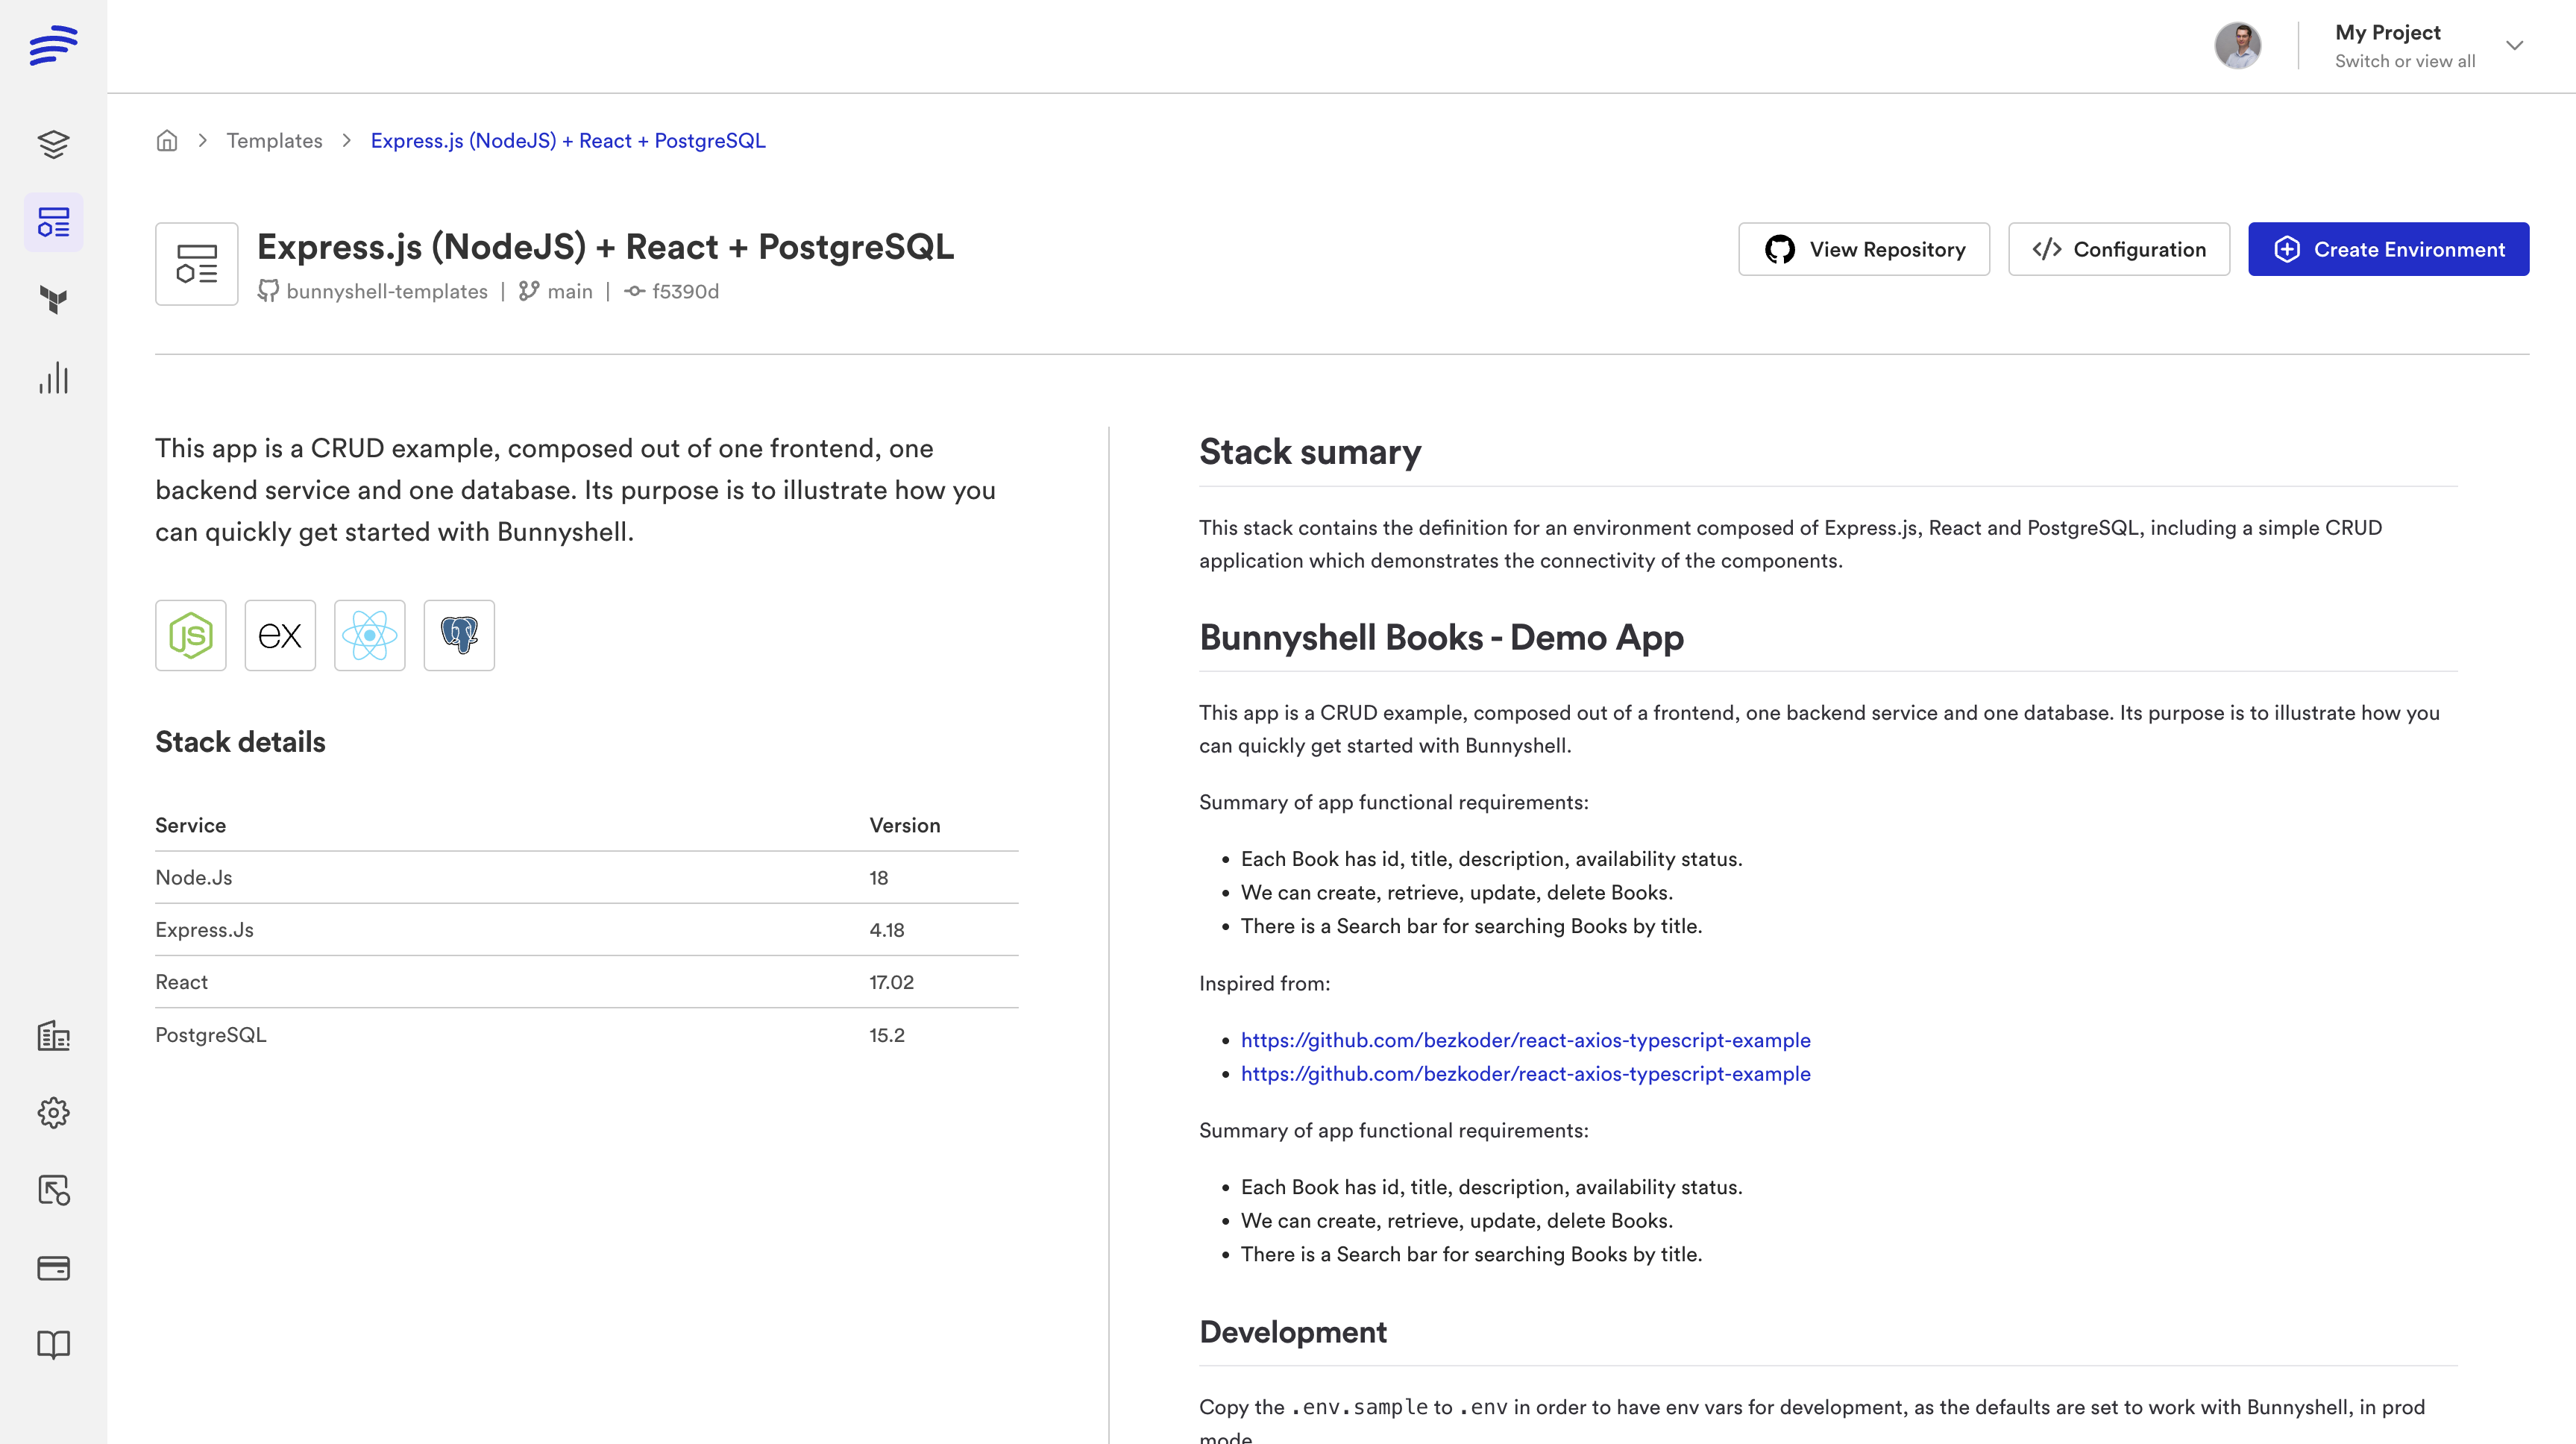
From this screen, you can:
- view the Template in Git
- view the Template's definition for Environments (
bunnyshell.yaml) - create an Environment
Create an Environment
Upon clicking the Create Environment button, a modal will appear, requiring you to enter the desired name for the Environment which is about to be created, as well as select the Project.
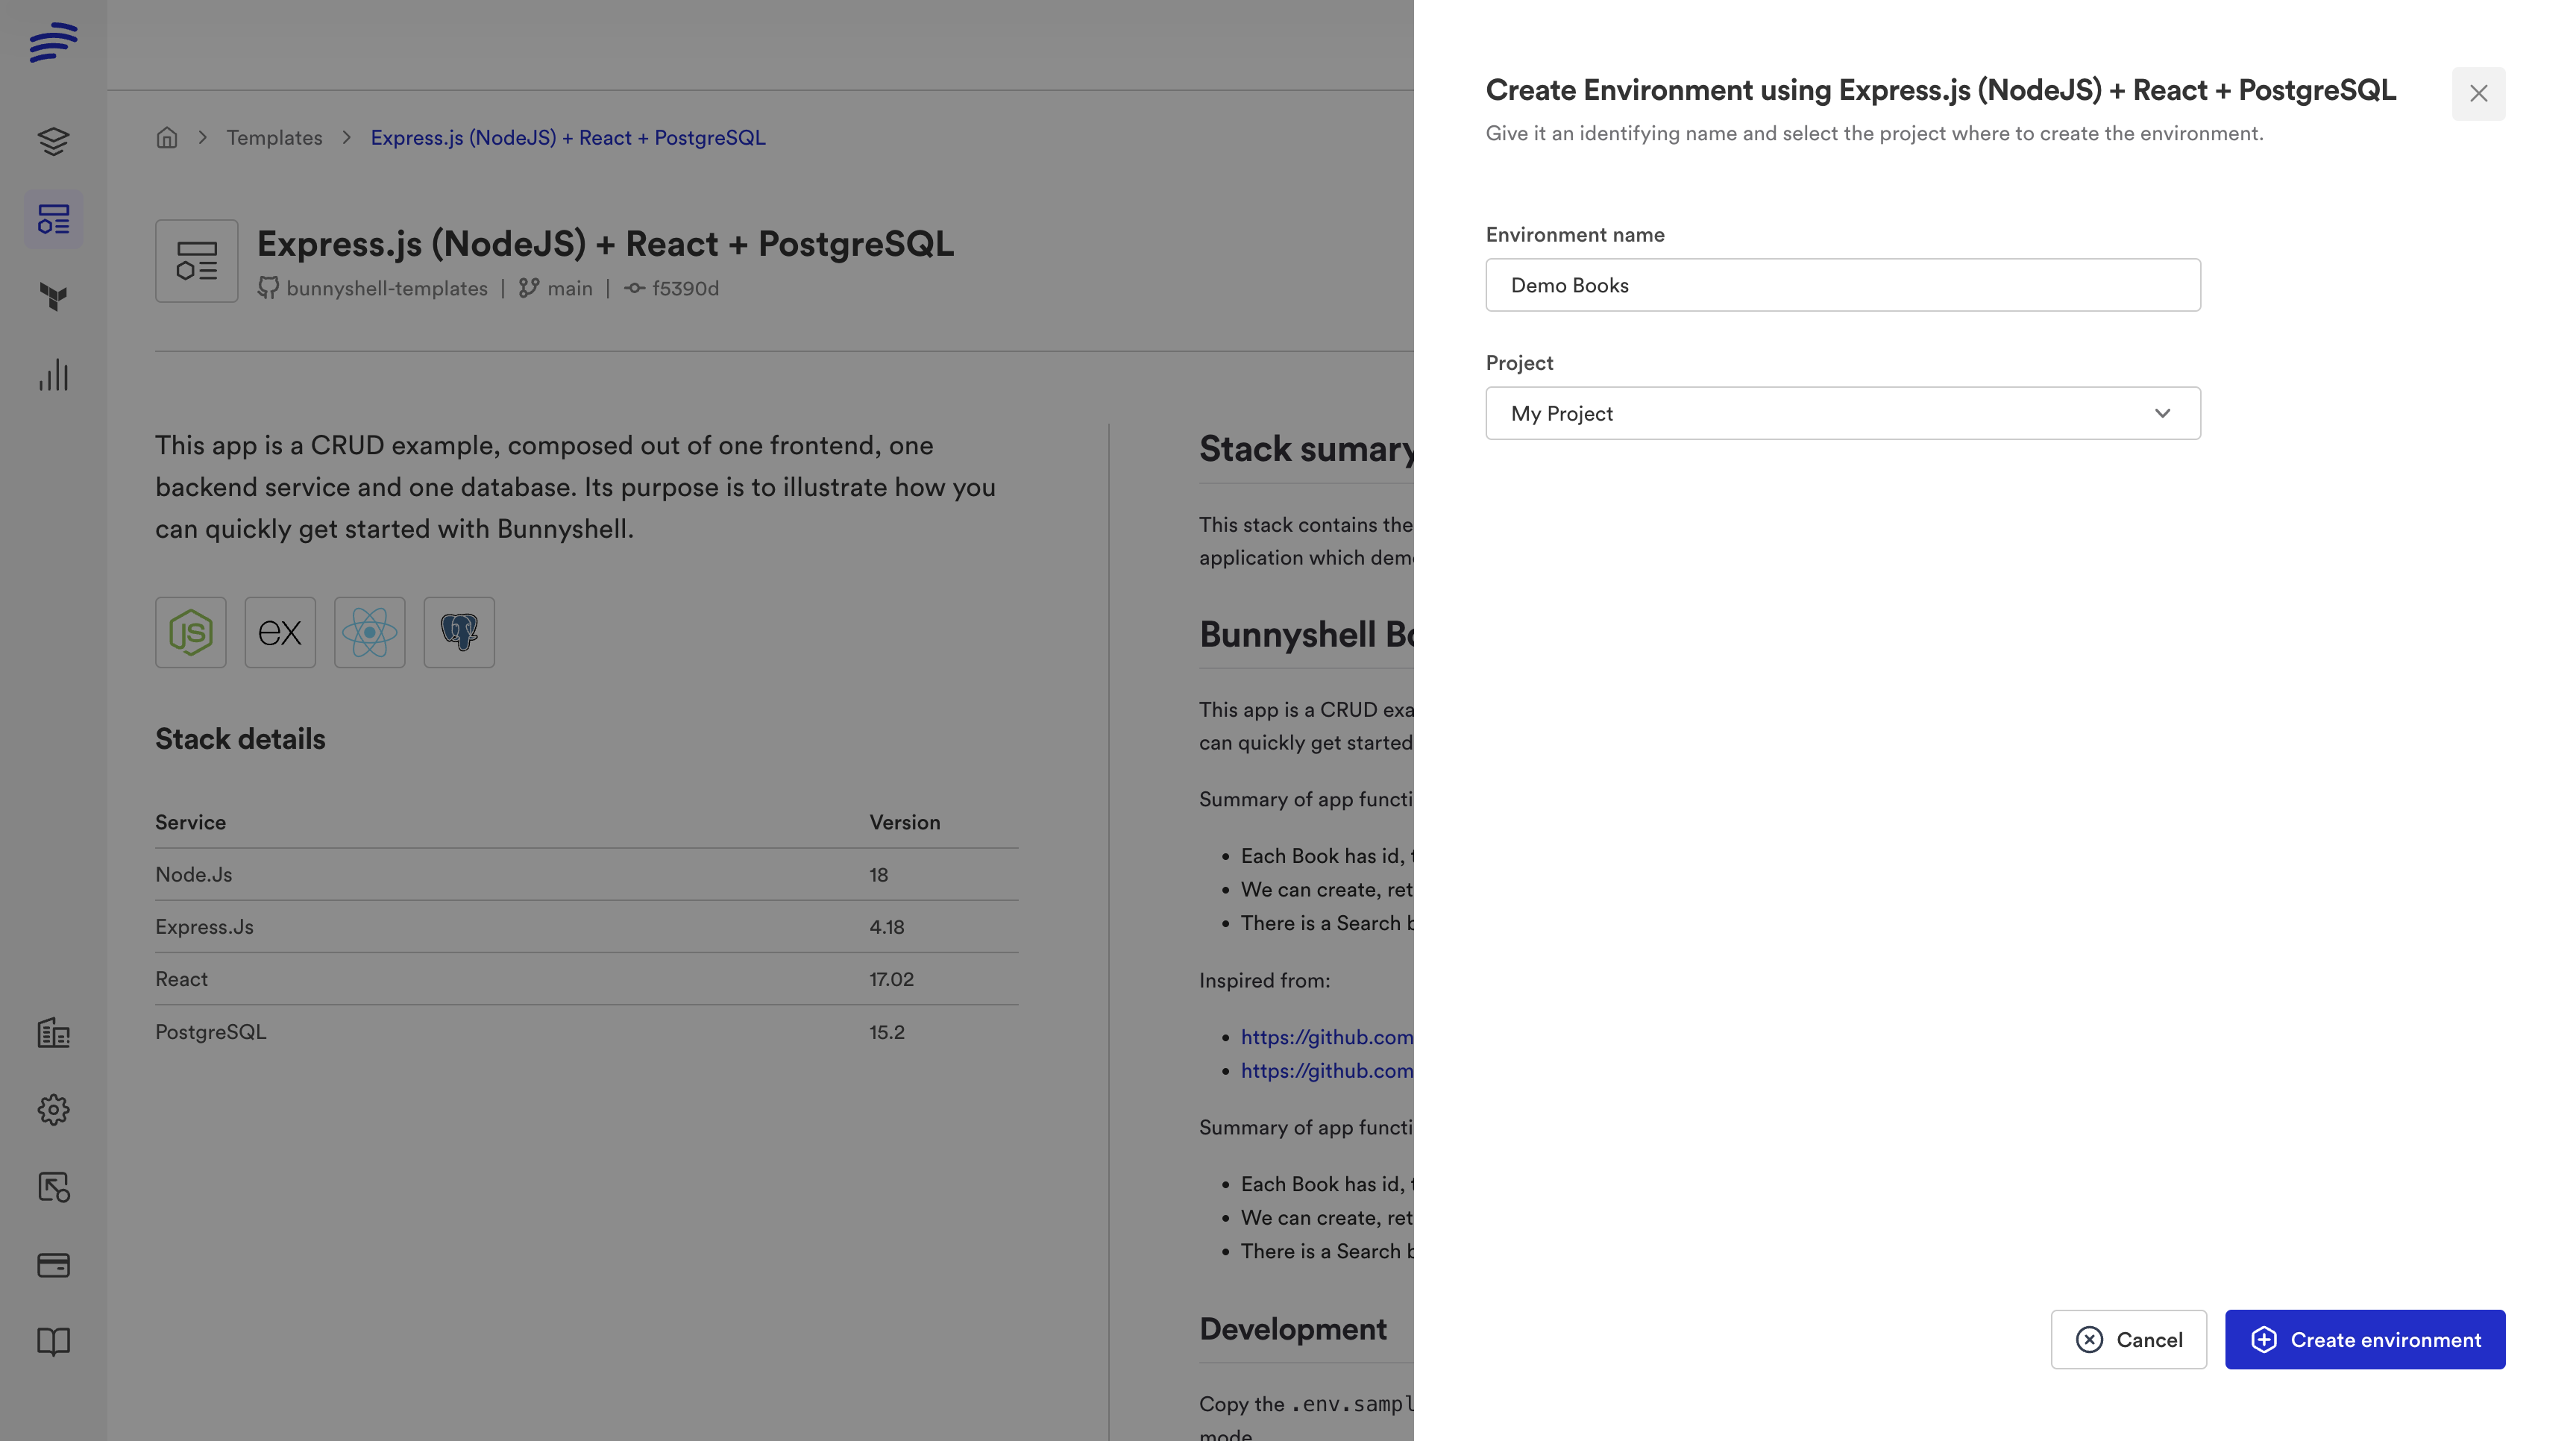
You just need to click the Create Environment button, and you will be taken to the new Environment's Details screen. In order to deploy it, you must click the Deploy button.
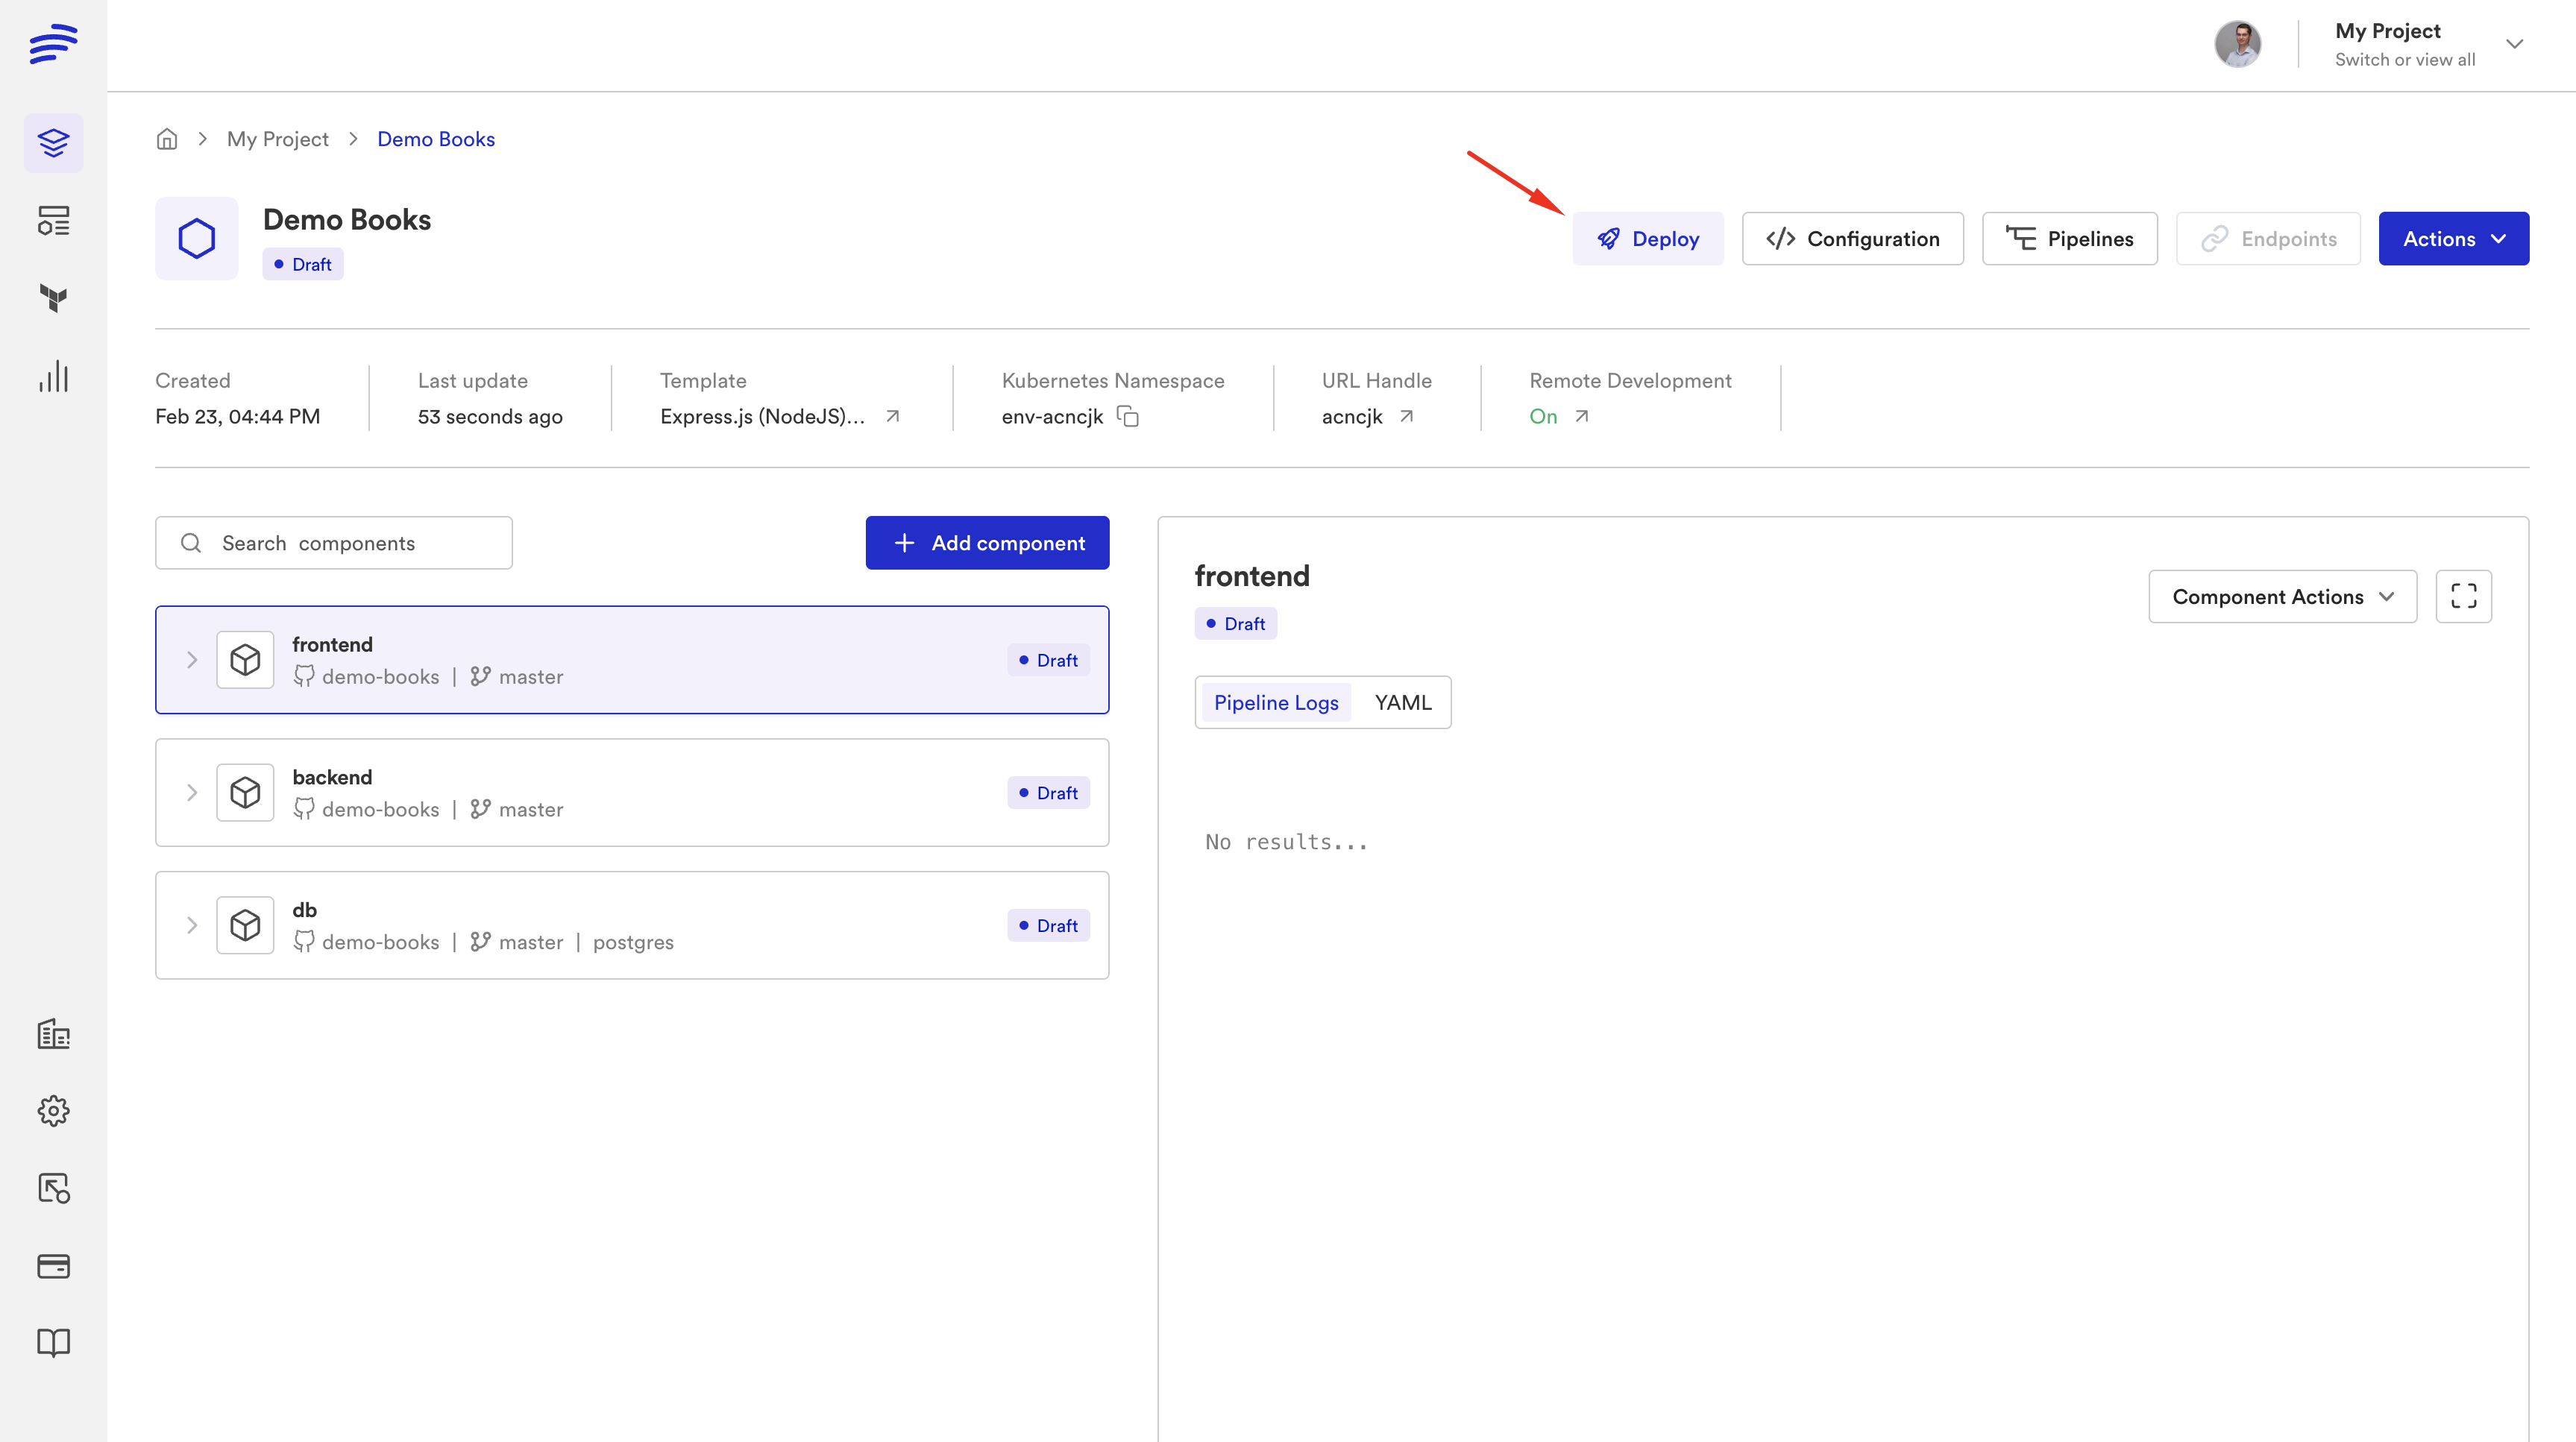
This will trigger the Deploy workflow. You can read more about how it works in its dedicated documentation section.
See the Template of an Environment
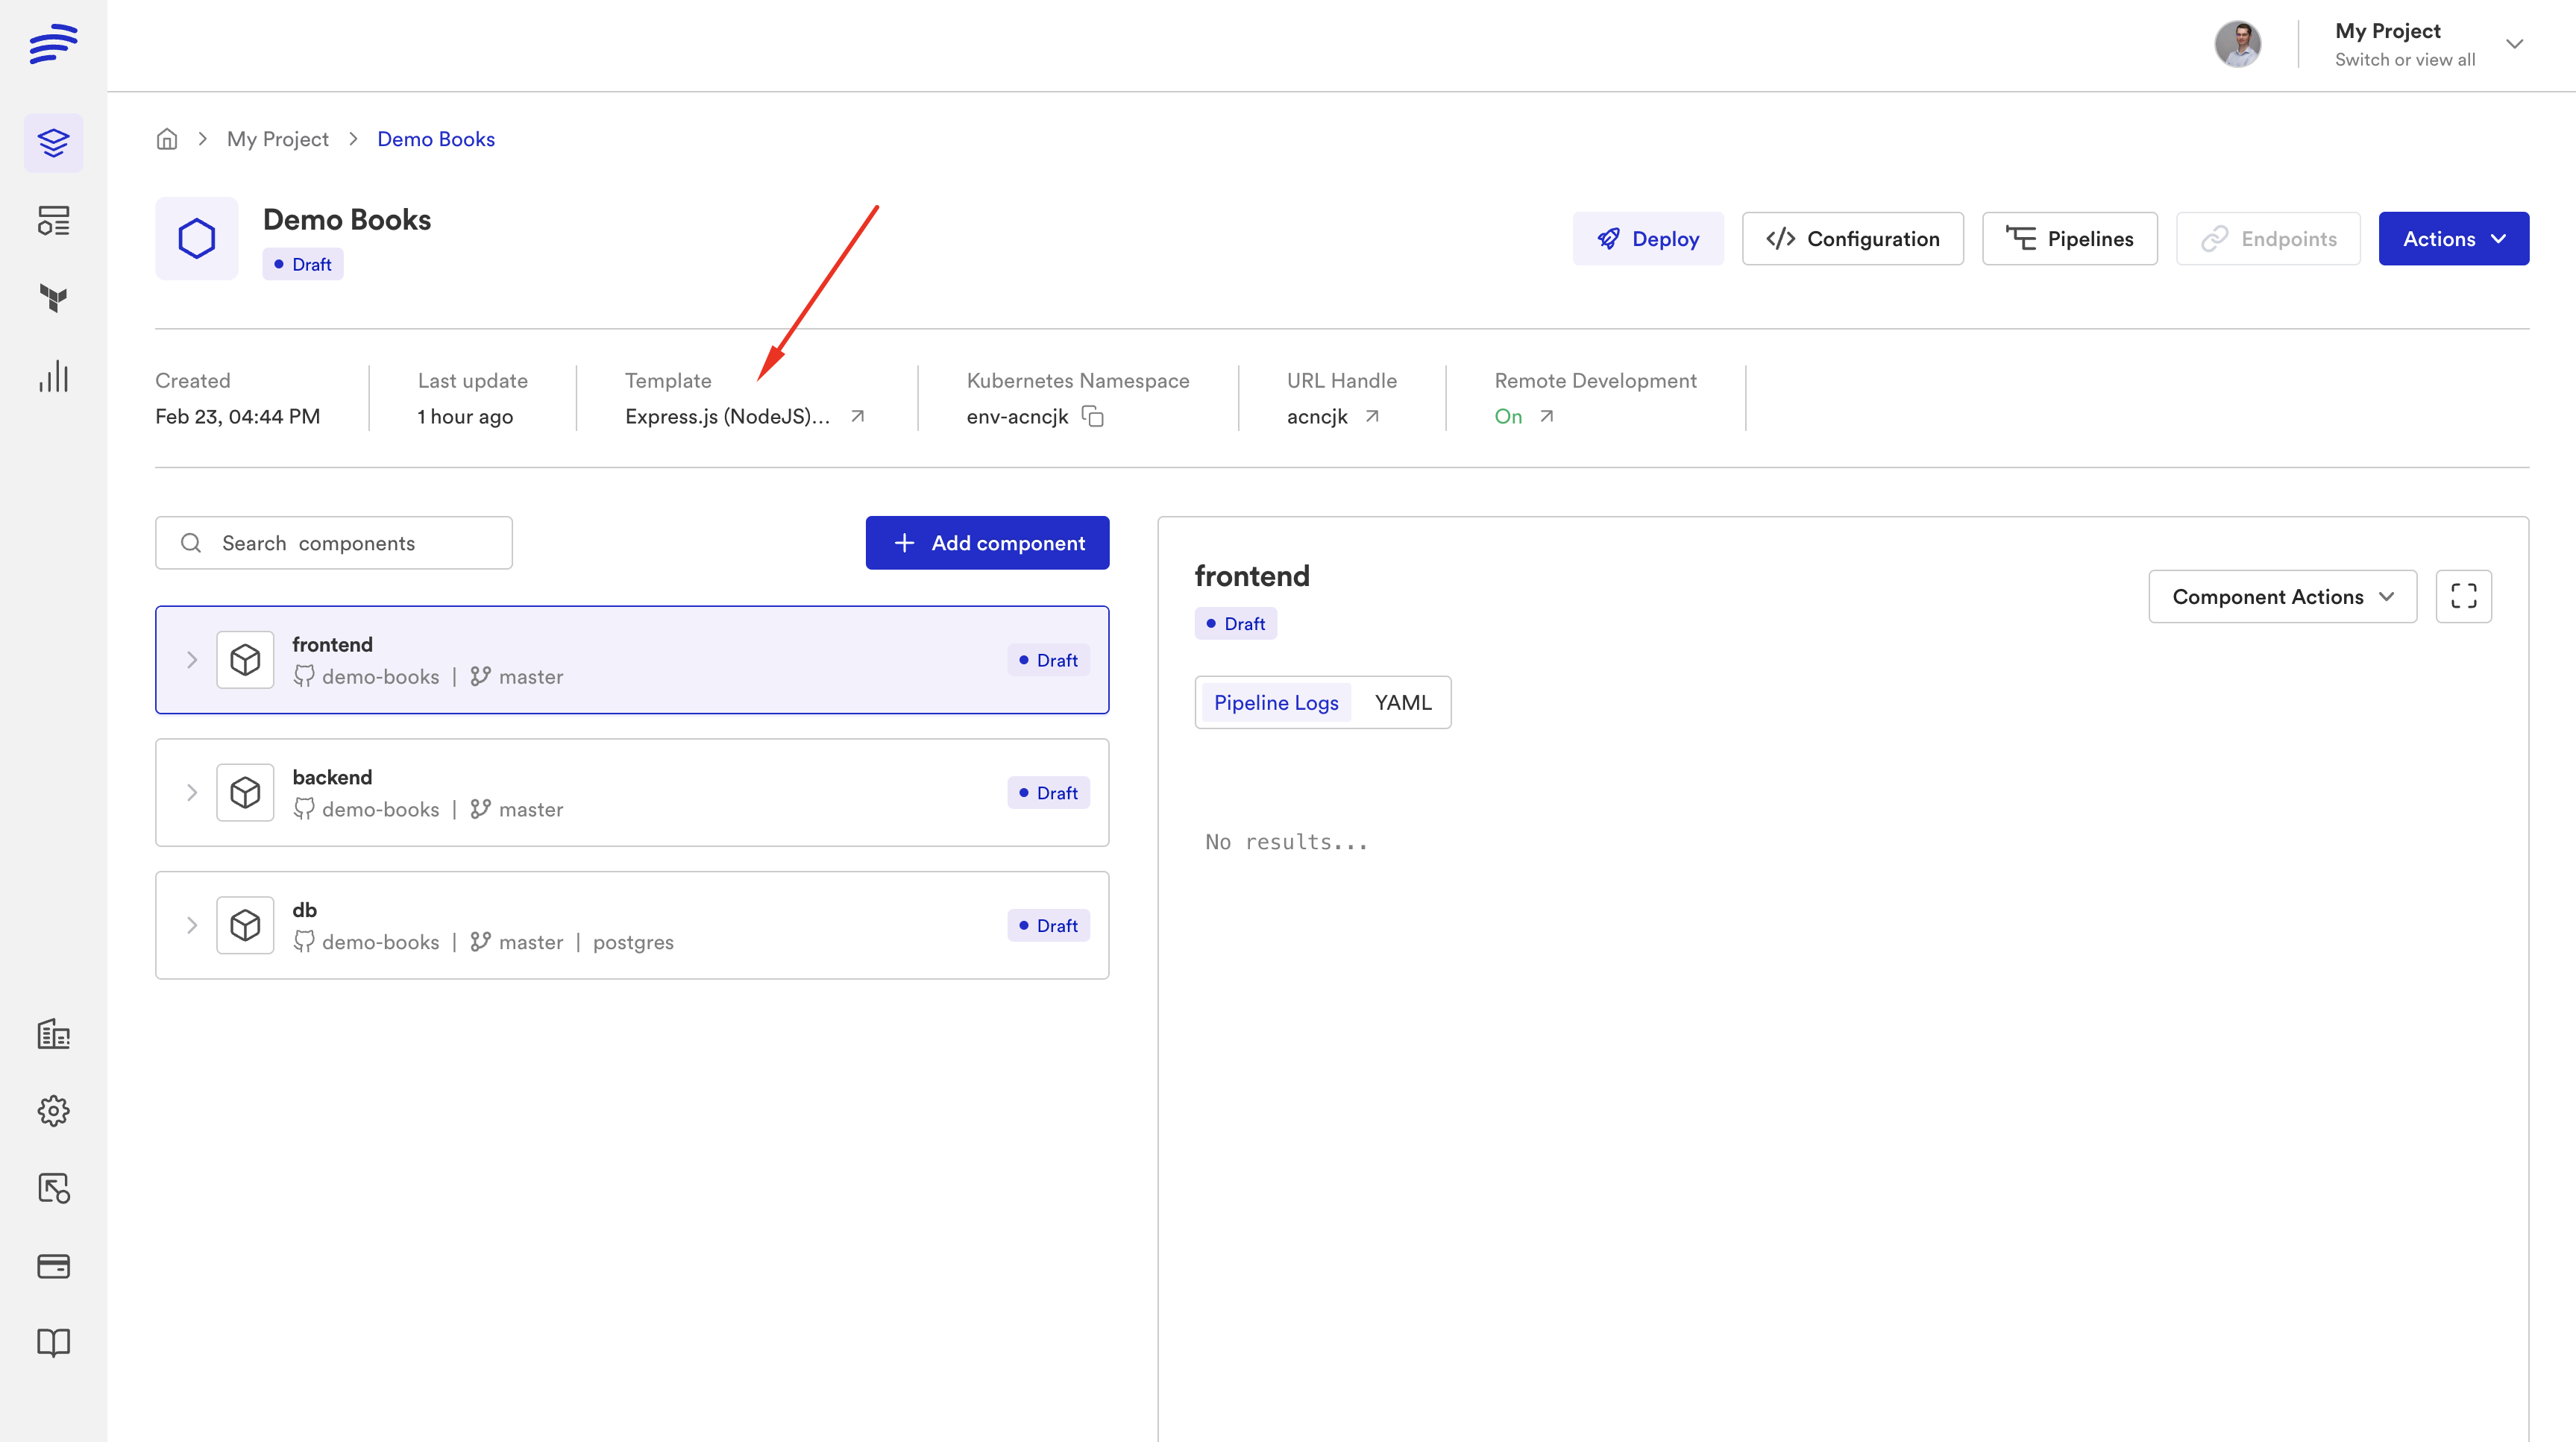
If an Environment was created from a Template, you can see its name, and if you click on it, you will be directed to the Template Detail view in Bunnyshell.
Updated 5 months ago
